Clear and timely candidate communication is very important. It makes a difference in how your business is seen in and helps develop a first impression effect. Eddy makes candidate communication simple by providing you the opportunity to create a message template. Using message templates saves time and mental effort.
Template Library
To access the template library, navigate the Hiring tab, and then click the "Email Templates" sub-tab.
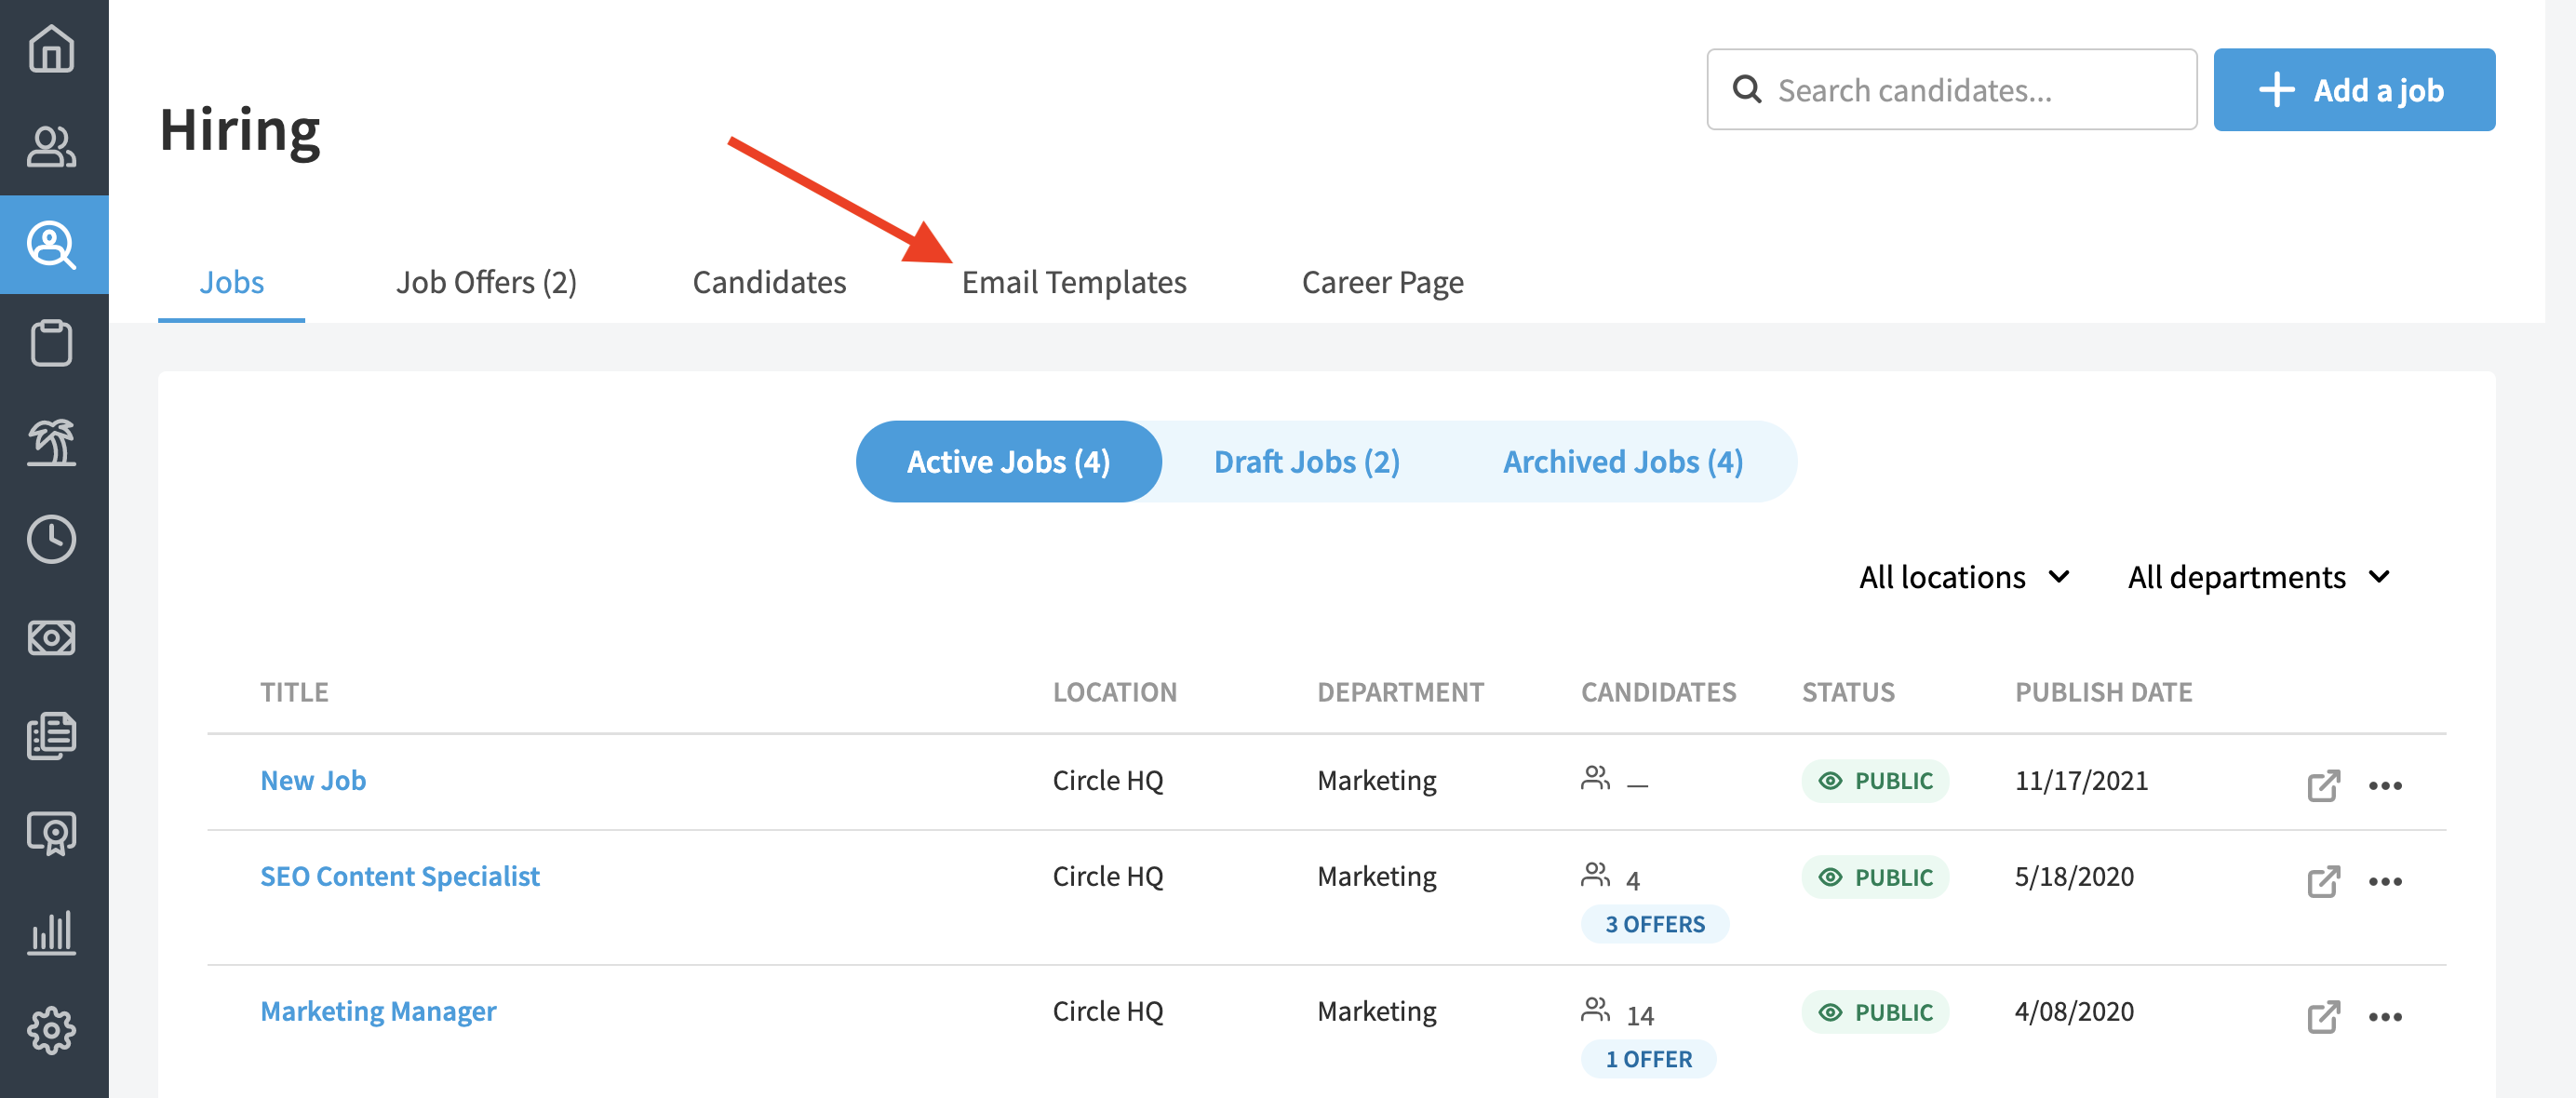
Here you will see a screen that displays all the available templates. Eddy provides all companies with two templates; One for letting candidates know their application was received, and one for rejecting applicants who will not get the job. Beneath the Eddy templates is the section for custom templates. Initially, this section will be blank, but as you create templates of your own, they will be added to the custom templates section.

Creating Custom Templates
To create your own template from scratch you can click the "Add new template" button. This will open a new screen that lets you add a template name, subject line, and message.
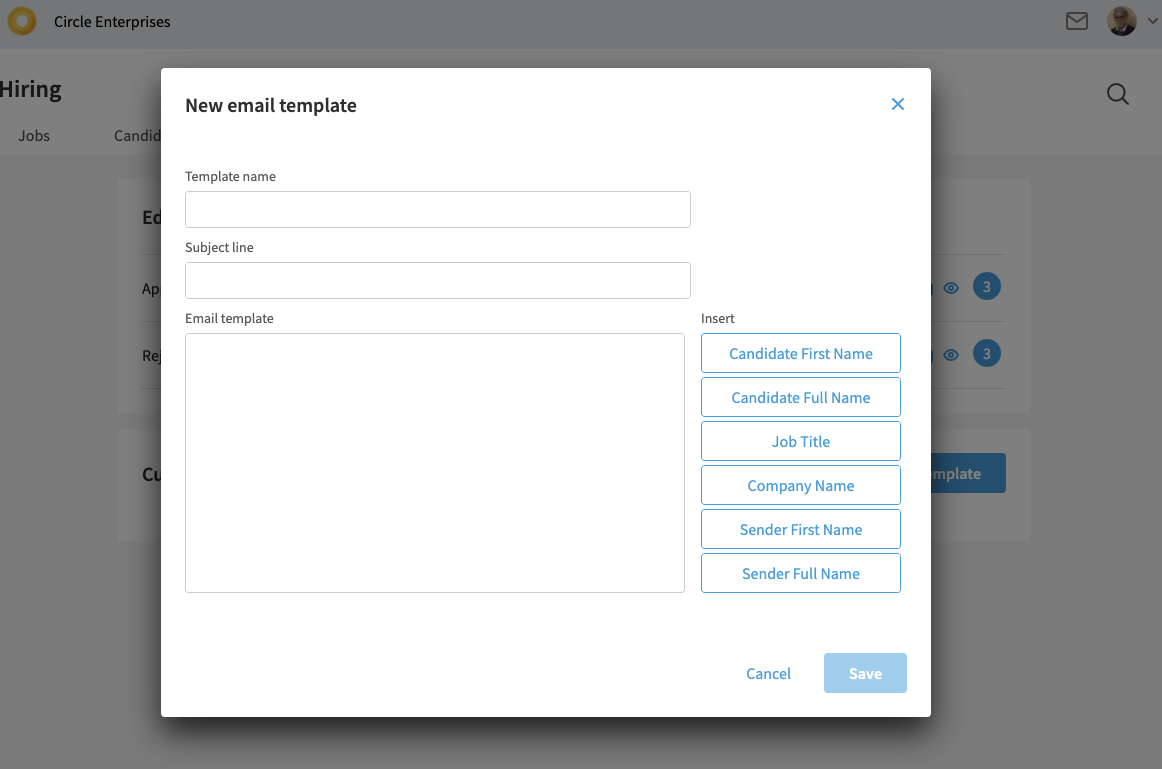
In the right column of the "New email template" page, you see a list of inserts. These inserts are placeholders for the information you'd like to show.
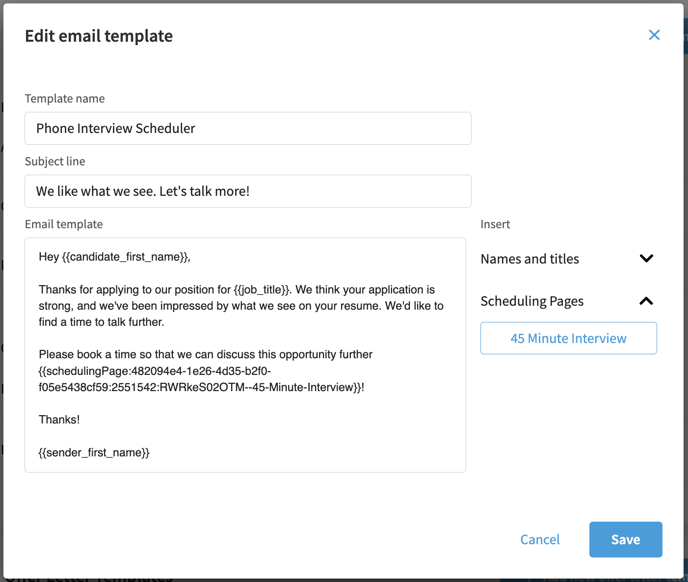
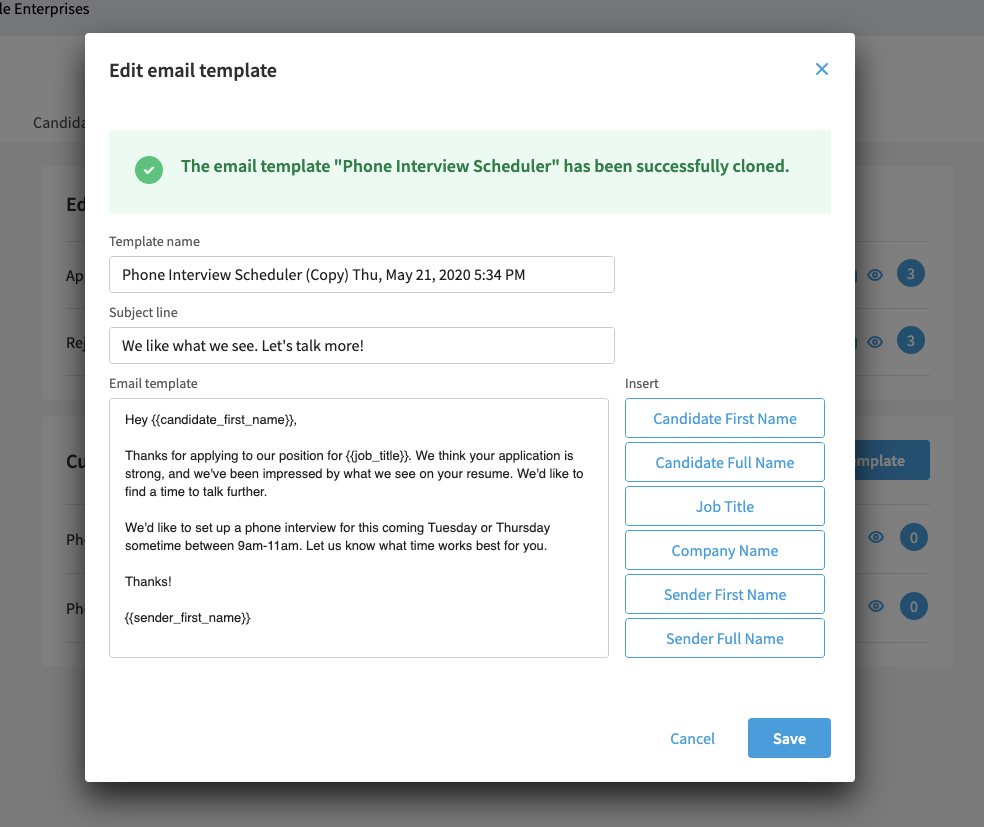
For example, in the screenshot below, you see a template message that will be used to schedule a phone interview with a candidate. This template can be used for multiple jobs, so we can use the "Job Title" and "Candidate First Name" inserts to personalize the message for each recipient.

Once you've created a template, click the "Save" button and it will be added to your template library. Templates you create will be available to anyone on your team with permission to send email messages to candidates.
Scheduling within a Template (coming soon!)
Eddy provides the option to automatically connect your scheduling page in your email templates. Once a scheduling page has been set up by an HR or Owner Admin, the page option will appear on the right side of the editor. When selecting a Scheduling Page option, it will show in the email to the candidate as 'Self-schedule your interview: link' with a link to the page.
Editing Templates
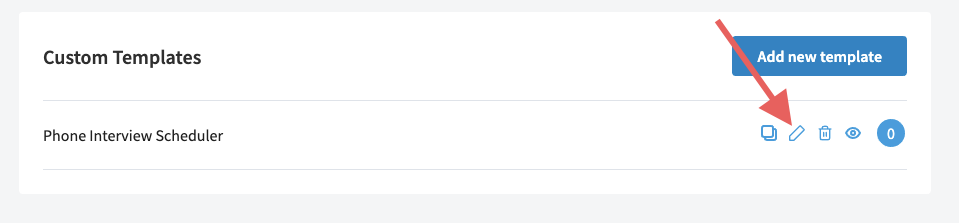
Templates can be easily edited. To do so, click on the Edit Pencil icon located to the right of a previously saved template.
This will bring up a view of the message that is editable. Once you've made your edits, click the "Save" button to save your changes.
Cloning Templates
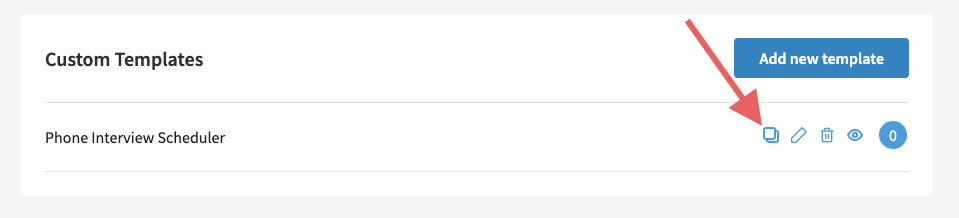
Templates can be cloned if you'd like to create a new template that is similar to one you've already made. To clone a template, click the clone icon located on the right.
When a template is cloned, it'll be given a new name by tacking on the word "Copy" as well as the day, month, year, and time the clone was created. The template name can easily be edited to whatever you want it to be, as can the subject line and body of the template.
Click "Save" in order to preserve any changes.
Previewing Templates & Test Messages
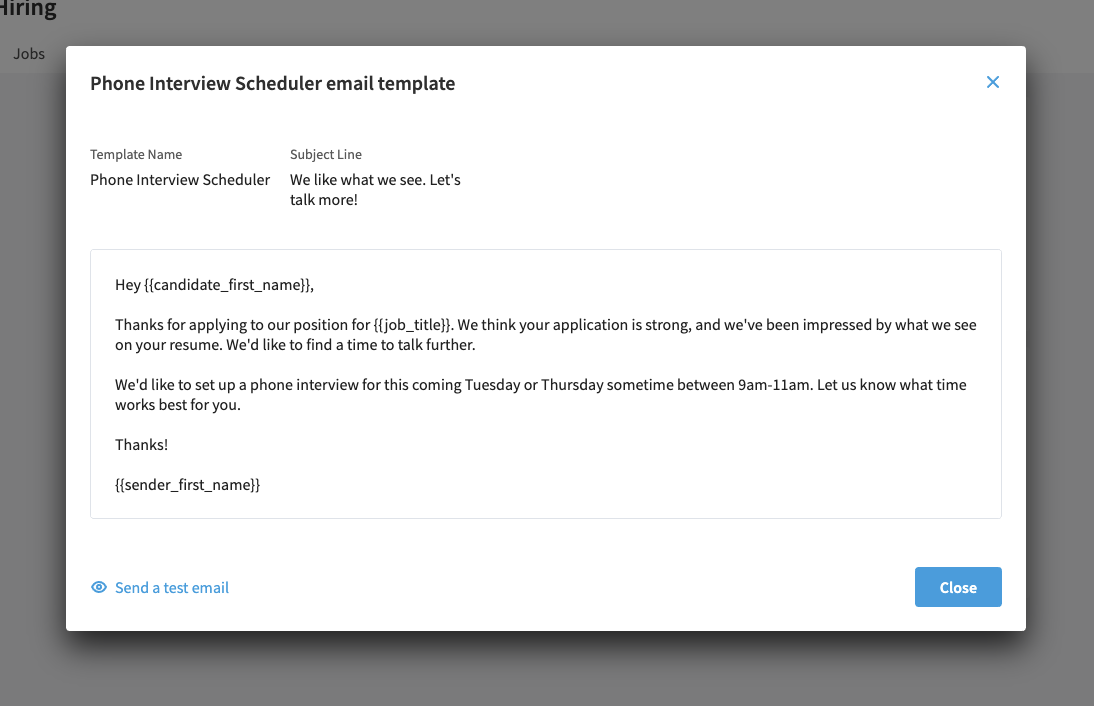
If you want to see what a template will look like in an email, click on the Eye icon to see a preview. The template preview shows the template name, subject line, and message. From the preview screen, you can send a test email to yourself. This lets you see the message in your own inbox just as the candidate would.
Deleting a Template
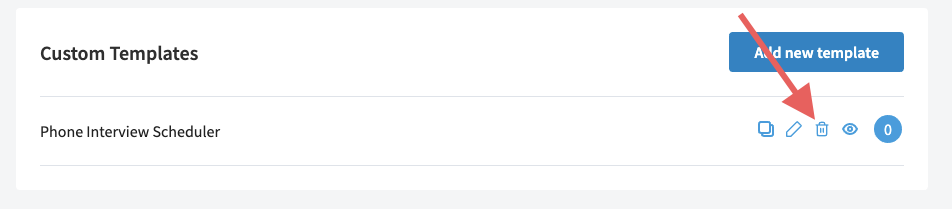
You can delete a template by clicking on the trash can icon located to the right of the template.
Please note that you cannot delete a template while it is being used for a stage action. Read the next section to understand how to know when a message template is in use.
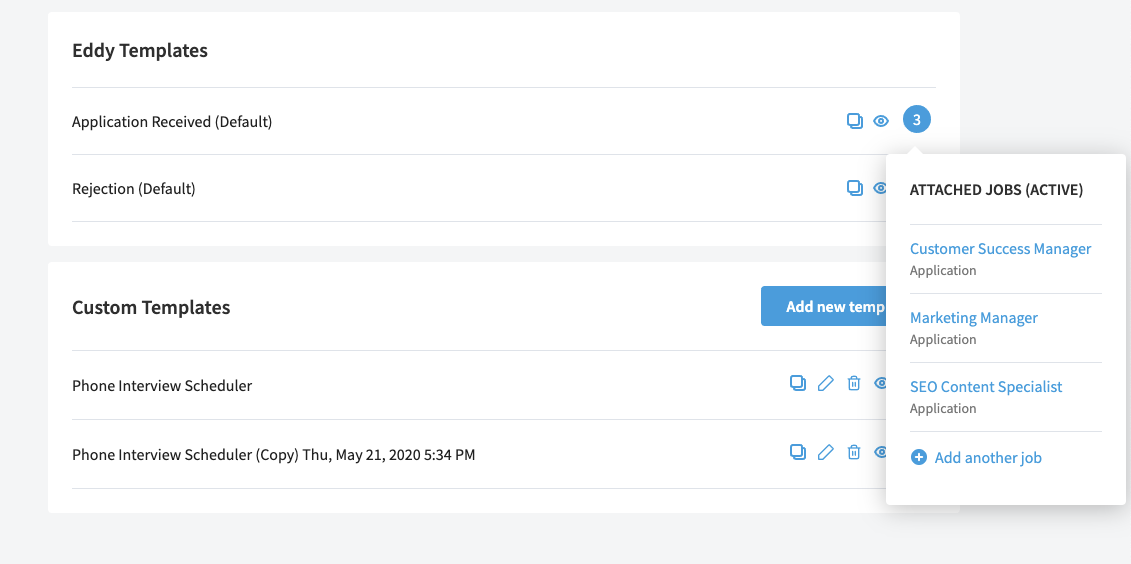
Understanding where Templates are being used
To the right of each template, encapsulated in a blue circle, is a number. The number is an indicator of how many jobs are using the template for an automated stage action. Click on the circle to see the list of jobs using the template. This is important to understand because if you modify the template, you'll be modifying it for all the jobs currently using it.