Occasionally, policies will become out of date or will no longer be needed. To avoid confusion, you may wish to delete policies that employees are no longer attached to.
How to Delete a Time Off Policy Overview
Navigate to the Policy You Wish to Delete
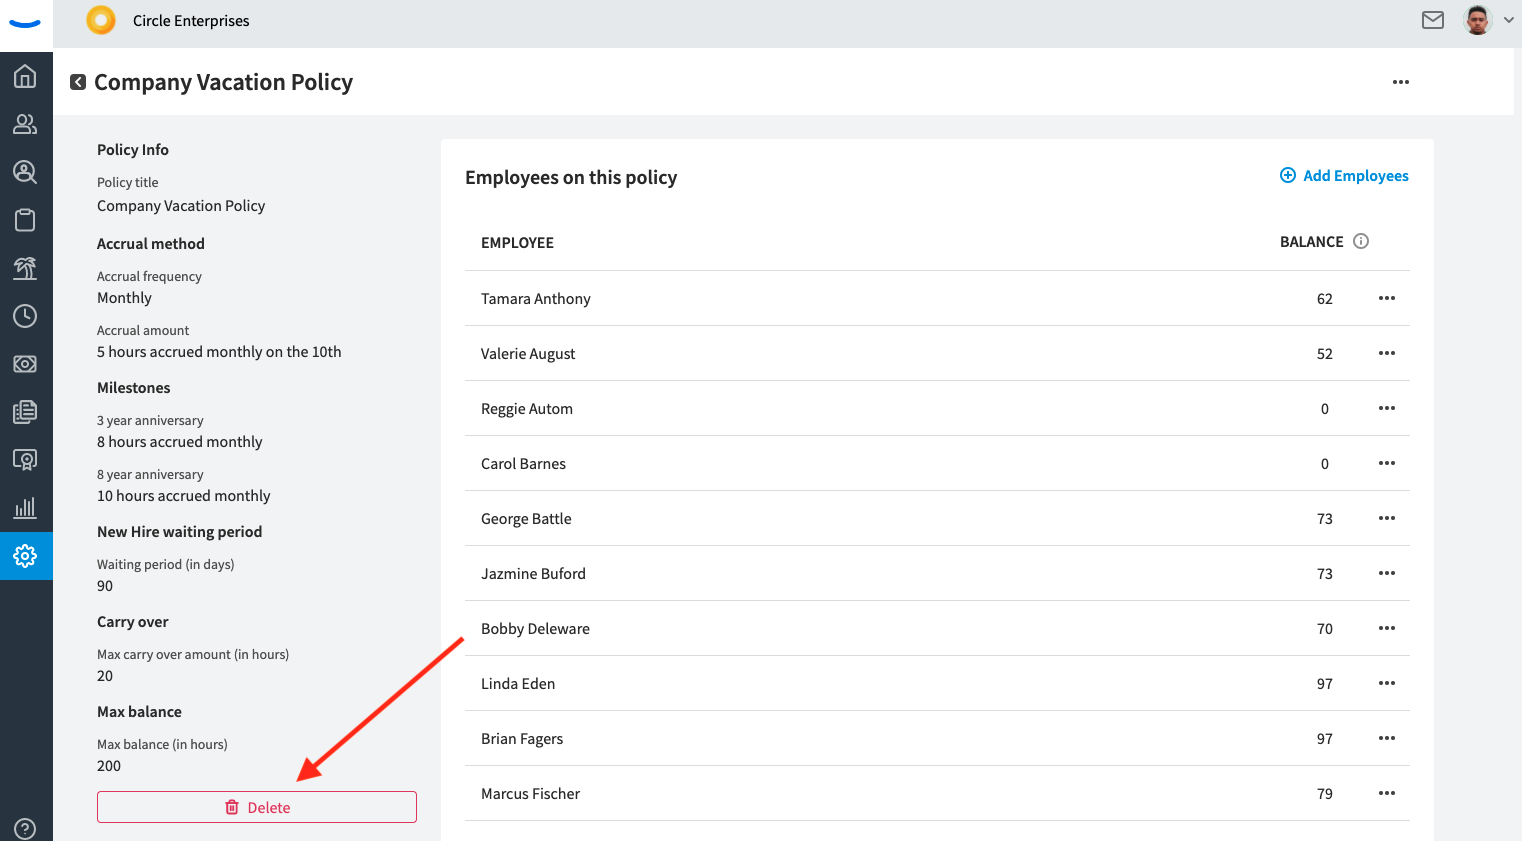
In order to delete a policy, you’ll have to navigate to that policy’s “Policy Info” page. This can be done by clicking into the “Admin” tab and then navigating to the “Time Off” sub tab. From there, click into the policy you wish to delete.
Deleting the Policy
Once you’ve clicked into the Policy Info page, you’ll see a red “Delete Policy” button on the bottom left hand corner of the screen. Clicking the button will initiate the process to delete the policy.
Your experience deleting the policy will vary slightly based on if the policy has employees attached to it, or if there are other policies within the category employees can be assigned to.
Deleting a Policy That Has No Employees Assigned
If there are not currently any employees attached to a policy, the only thing that will be lost at the time of deletion is the policy information. When deleting a policy that has no employees assigned to it, you’ll see a screen that looks like the one below:
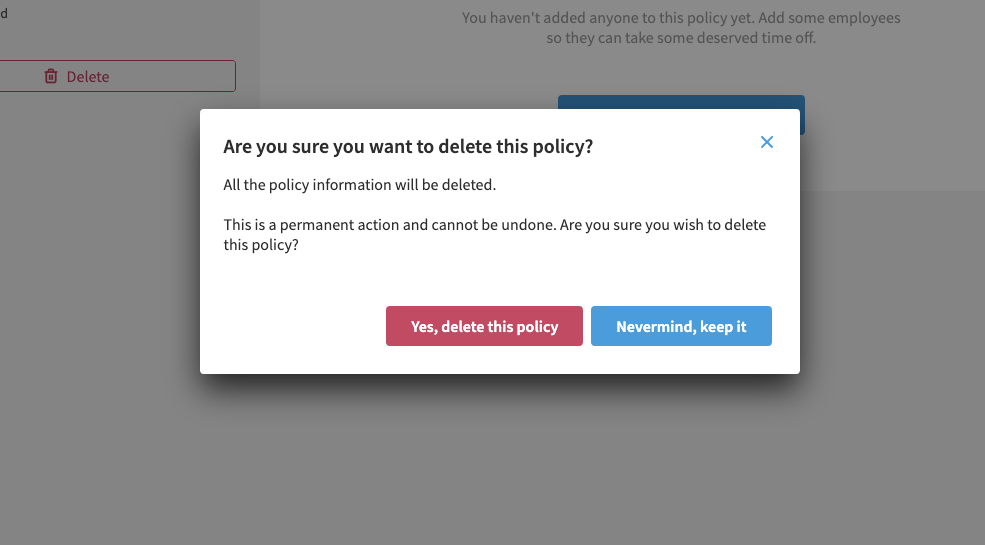
Simply click the button that reads, “Yes delete this policy” in order to delete the time off policy.
Deleting a Policy That Has Employees Assigned and No Other Policy Within the Category
If you are deleting a policy that has employees currently assigned to it, and there is no other policy in the category (meaning the only policy you’ve created in the Vacation category is the one you are deleting) then you’ll see a screen that offers a warning.
This warning lets you know that if you delete the policy without first creating a new policy in the category and reassigning your employees to that new policy before deleting this one, then the balances of all your employees will be reset to zero. We recommend that you move your employees to a new policy before deleting their current one so that the employees can maintain their balances.
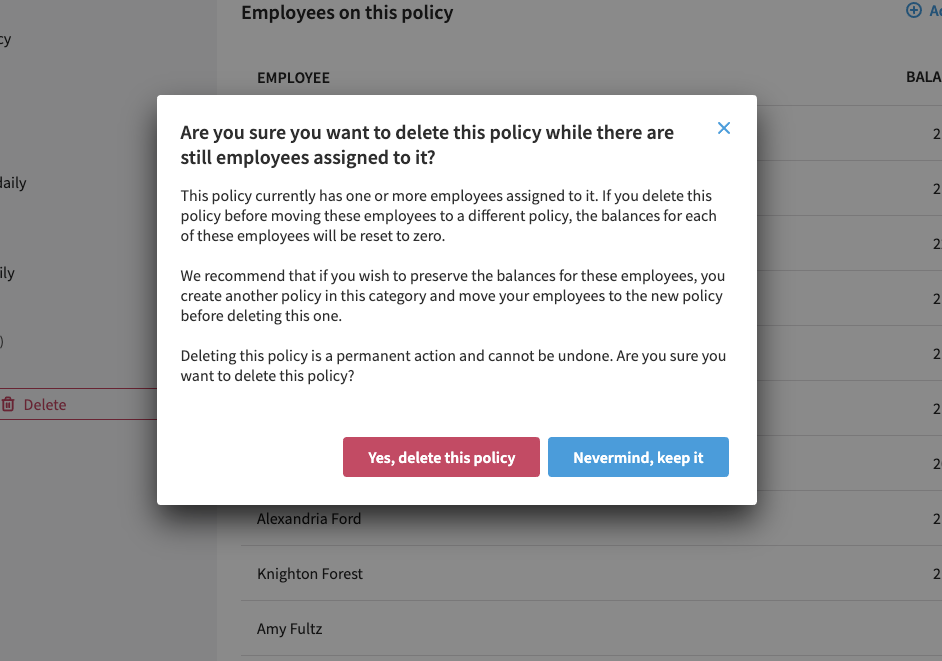
If you do wish to continue and delete the policy while the employees are still assigned to it, you can click the “Yes, delete this policy” button.
Otherwise, you can click the “Nevermind, keep it” button and your policy will not be deleted. You can then create a new policy, move your employees to the new policy, and then delete the old policy once the employees have been transferred.
Deleting a Policy That Has Employees Assigned While Other Policies Within the Category Exist
If you are deleting a policy that currently has employees assigned to it, but there are other policies in the same category that exist, you’ll see a screen that asks you if you’d like to reassign your employees to a new policy before deleting the current one.
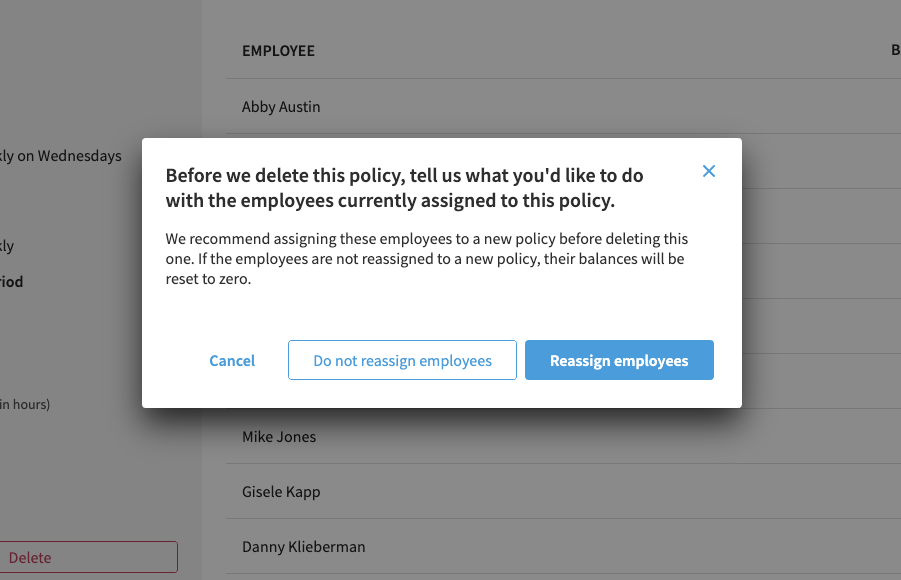
If you choose to “Reassign Employees”, you’ll enter into a flow that allows you to select an existing policy to which you’ll move your employees. This makes it extraordinarily easy to move all your employees from one policy to another without losing information about their balances. The final step in this flow will be to move the employees to the new policy and delete the current one.
If you choose the option “Do not reassign employees” you’ll see one final warning modal about how your employees’ balances will be reset to zero if they are not first reassigned. If you do not mind having the balances reset to zero, you can continue with the deletion of the policy.