Once an employee has been added to a policy, they’ll have the ability to make time off requests and to accrue time off effective immediately.
Where to go
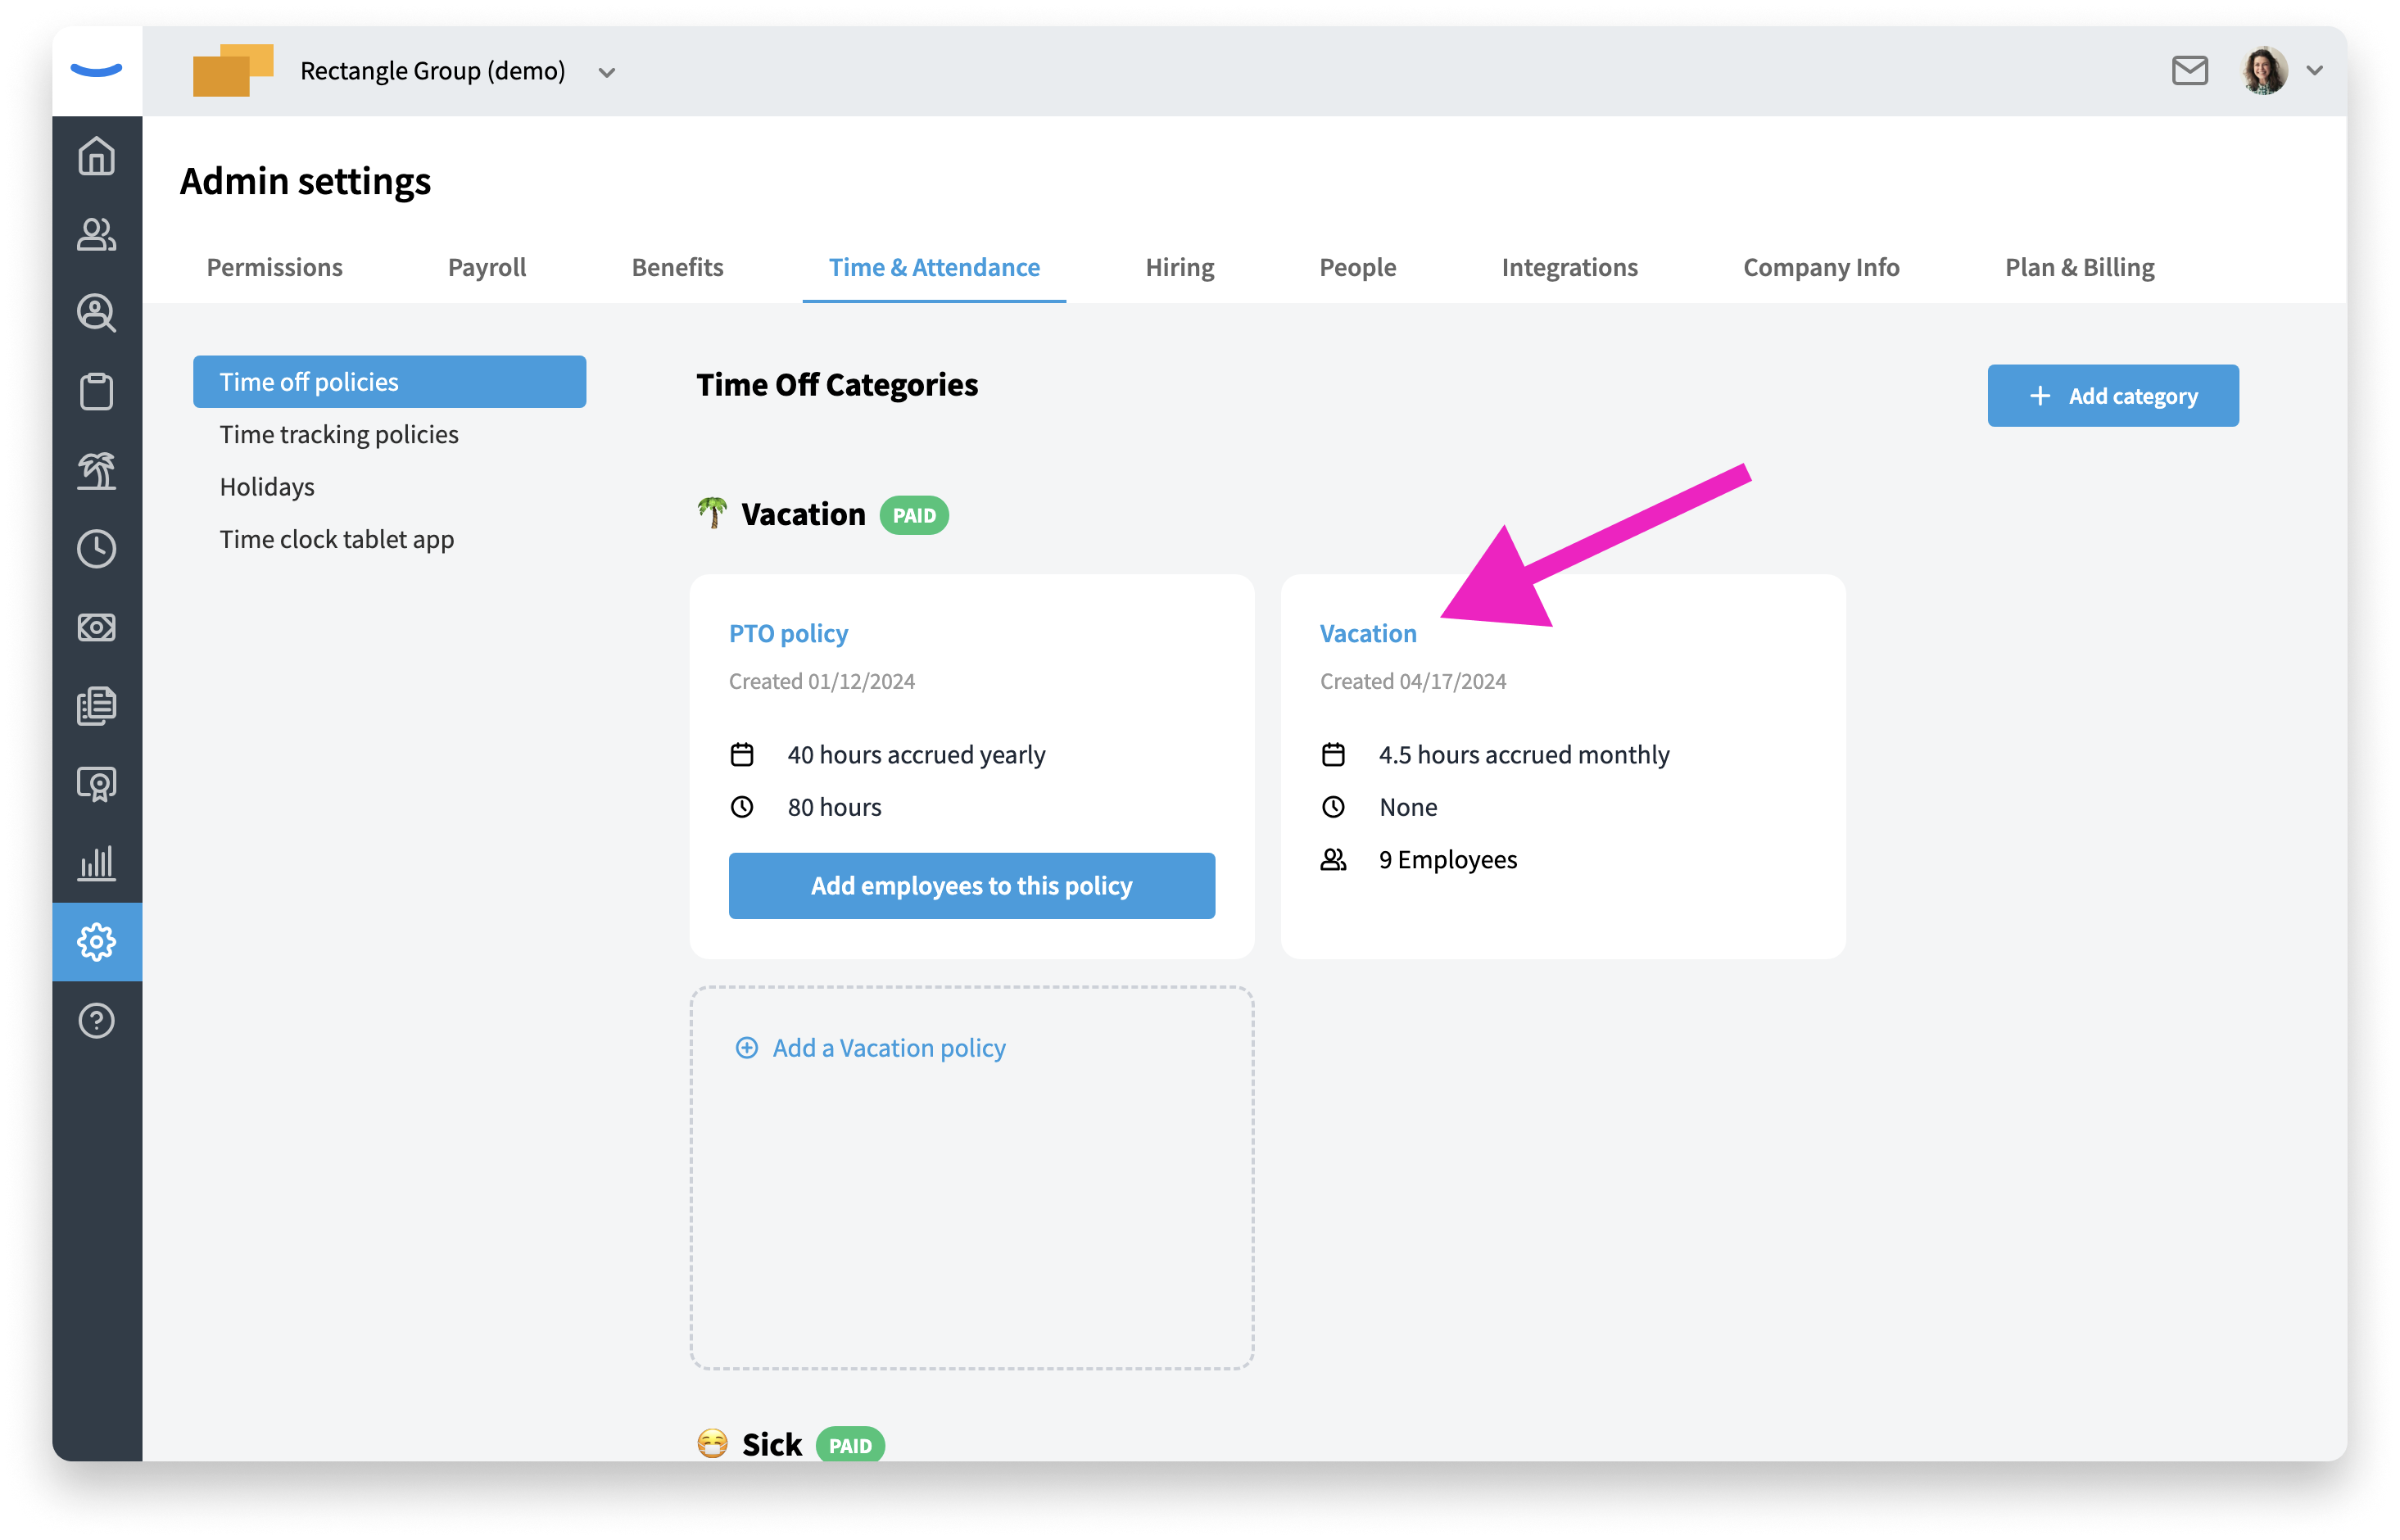
To add employees to a time off policy, go to Admin settings and click the on the Time & Attendance page. Here you'll see a list of all time off policies you have created.

Add Employees Button
After creating a Time Off policy, the policy will appear in a card under the category it is attached to. If you have yet to add employees, you'll see an Add employees to this policy button on the policy card. Clicking the button will allow you to add your employees.

If this is the first time you’ve attempted to add employees to this particular policy, you’ll see a page that let's you know you that once employees are added to a policy, the policy details cannot be edited.
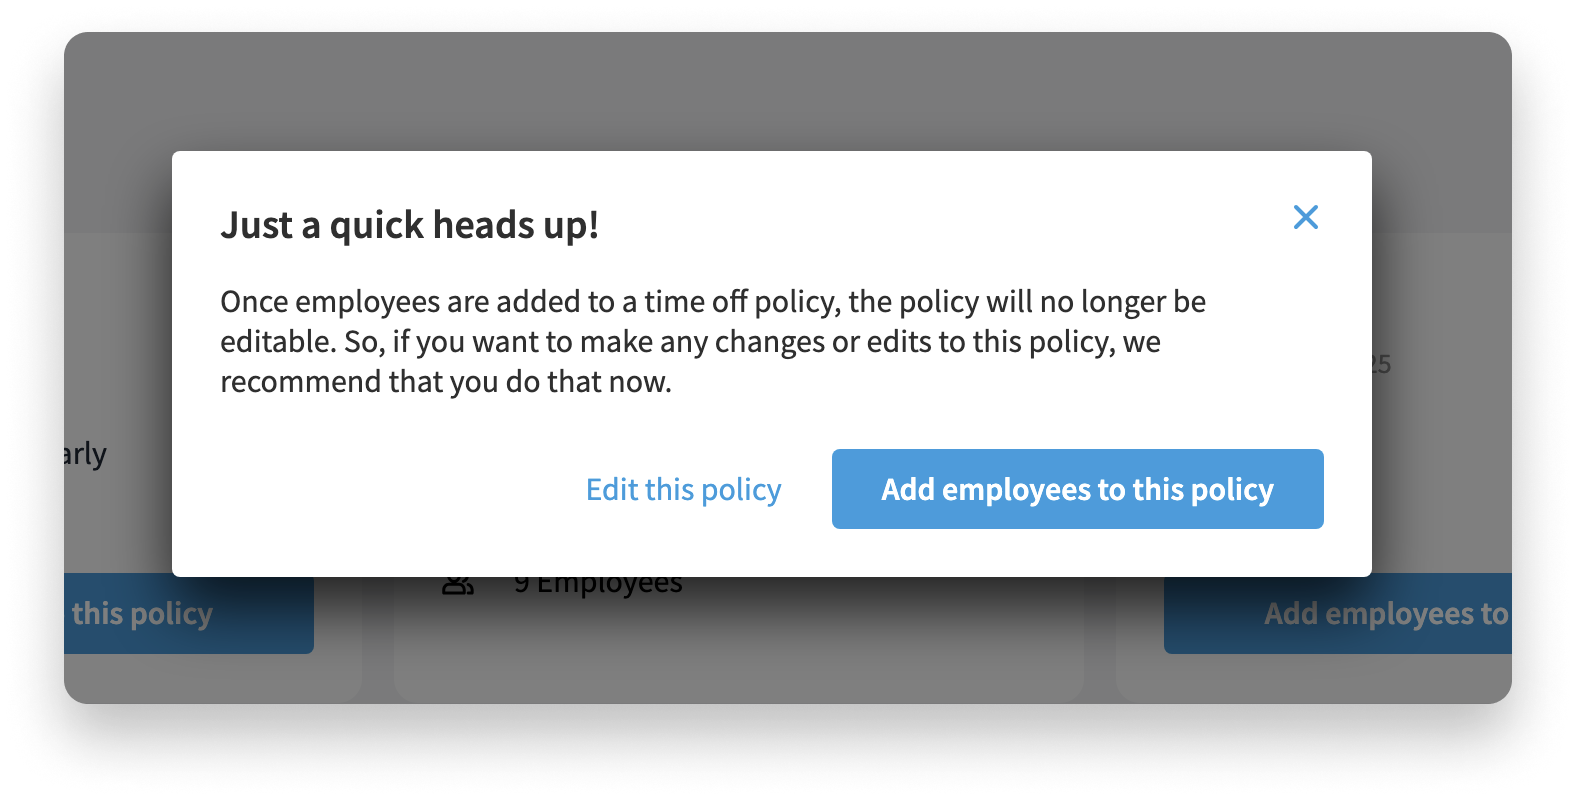
Locking a the policy details helps employees know exactly what the policy details are and what the accrual method is. By locking in the policy details once employees are added, it ensures that the employees will never be surprised by a change to the policy they’re currently attached to.
Selecting Employees
When you decide to add employees to the policy, you’ll be met with a screen that shows a list of all your employees in all your company locations. This list can be filtered by employment type or location if you’re creating a policy for a certain group of employees, and the list also has a search bar if you’re attempting to select a particular employee.
Checkboxes are located beside the name of each employee. If you’d like to add one or multiple employees to the Time Off policy, select the check box by clicking it. If you’d like to add all your employees to the policy, you can select the checkbox at the top of the list.
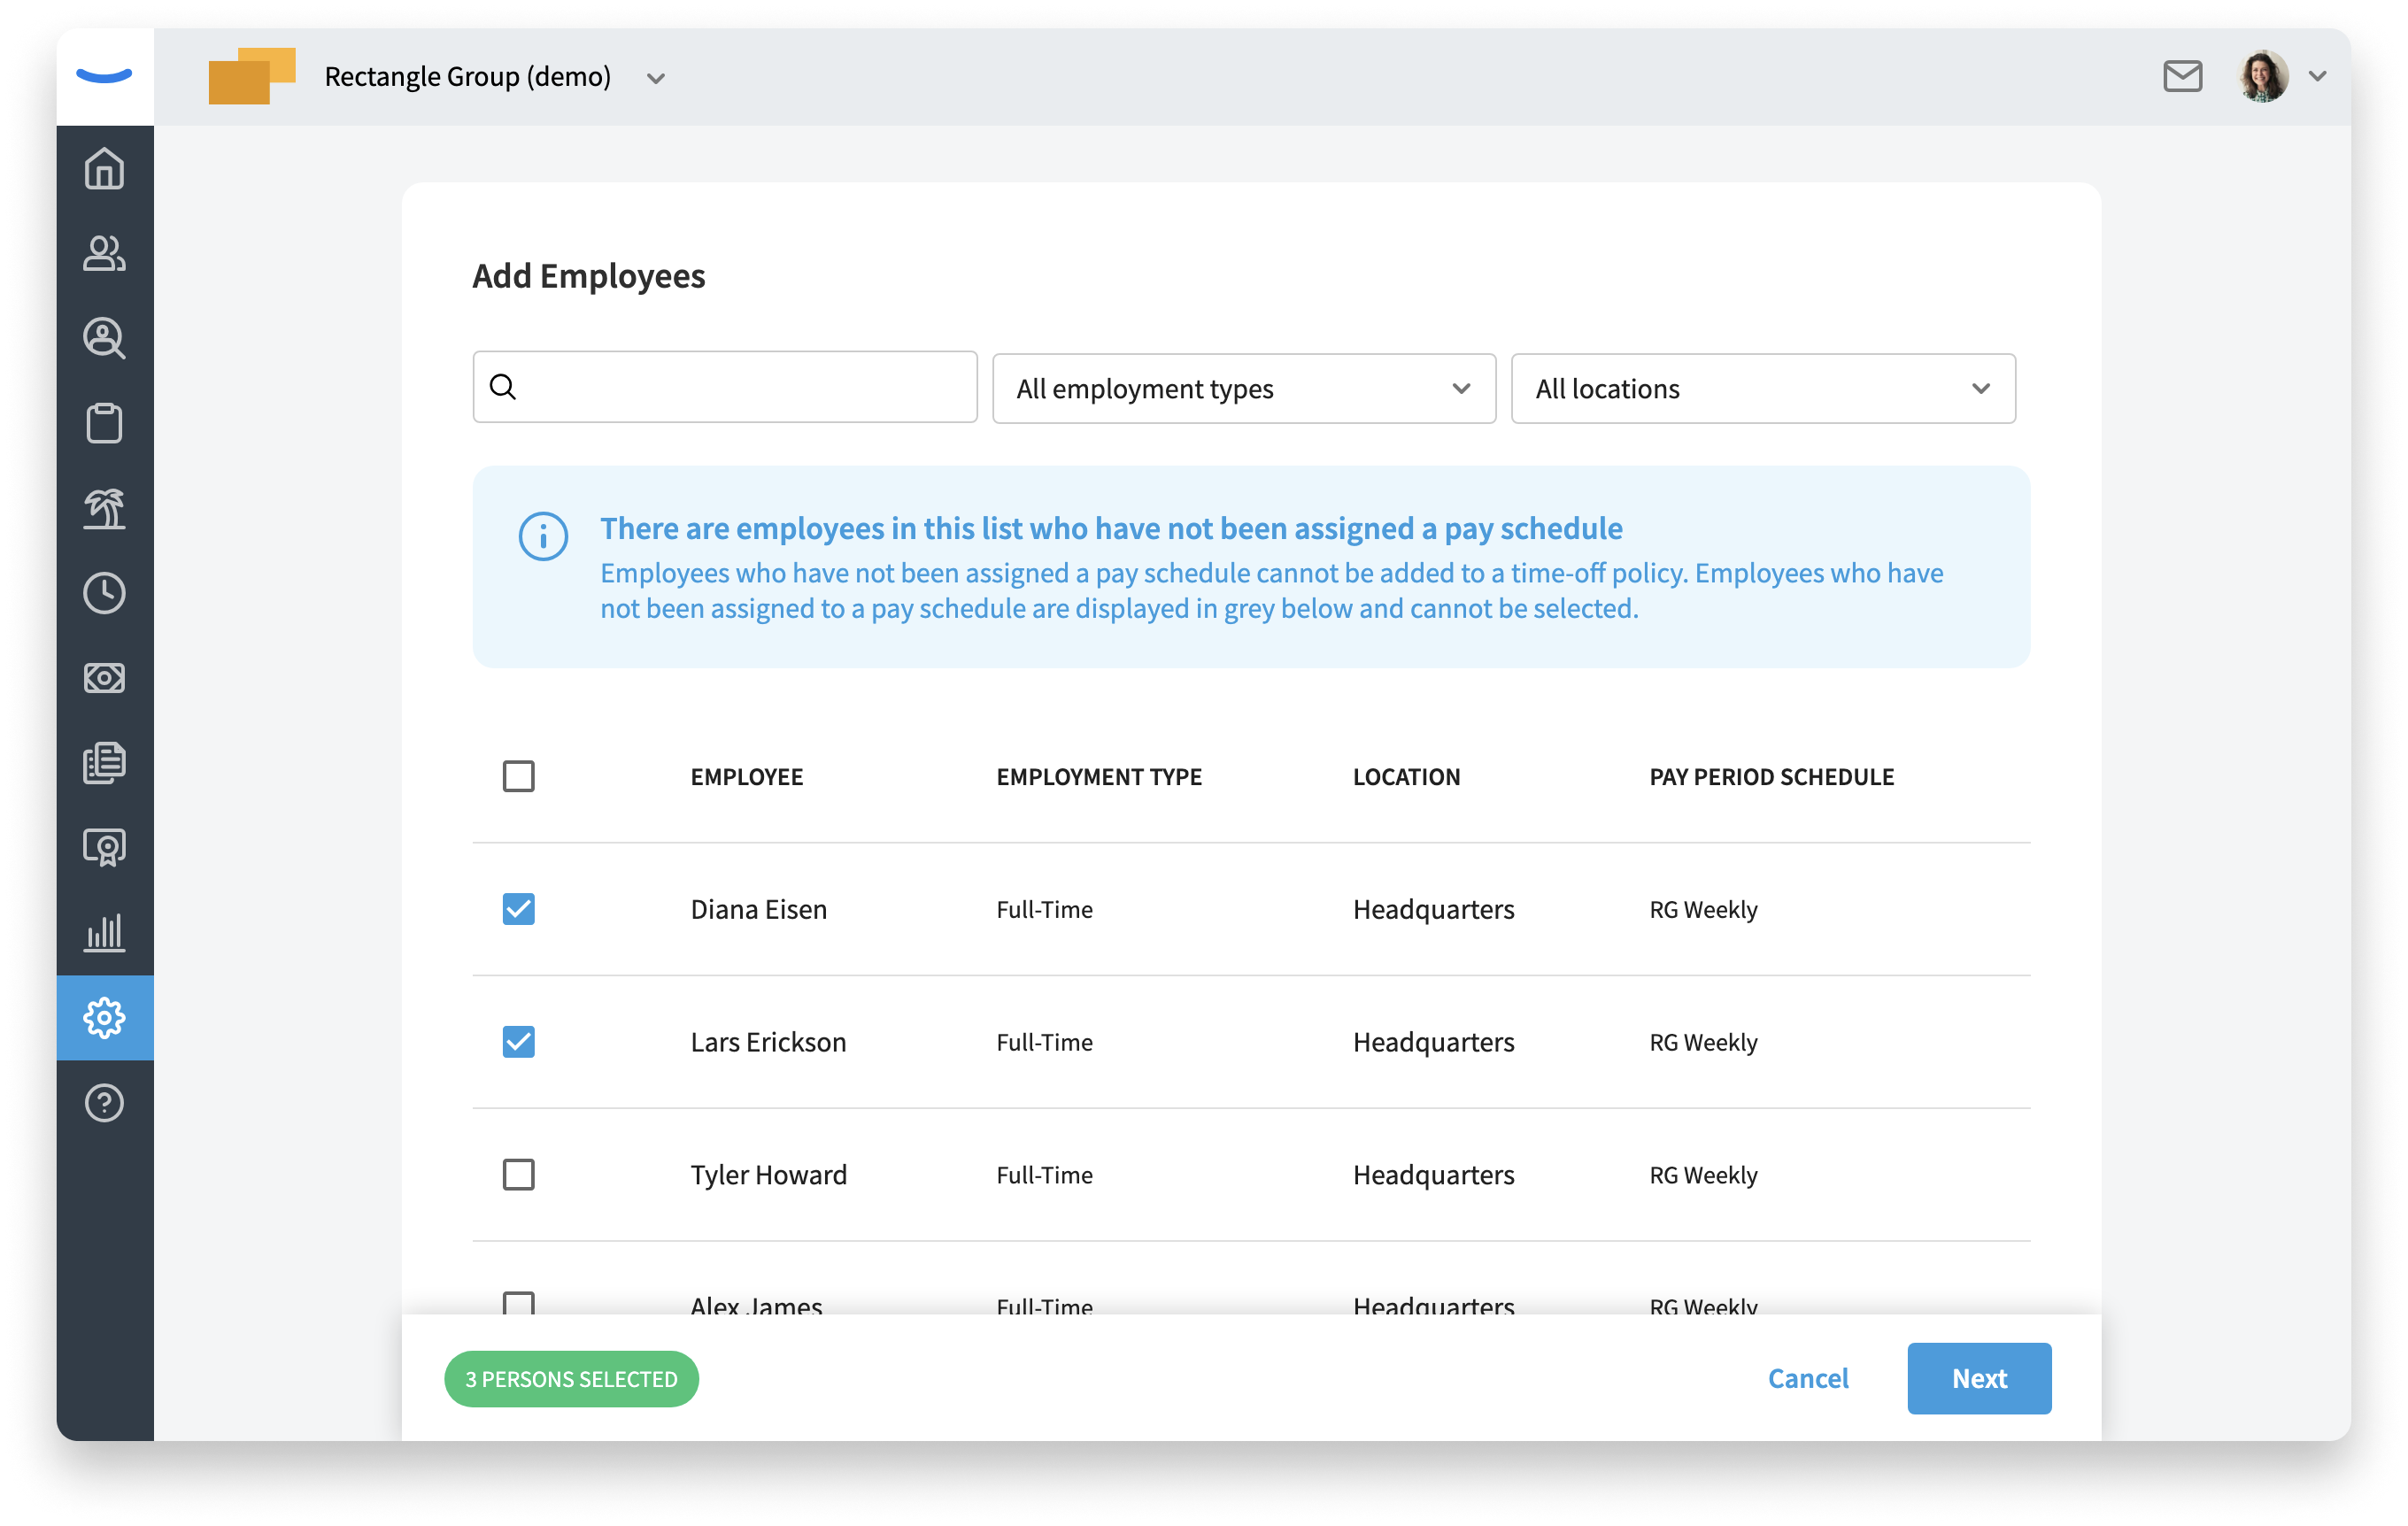
Once you’ve finished with your selection, you can click the “Next” button at the bottom of the page to advance to the next screen.
Note: Employees need to be added to a pay period policy on the back end in order to be added to a Time Off policy. If you are unable to add an employee to a Time Off policy for this reason, please reach out to Support@eddy.com.
Enrollment Date and Starting Balances
On the next screen, you’ll see that you will be able to define some information for the employees that you are adding to the policy.
First, you’ll be able to decide when these employees will be enrolled in the Time Off policy. The enrollment date is automatically set to today’s date, but can be changed to a future date if you so desire.
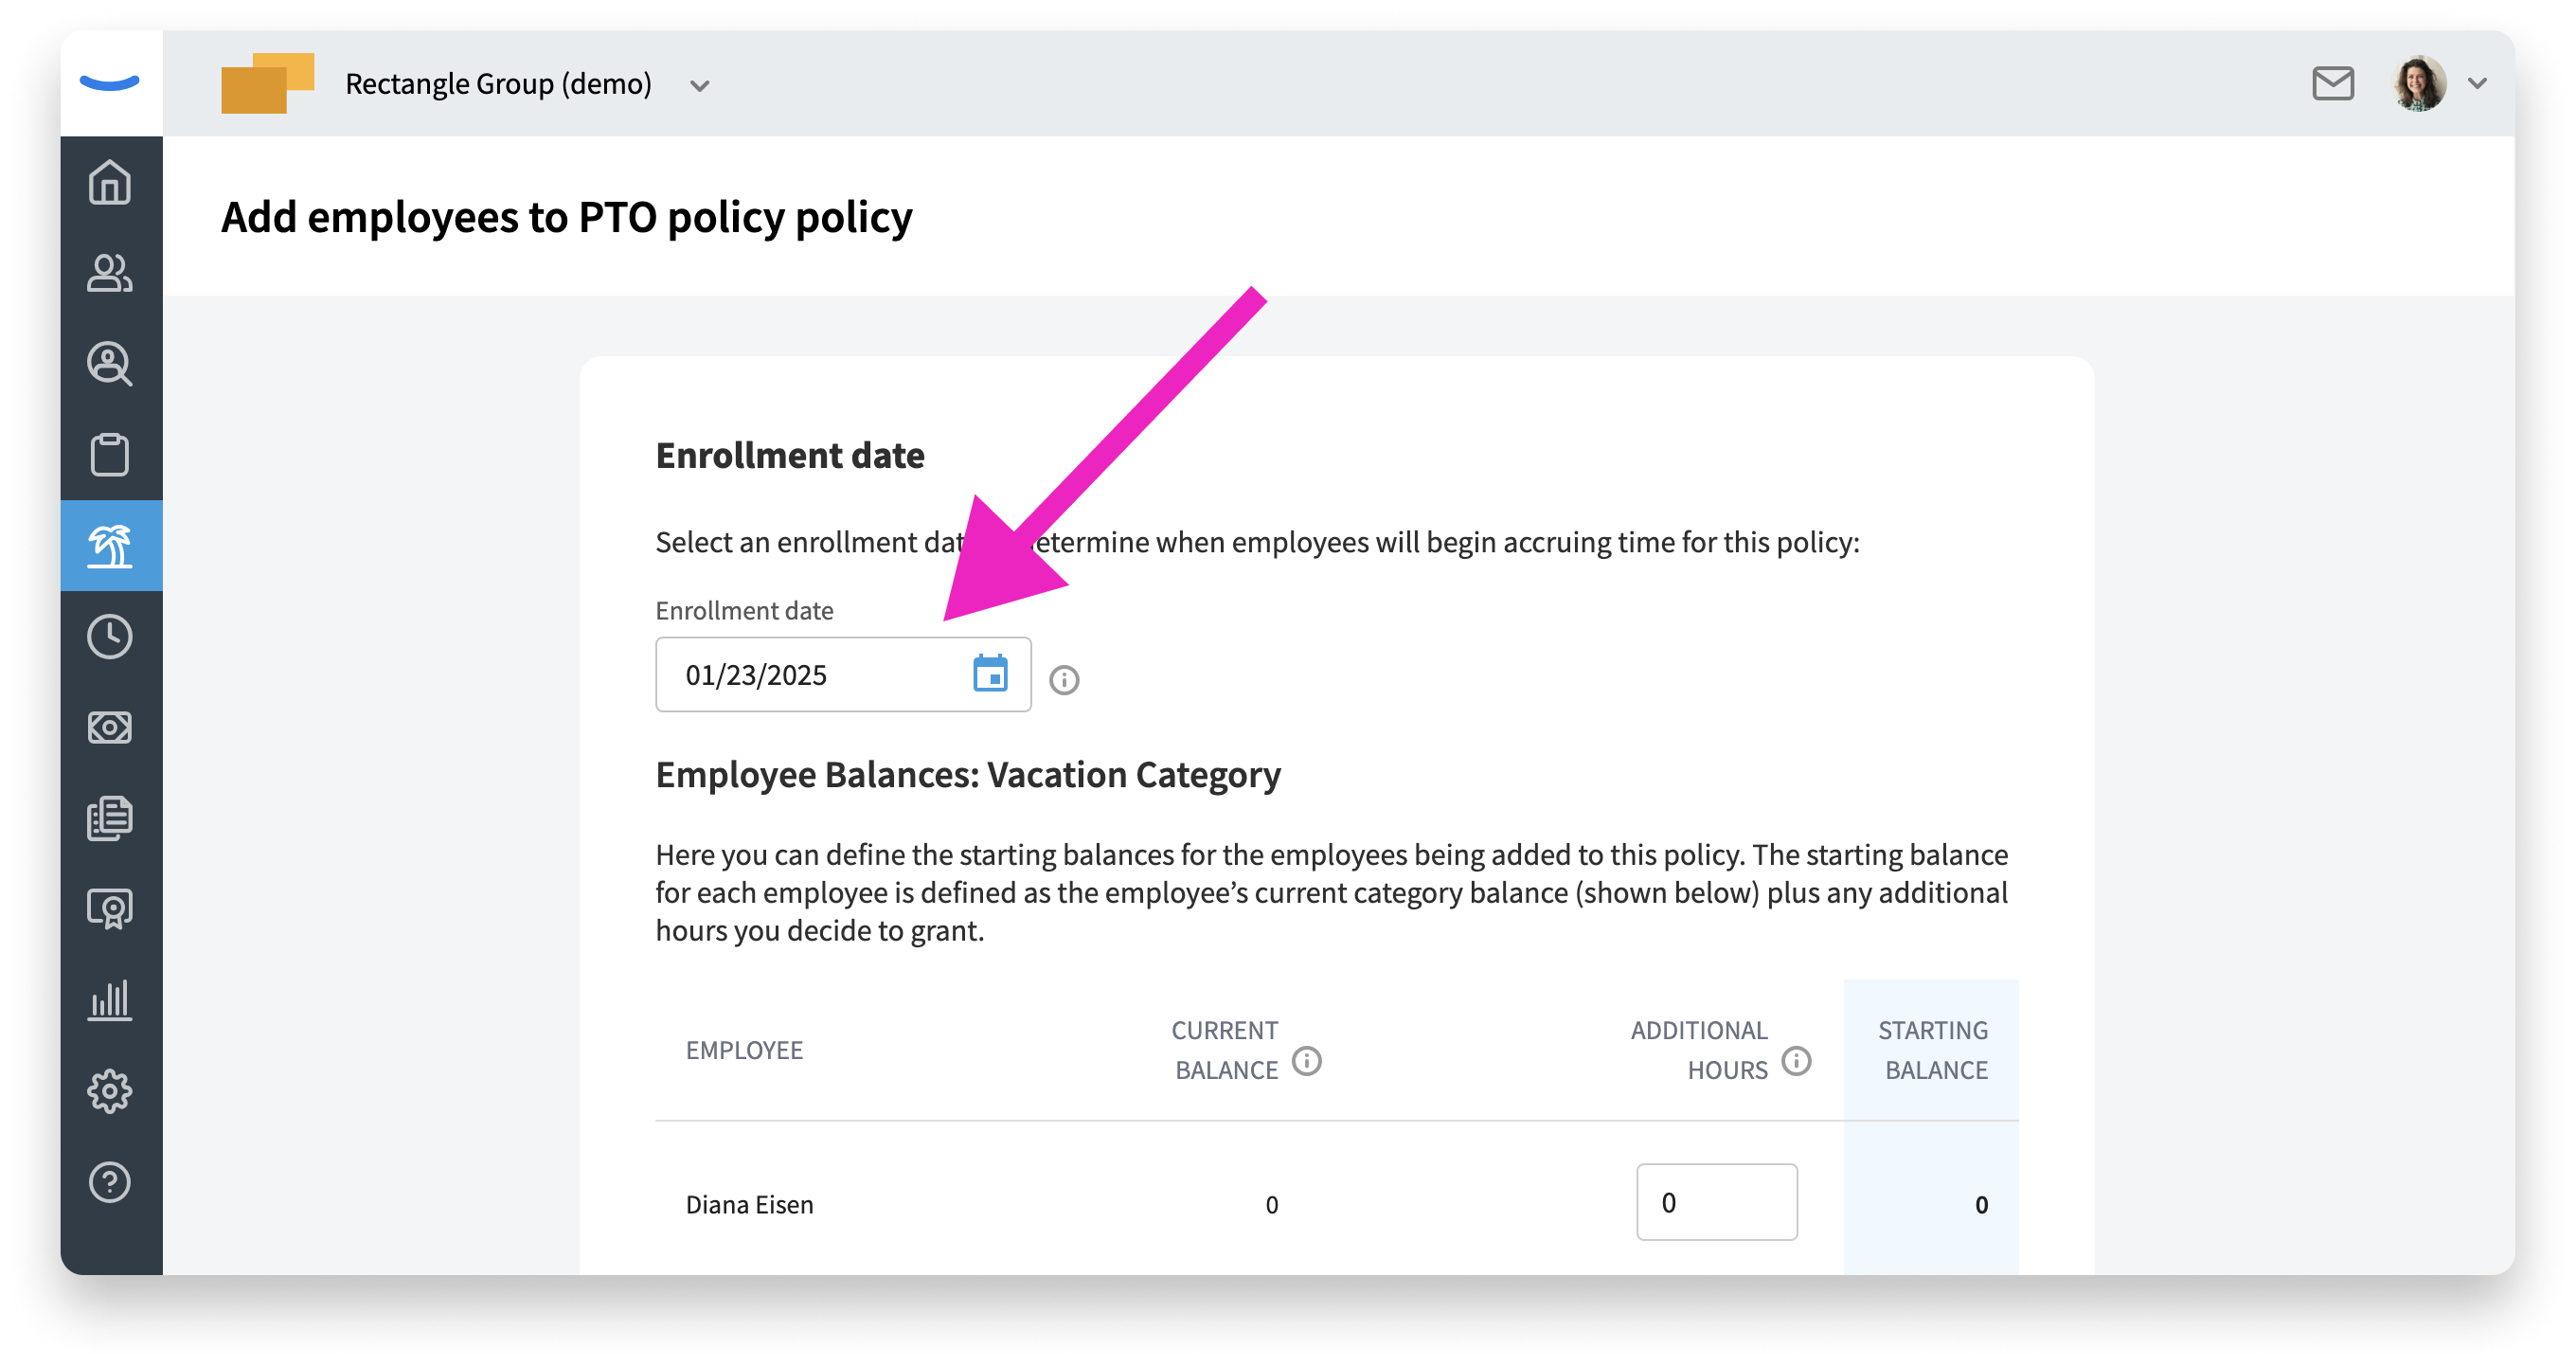
If you change the enrollment date to a future date, employees will not begin to accrue Time Off for that specific policy until the future date that you have specified. This feature only applies futuristically. It does not apply to back dates.
The second section on the screen is the area where you can define starting balances for the employees that you’re adding to the policy.
Here, you’ll see a list of the names of the employees you are adding to the policy and you’ll also see each of their “Current Balance.” If an employee has never been part of a policy before, their Current Balance will be zero.
You may decide that you’d like to give each of these employees you are adding a balance other than zero. To do that, you can simply type in a number in the “Additional” column located to the right of the Current Balance column. Any number you type in the Additional column will be added to the employee's Current Balance.
When you have finished with this page, you can click the Add to policy button at the bottom right of the screen. Doing so will successfully add your employees to the policy.
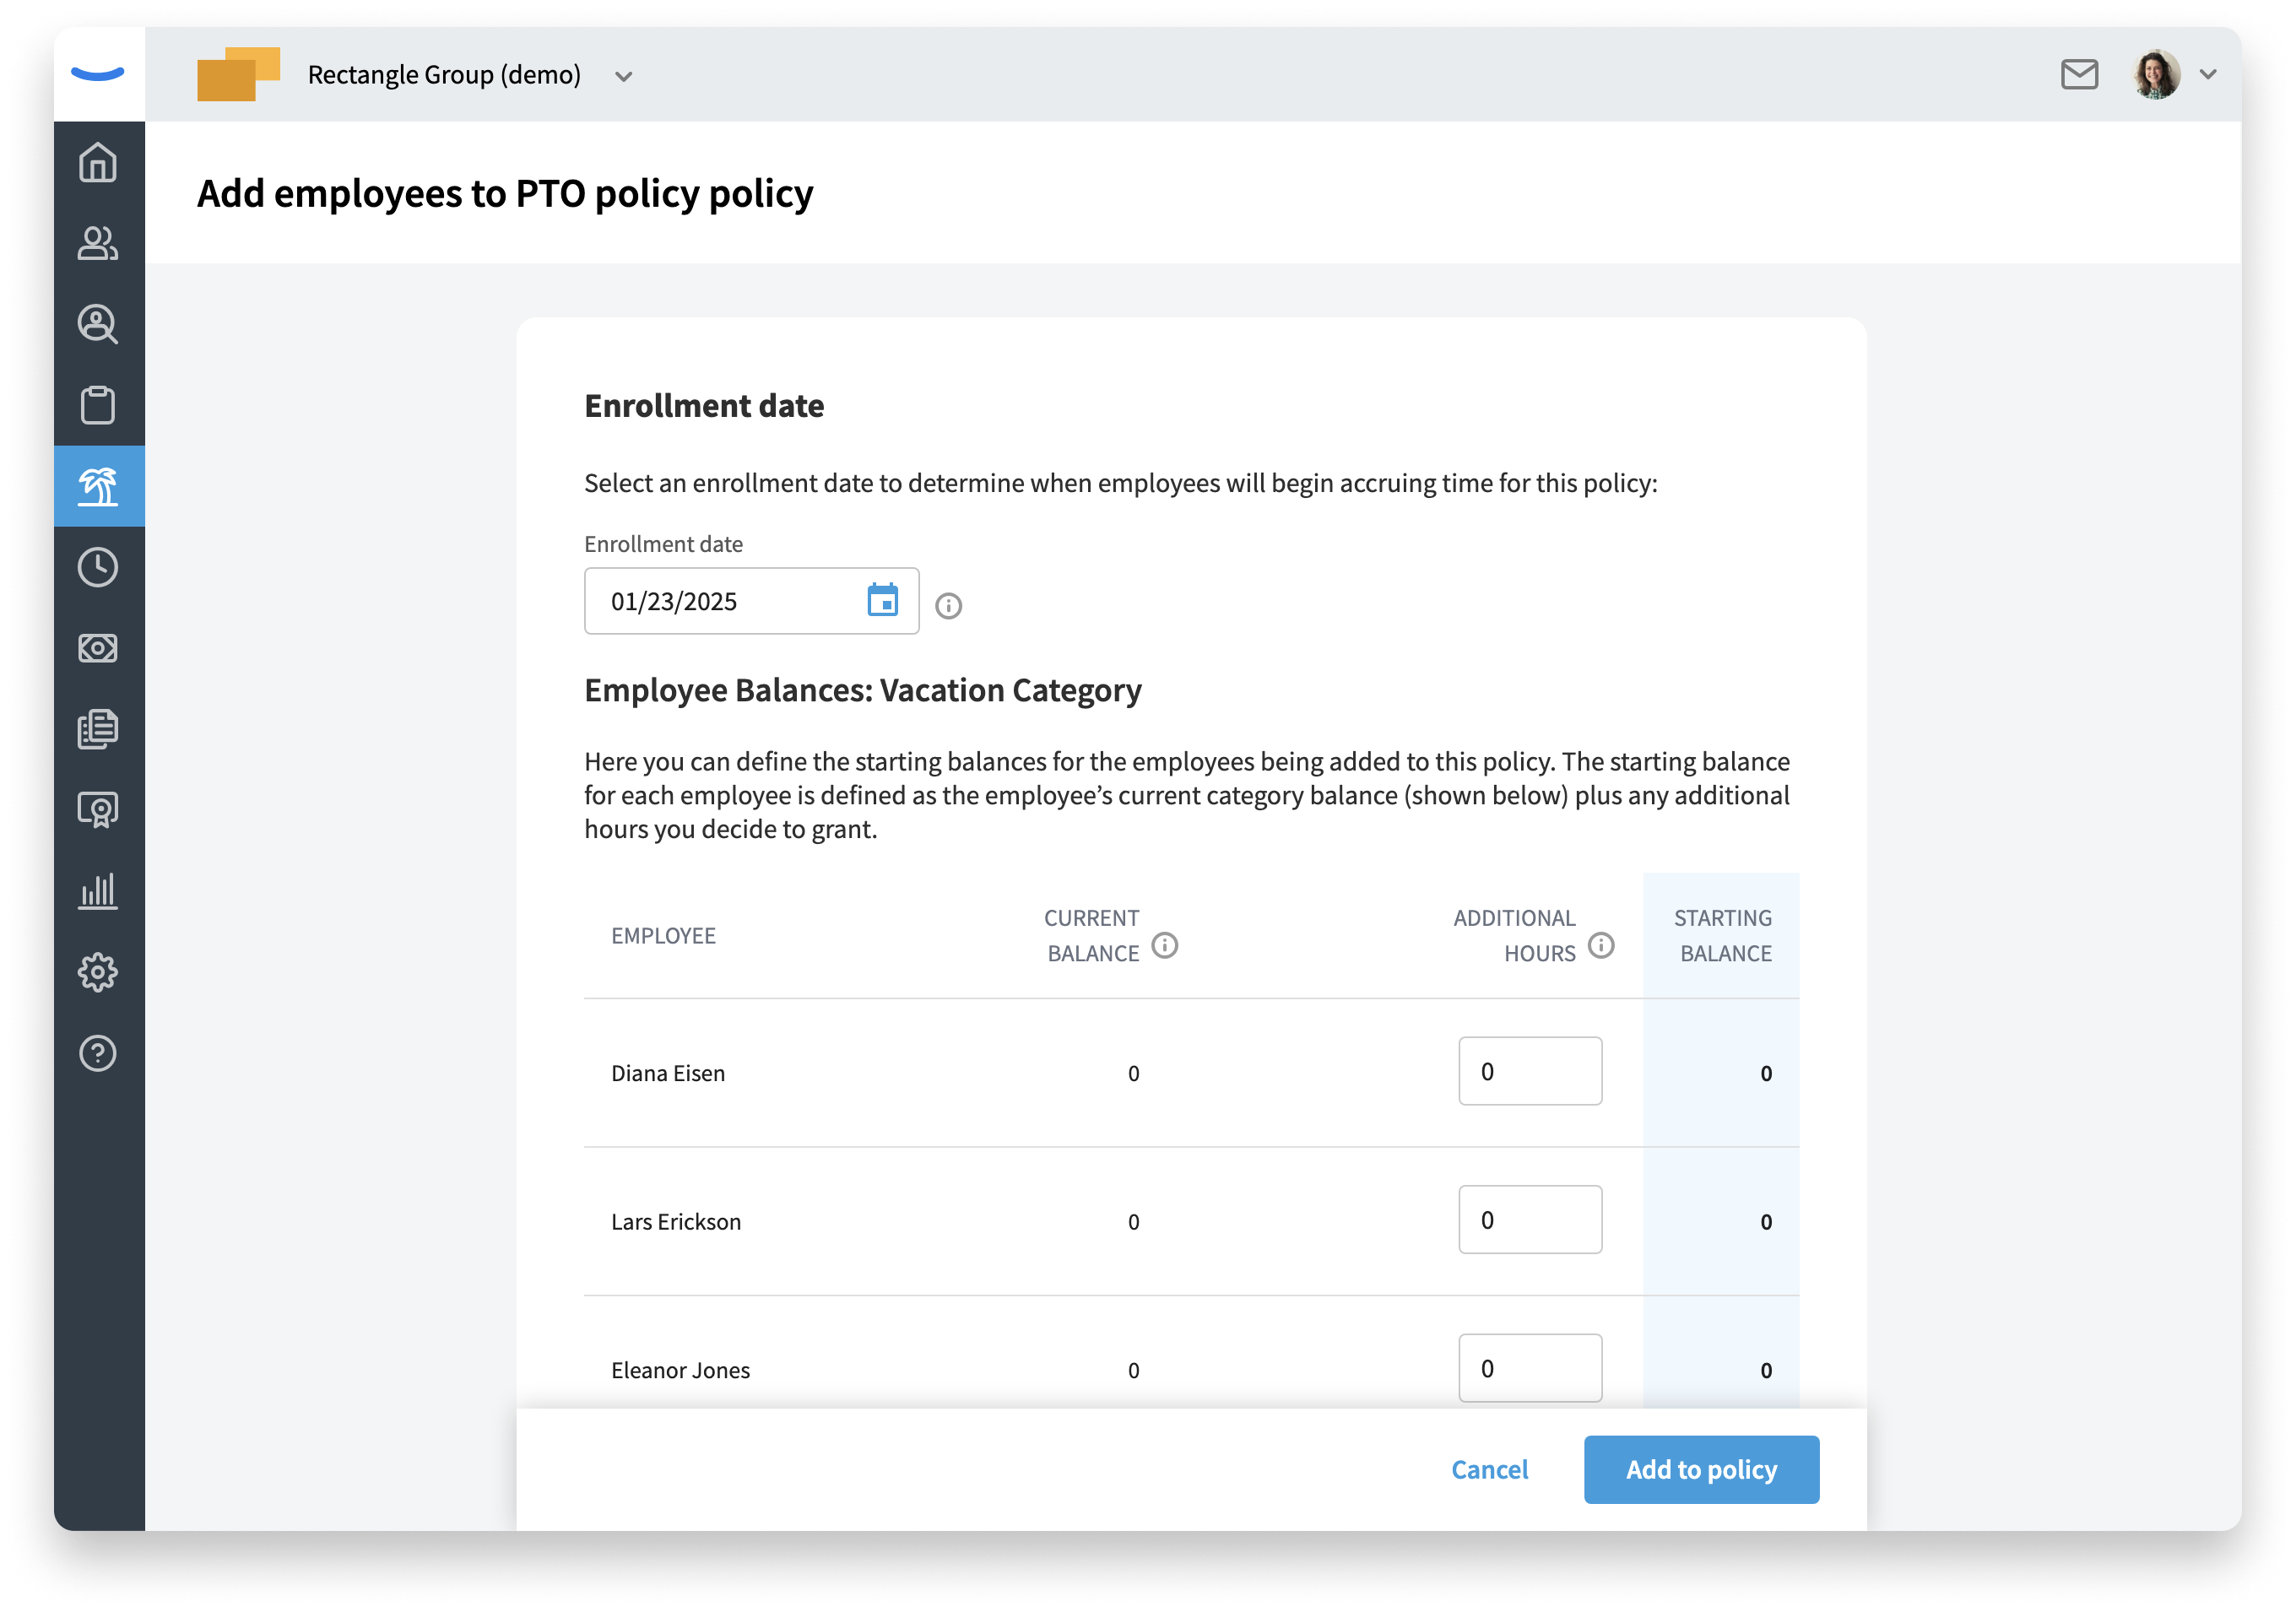
Note: If you are adding employees to an “Unlimited” policy, you will NOT see the option to define starting balances. Unlimited policies do not have balances and therefore you will not be able to modify them.
Adding Additional Employees to a Policy that Already Has Employees
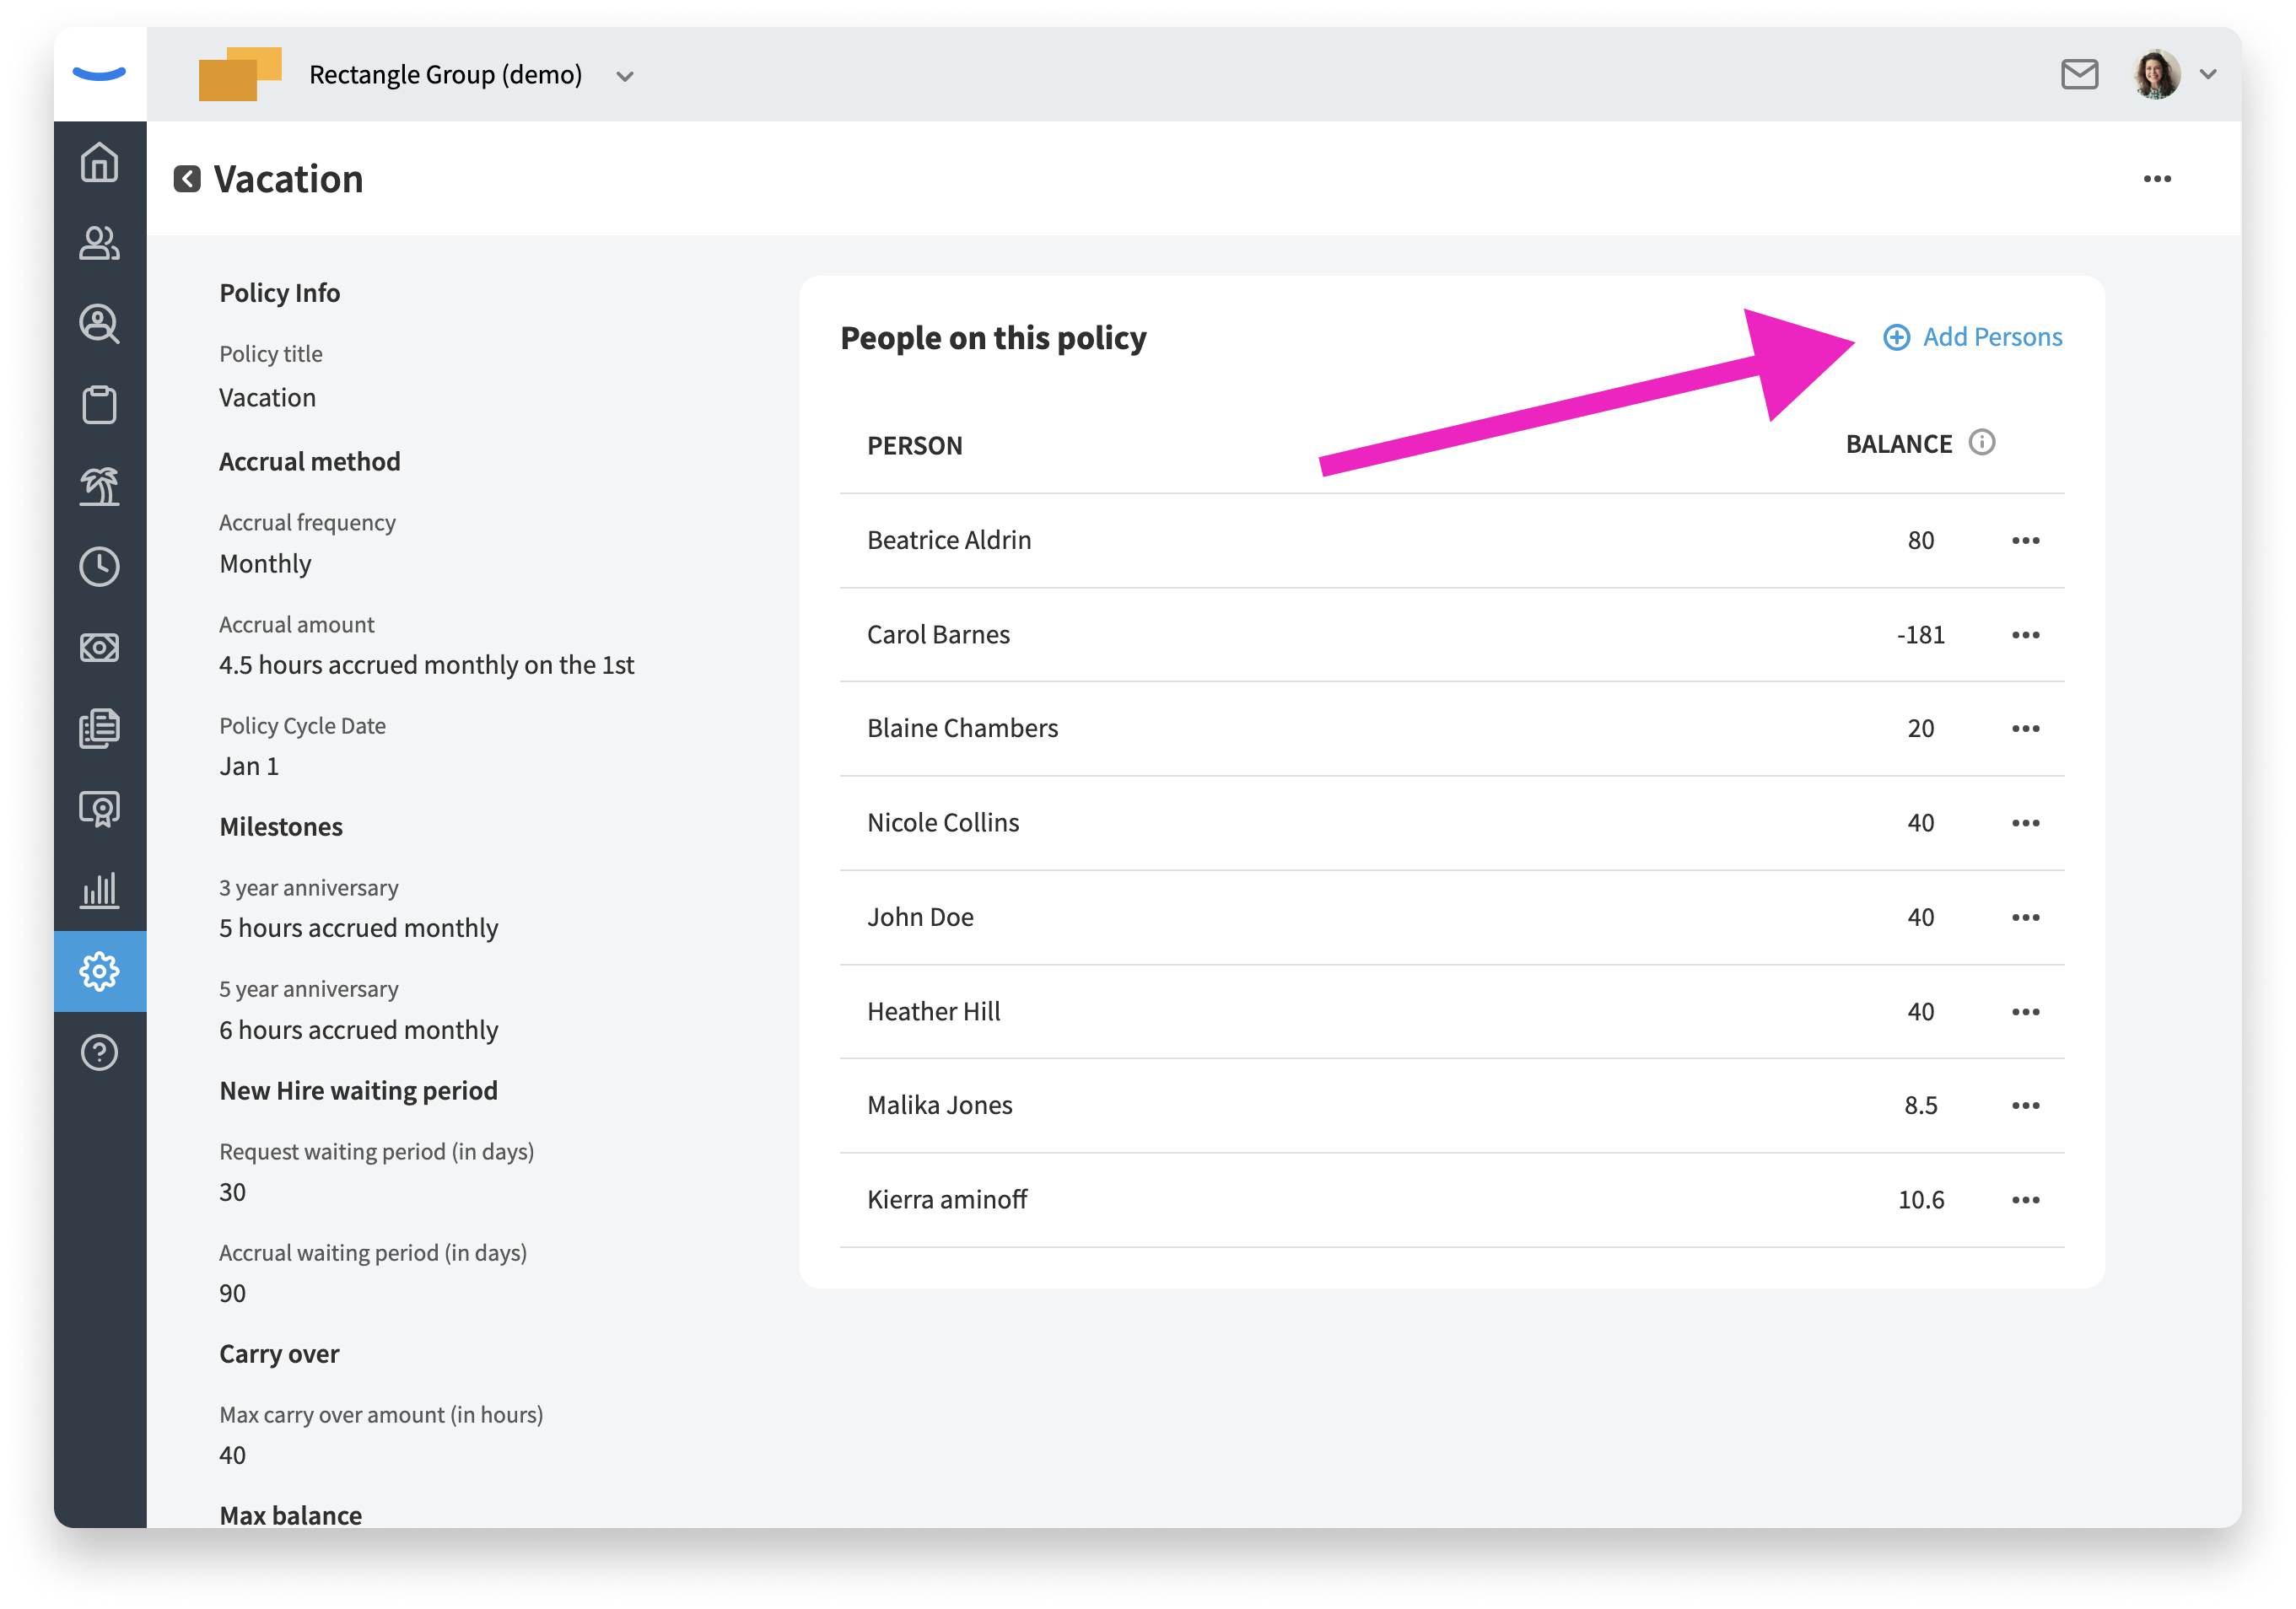
In many situations, you’ll choose to add employees to an existing policy that already has employees attached to it. Eddy makes this easy. To add more employees to a policy, simply click on the policy name located on the policy card.
Doing so will take you to the Policy Info page. Here you’ll see existing information about the policy as well as the employees who are currently attached to that policy.
On the top right corner of the employee list, you’ll see a link that says “Add employees.” Clicking on this link will trigger the same flow that we reviewed in this article and will allow you to restart the process of adding employees to a policy.
Employees Can Only Belong to One Policy in a Category
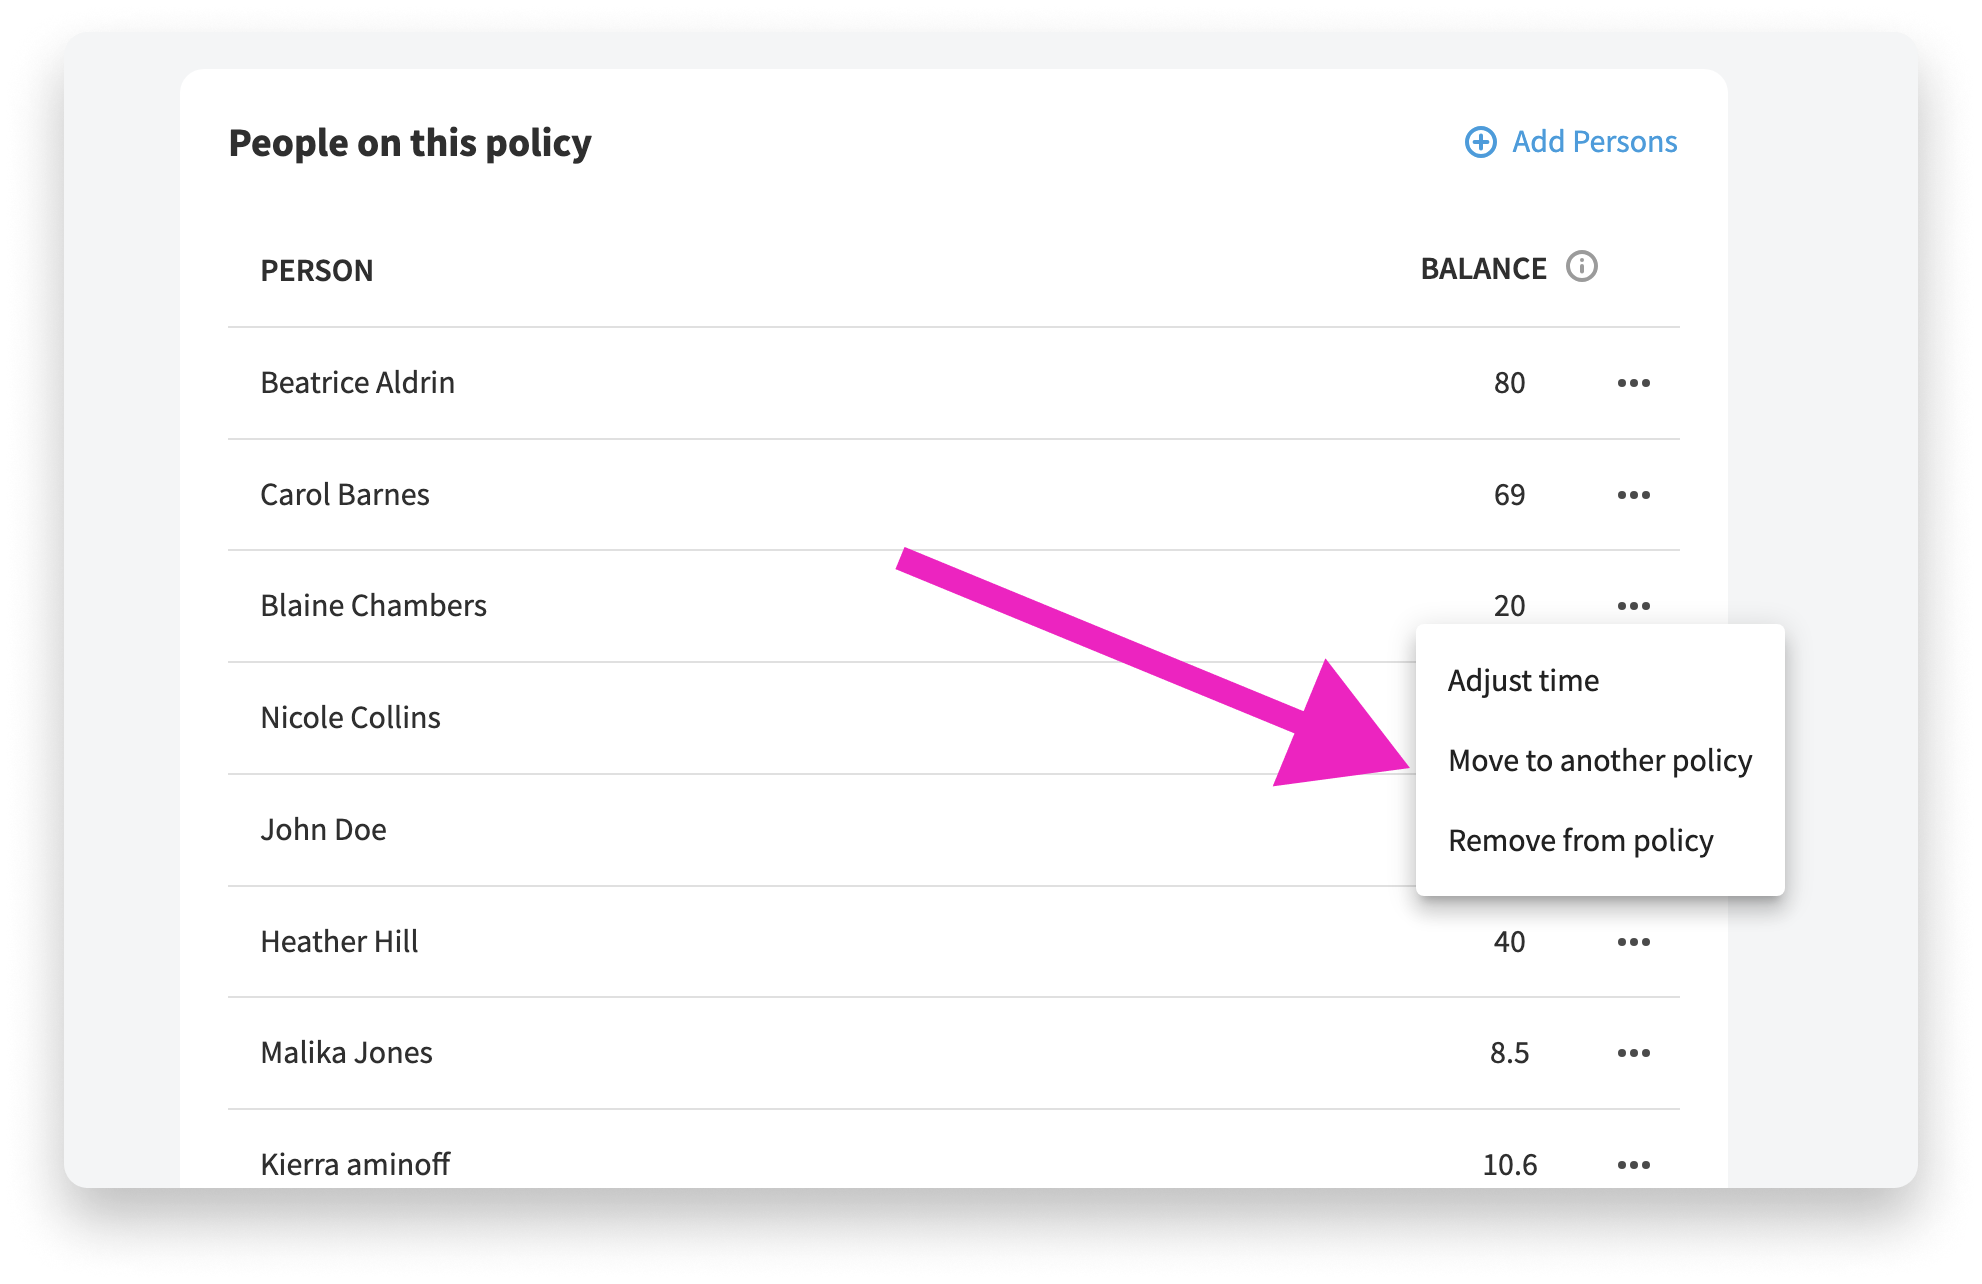
It is important to note that employees cannot belong to multiple policies within the same category. This means that if an employee already belongs to a Vacation policy, you will not have the option to add them to another Vacation policy. You would have to move that employee from one policy to another or delete the policy the employee is currently attached to.
However, employees can belong to multiple policies as long as the policies are in separate categories. For example, this means that an employee can belong to one Vacation policy and one Sick policy simultaneously.