Don't feel like reading? Watch this short video to learn how to post a job!
Step 1: Add a Job
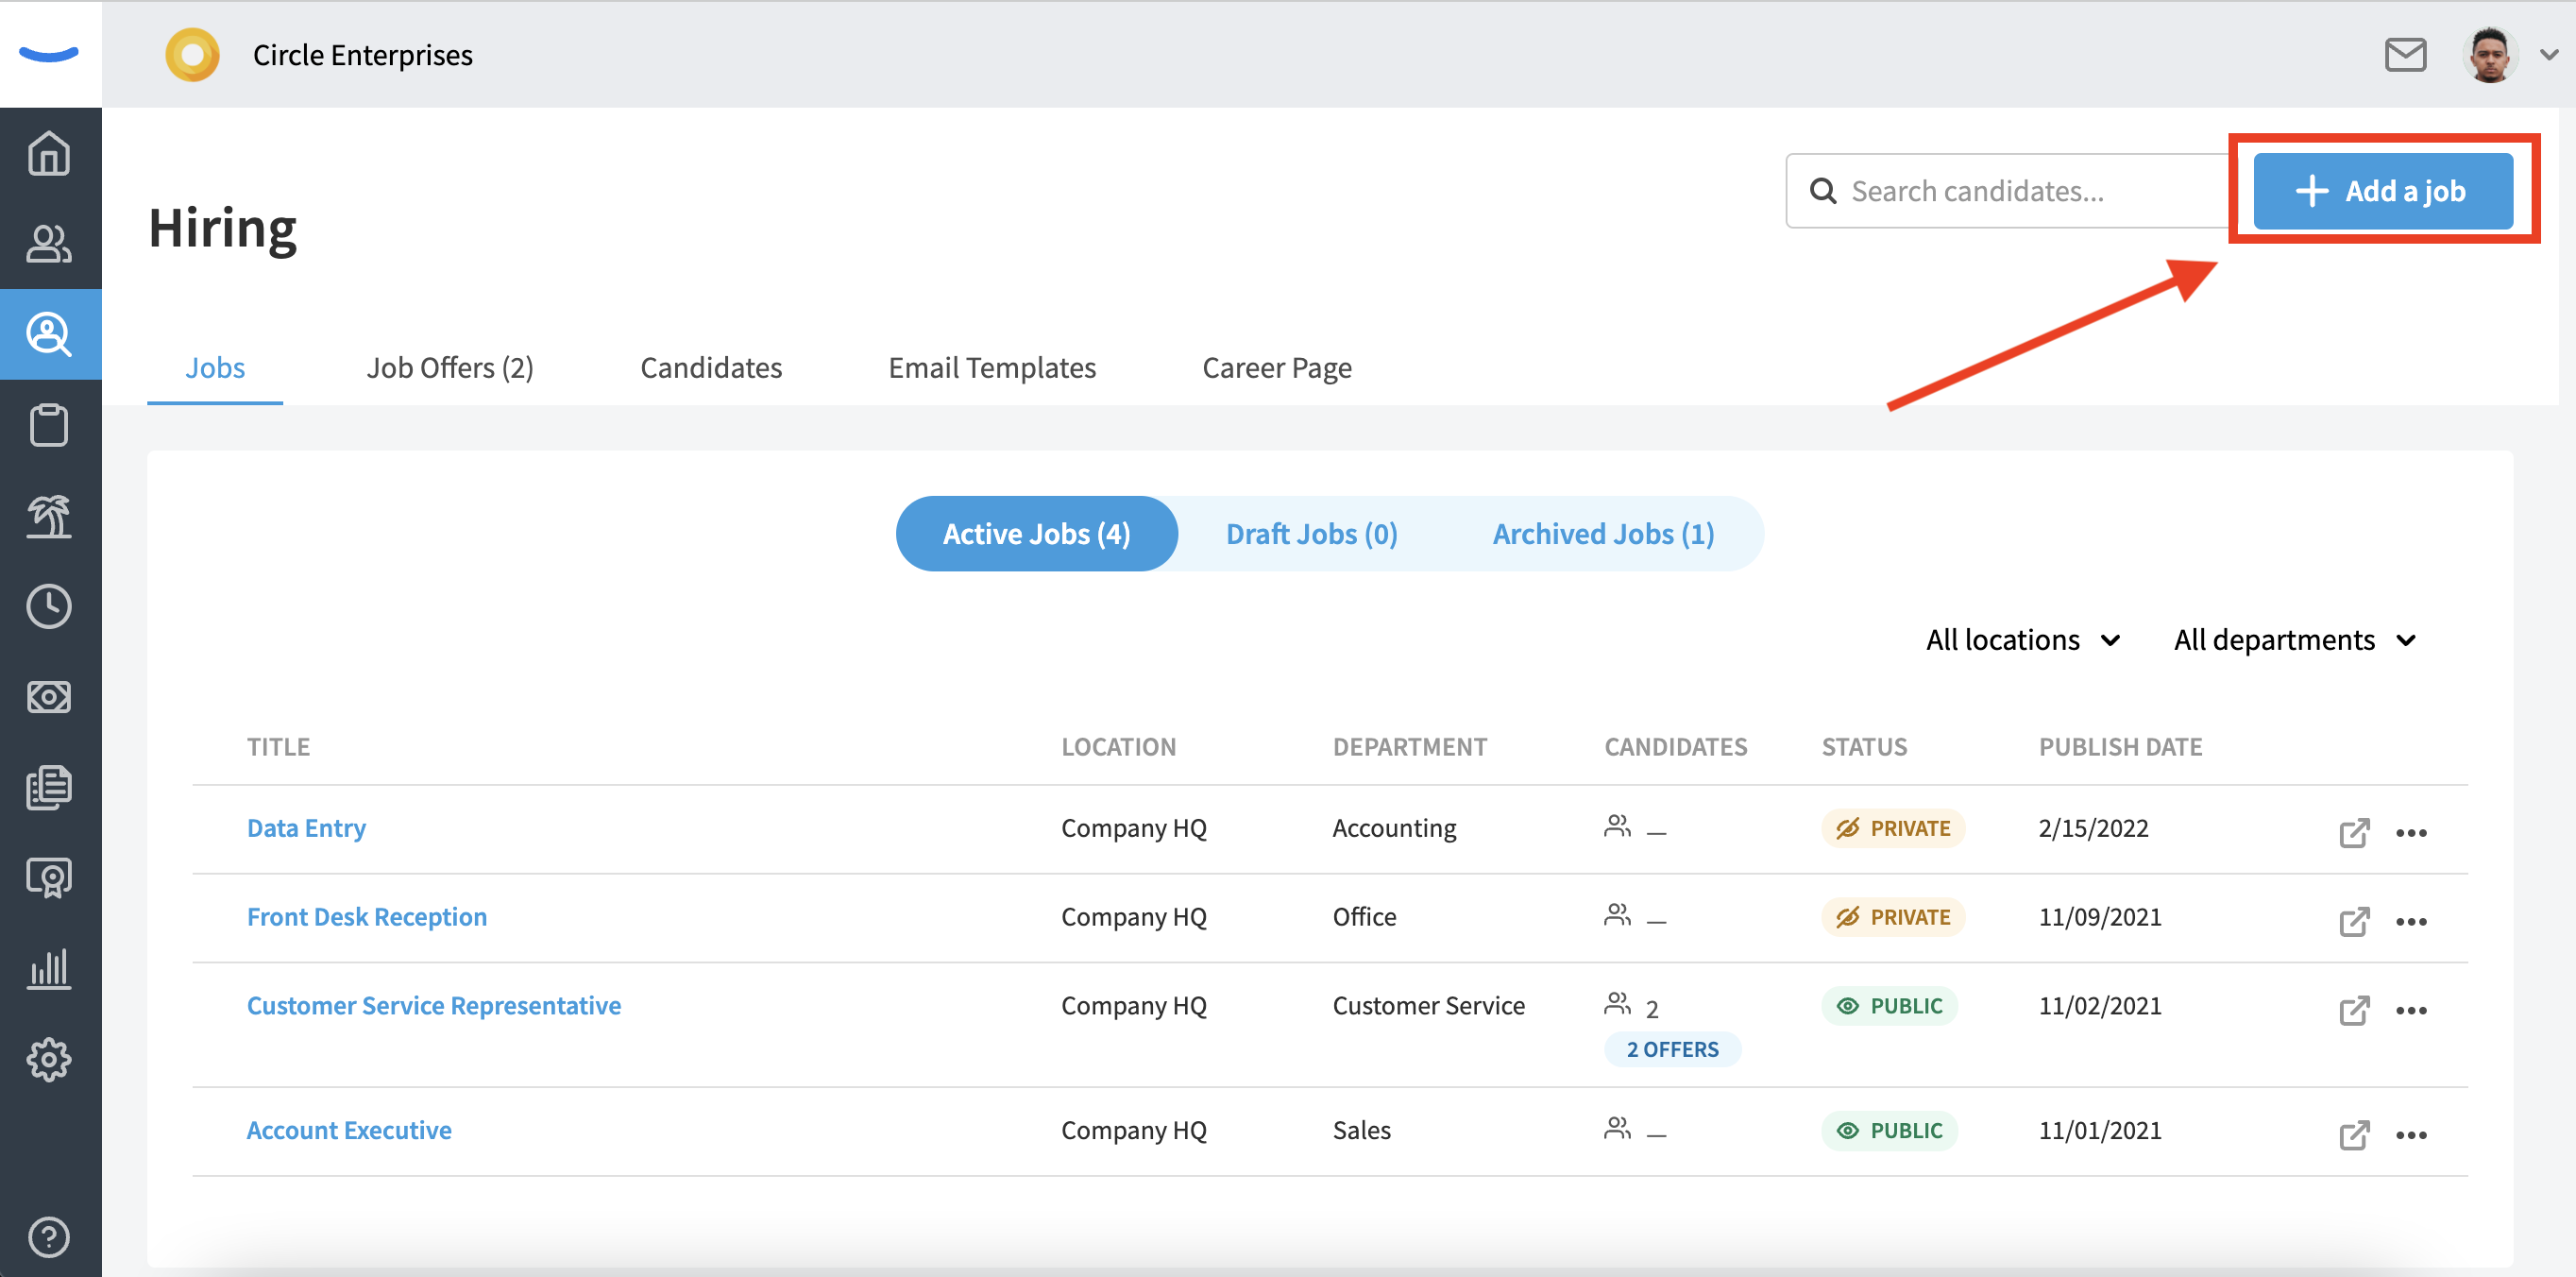
Click into the Hiring tab on your left sidebar (3rd option from the top). Once you're on your Hiring page, click the "+ Add a job" button in the upper right corner. This action will take you to the Create a Job Posting page.
Step 2: Add Job Details
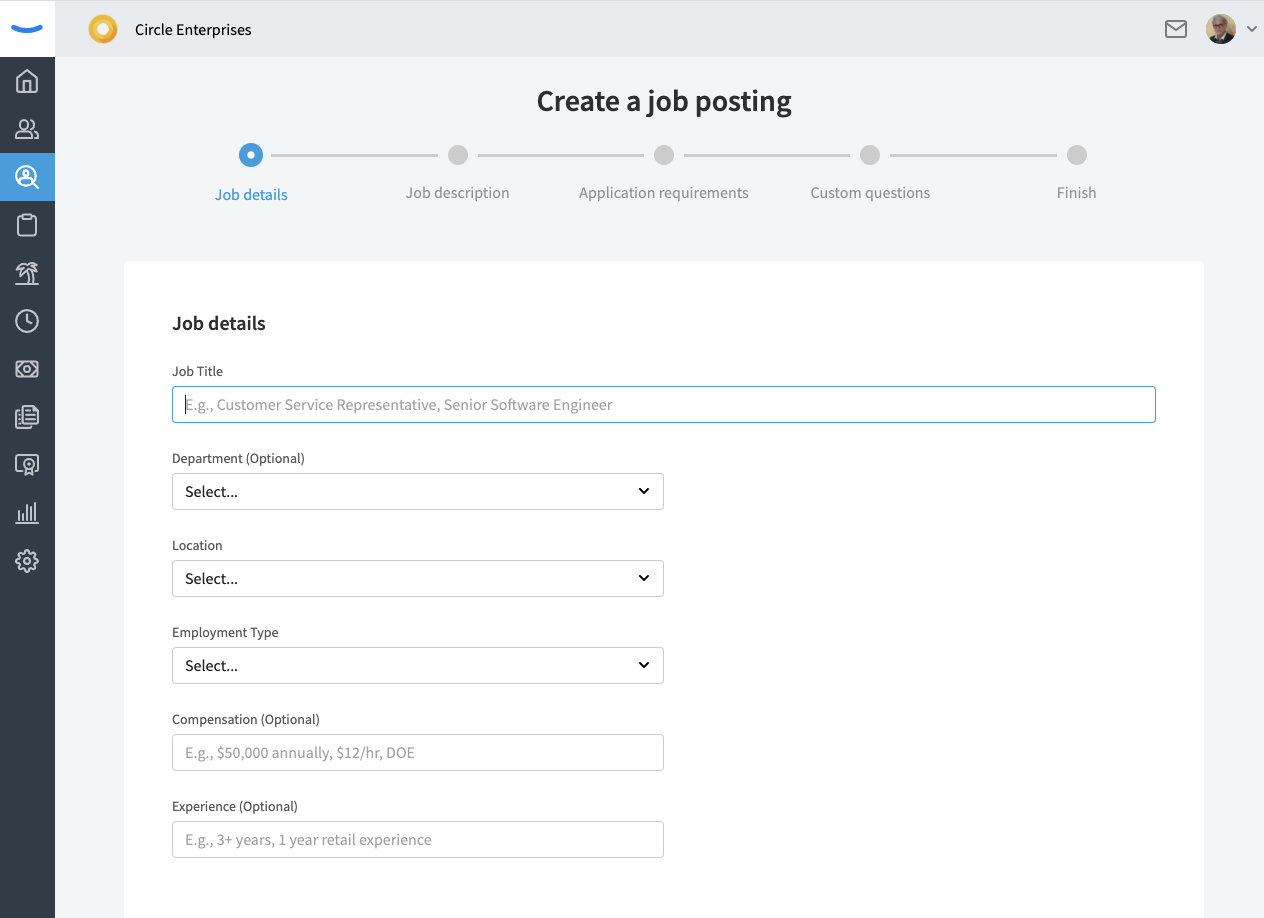
Click into the Job Title field and add the title for the position. Then hit your "tab" button to move through the fields. Job Title, Location, and Employment Type are required fields and all others are optional but recommended. The fields that you complete in this step will show on your job post once published.
Click "Next" to continue or "Save and Exit" to save your progress and exit the page.
Note: The Internal Notes at the bottom of the page are only seen by the Hiring Manager and users with the Hiring Admin role. The hiring team members who help with interviewing don't see the compensation budget or other notes.
Step 3: Add a Job Description
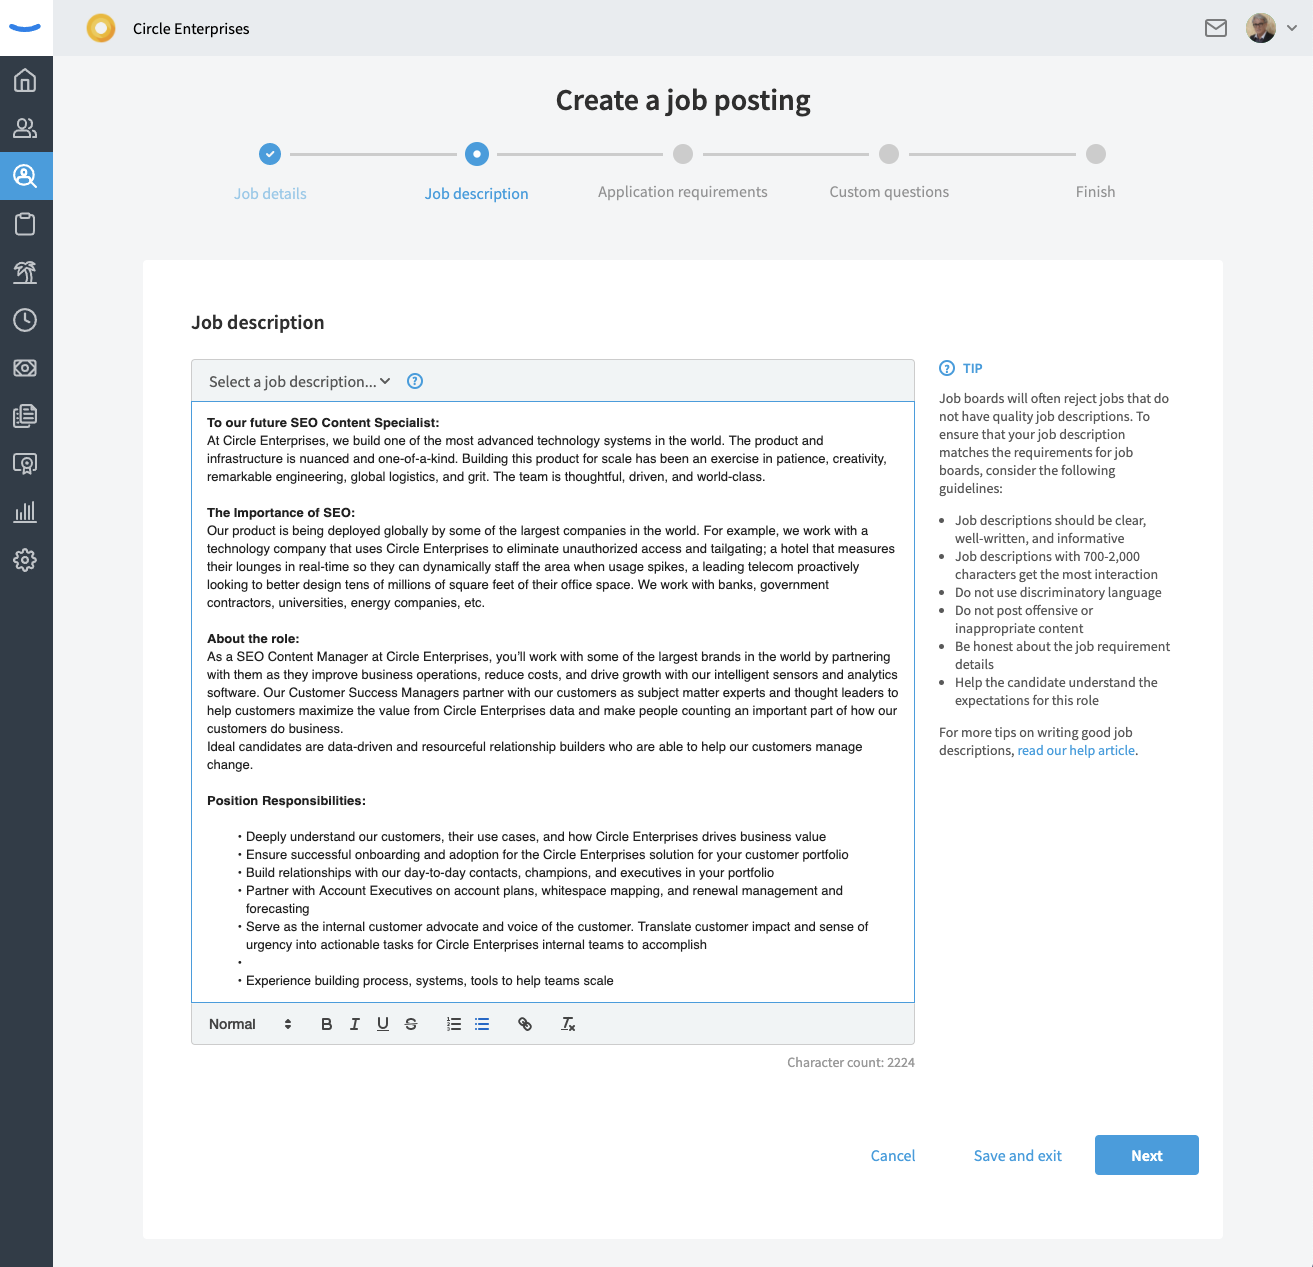
There are multiple options for adding a Job description.
- Use the Eddy template
If you need a starting point, feel free to use the Eddy template we've provided. To use the Eddy template, click on the Select a job description dropdown and select "Eddy templates." Then select "Eddy job template." This will populate a template for you to fill in with the position details. - Use your own description
To add your own description without a template, just start typing in the box. - Copy from another source
If you are copying a description from another source, paste the description in the box.
Click "Next" to continue or "Save and Exit" to save your progress and exit the page.
Note: Eddy will automatically store previously used job descriptions as templates. If you would like to use one of your previously used descriptions, simply click on the Select a job description dropdown and select "Your jobs" then choose your desired template.
Customizations: The job description can be customized using the toolbar at the bottom of the page. Use these tools to create headings, bulleted lists, numbered lists, web links, and other text formats.
Remember: Your job description is where you should sell the opportunity to prospective candidates, and also explain the requirements. It's also a great place to share what makes your company great to work for so be sure to include all the perks and benefits offered.
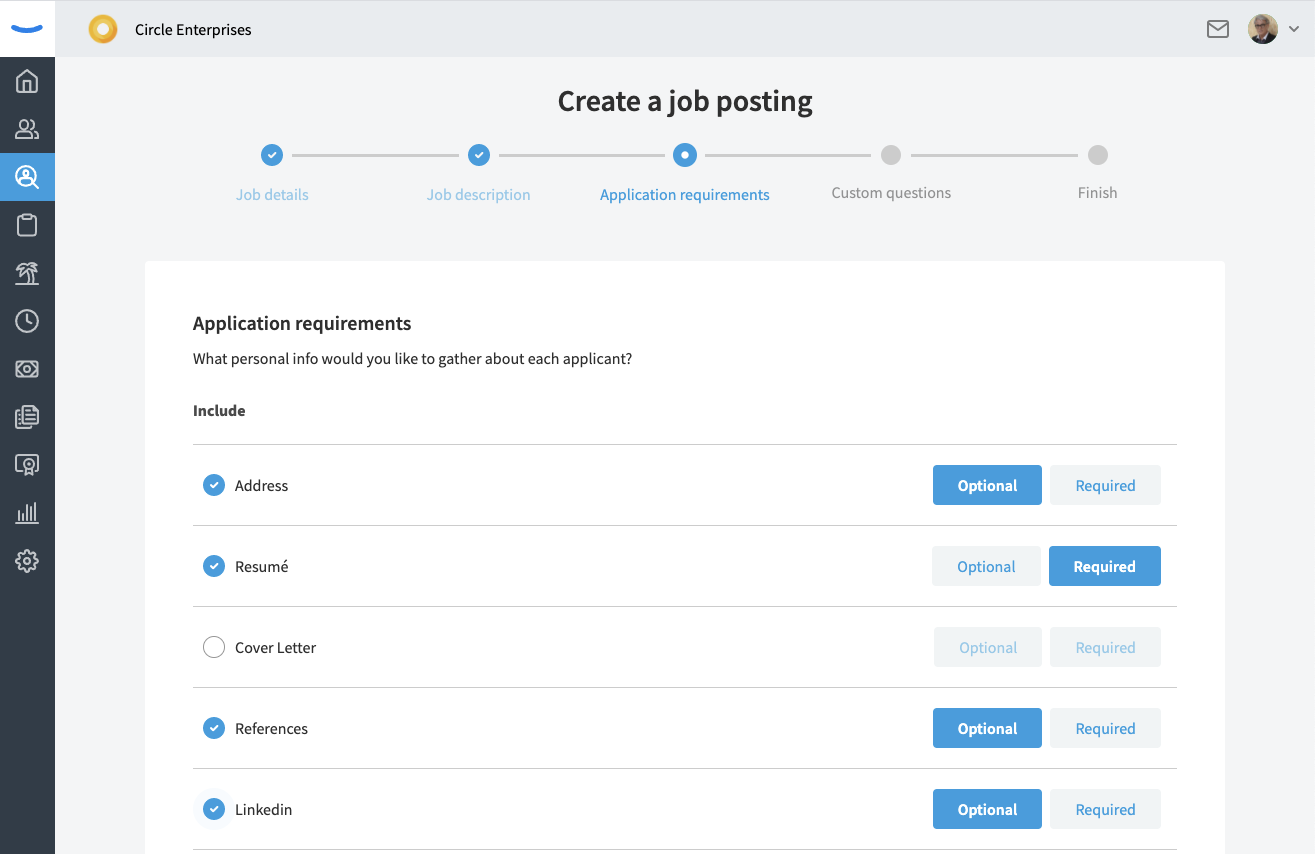
Step 3: Specify Application Requirements
The Application Requirements section gives you options to gather additional personal information from your candidates. Select additional requirements by clicking the item.
Any additional item that you wish to include can be marked "Optional" or "Required." If the item is marked as "Required" the candidate will be unable to apply for the job without including that item. The resume field is set to "Required" by default while all others default to "Optional"
Click "Next" to continue or "Save and Exit" to save your progress and exit the page.
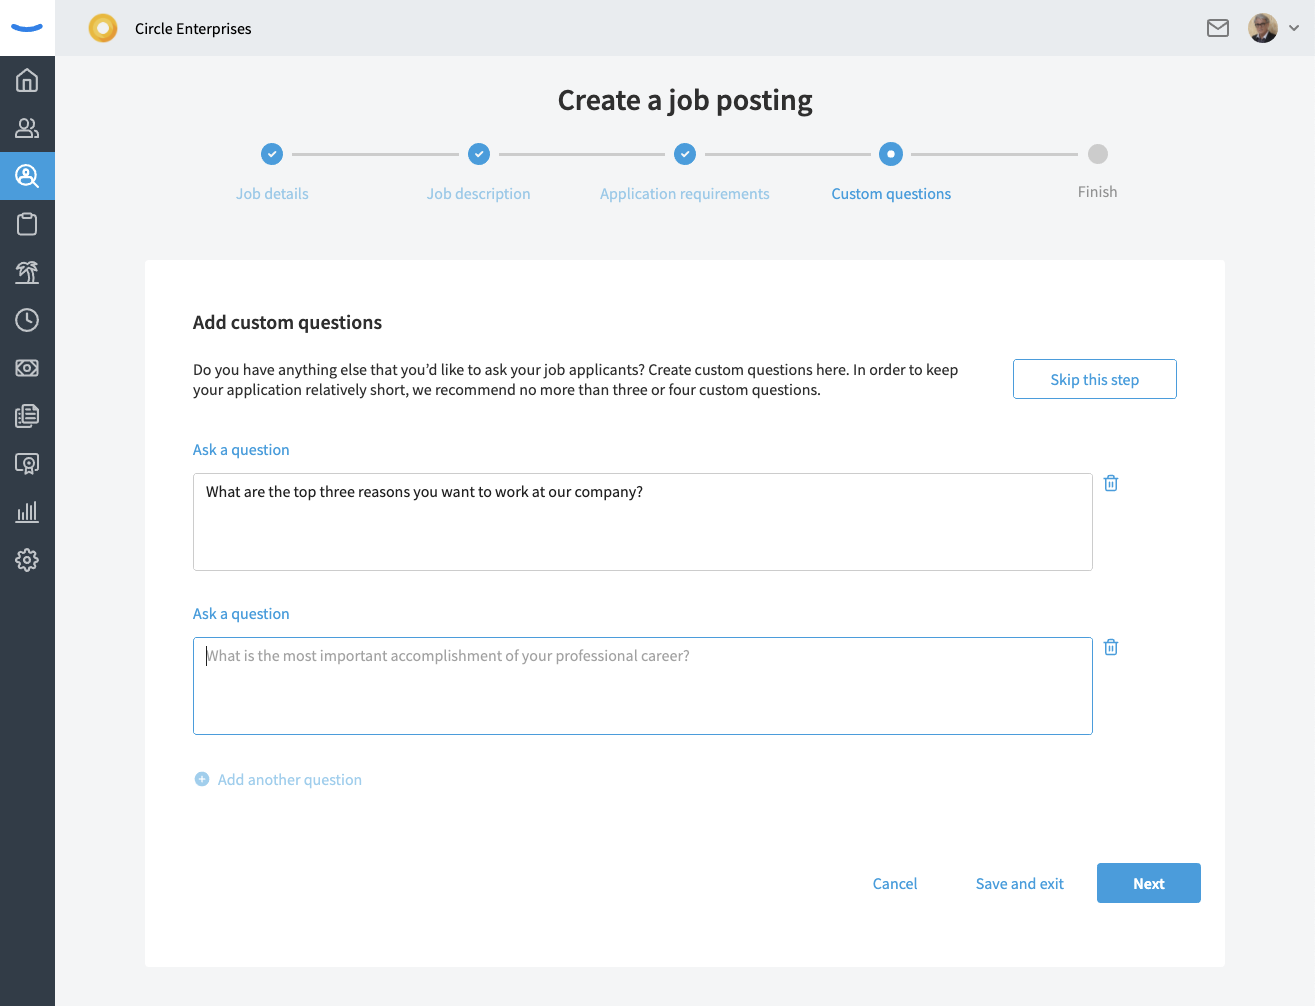
Step 4: Add Custom Questions
In the Add Custom Questions section, you have the option of adding up to ten custom questions. This section is designed for when you need additional information from applicants that you cannot gather from specifying application requirements. If you would like to skip this step, simple click "Skip this step."
To add a custom question, simply type the question into the text box. Click Add another question for additional questions as needed.
Click "Next" to continue or "Save and Exit" to save your progress and exit the page.
Tip: We recommend only asking for information that is critical to your decision making process at the application level. Having an abundance of questions sometimes deters candidates from applying.
Step 5: Publish your job post 🎉
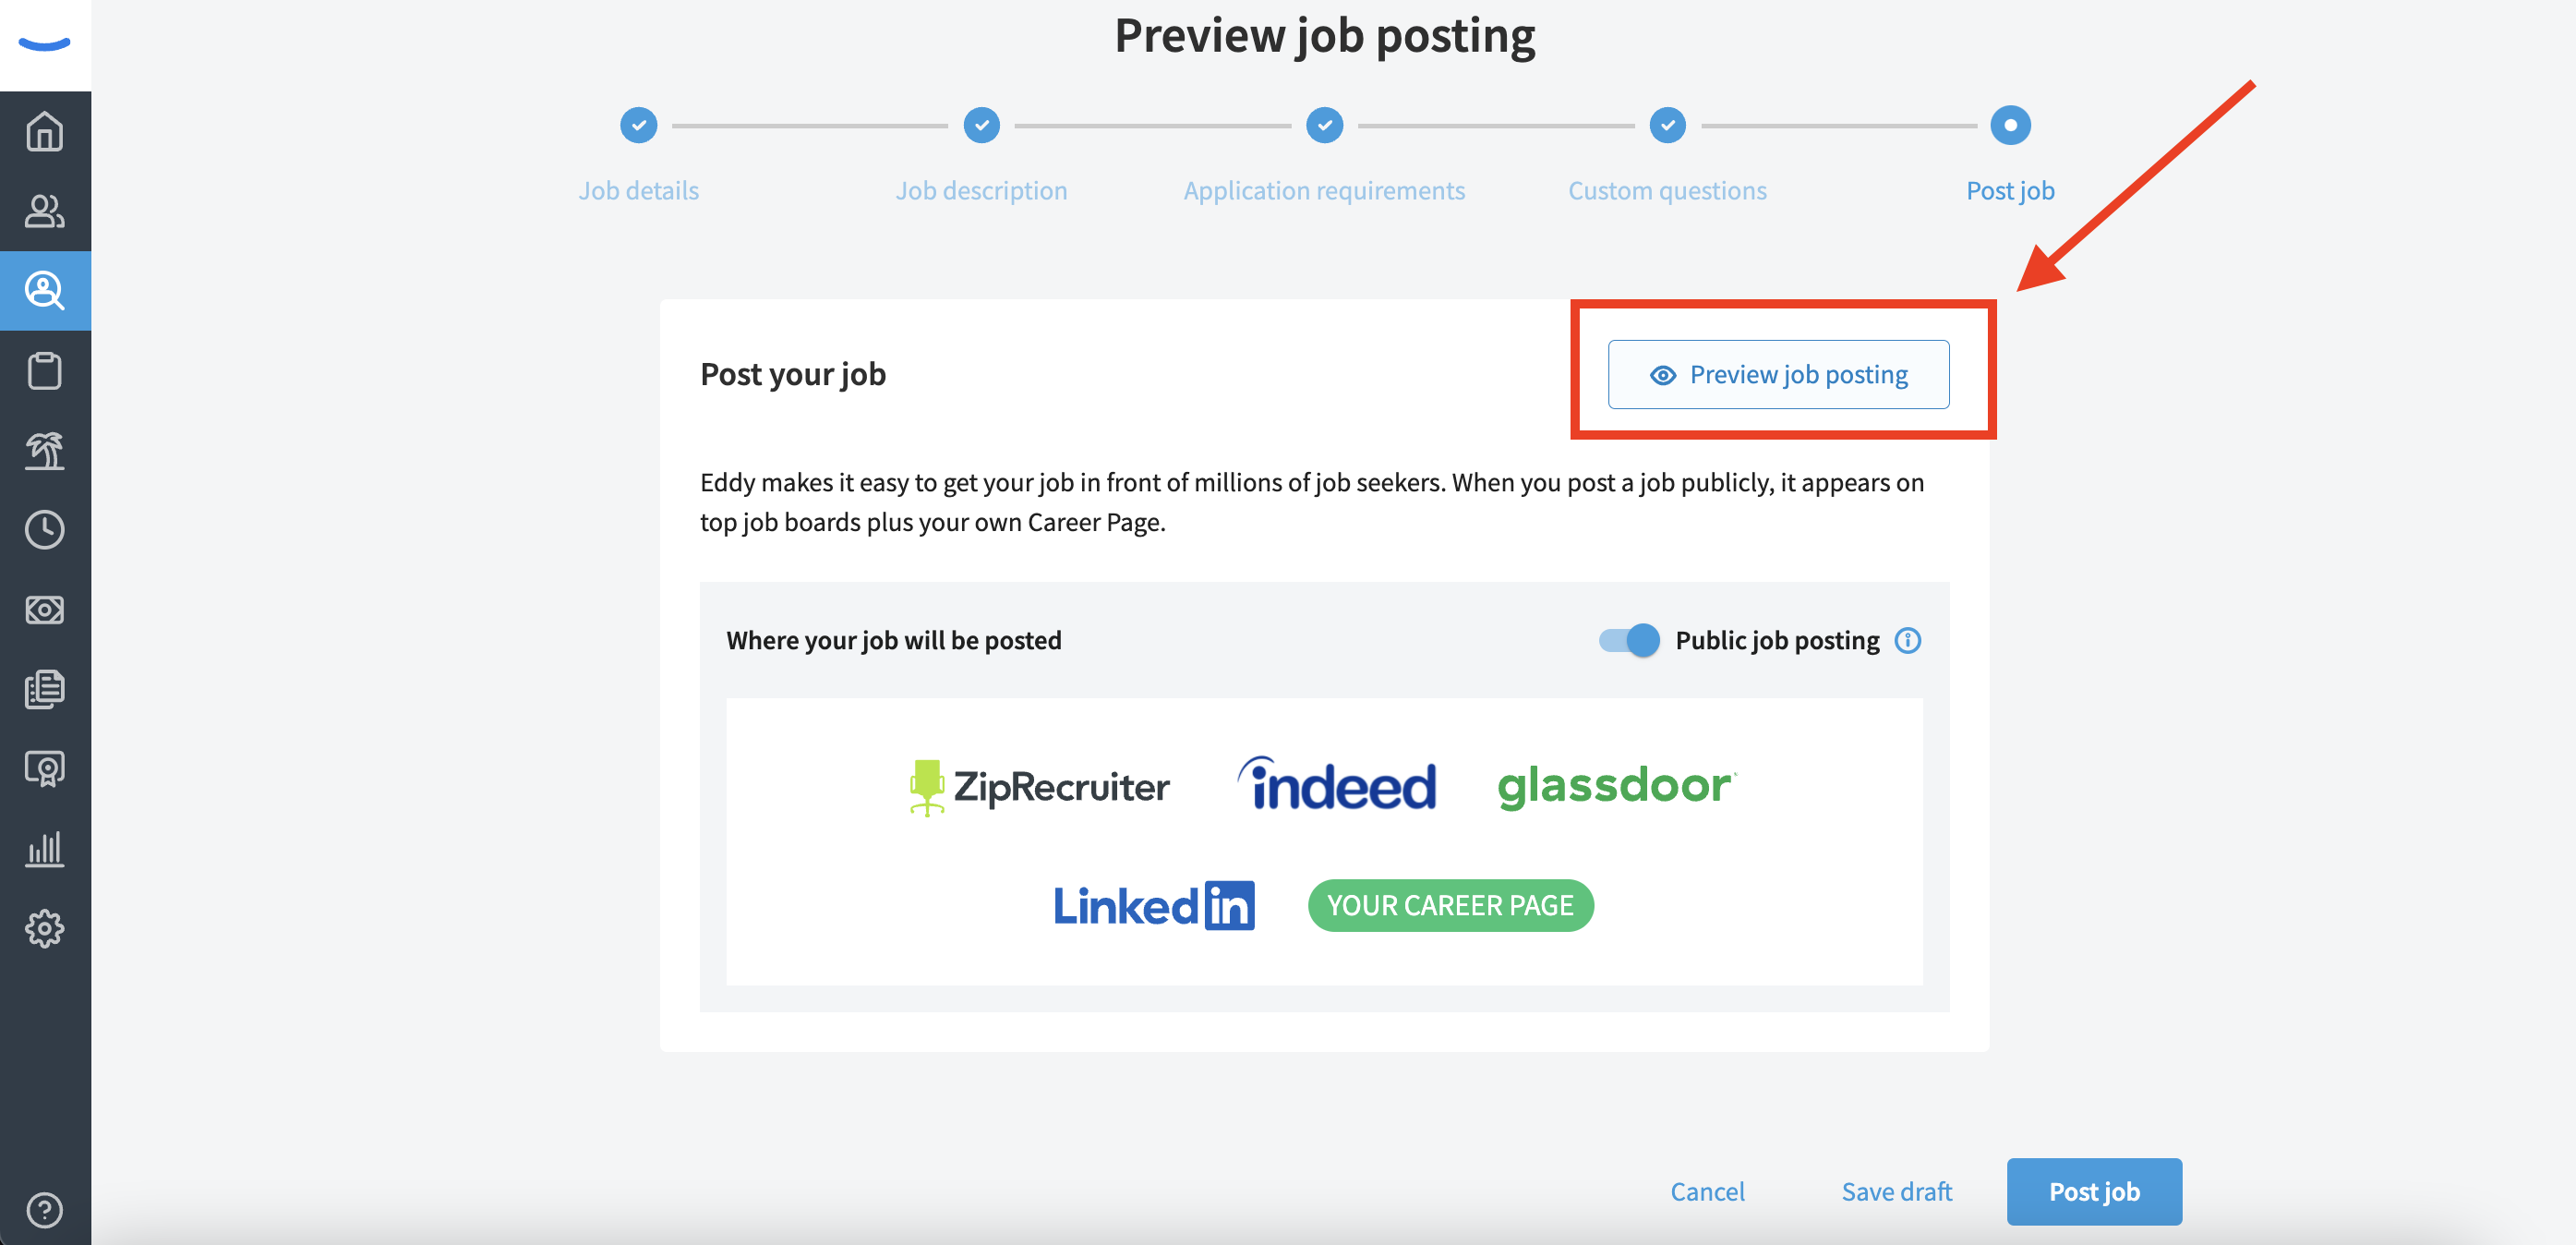
Preview Job Posting
We recommend previewing your job before posting. To do so, click "Preview job posting" in the upper right corner.
There are two sections to preview:
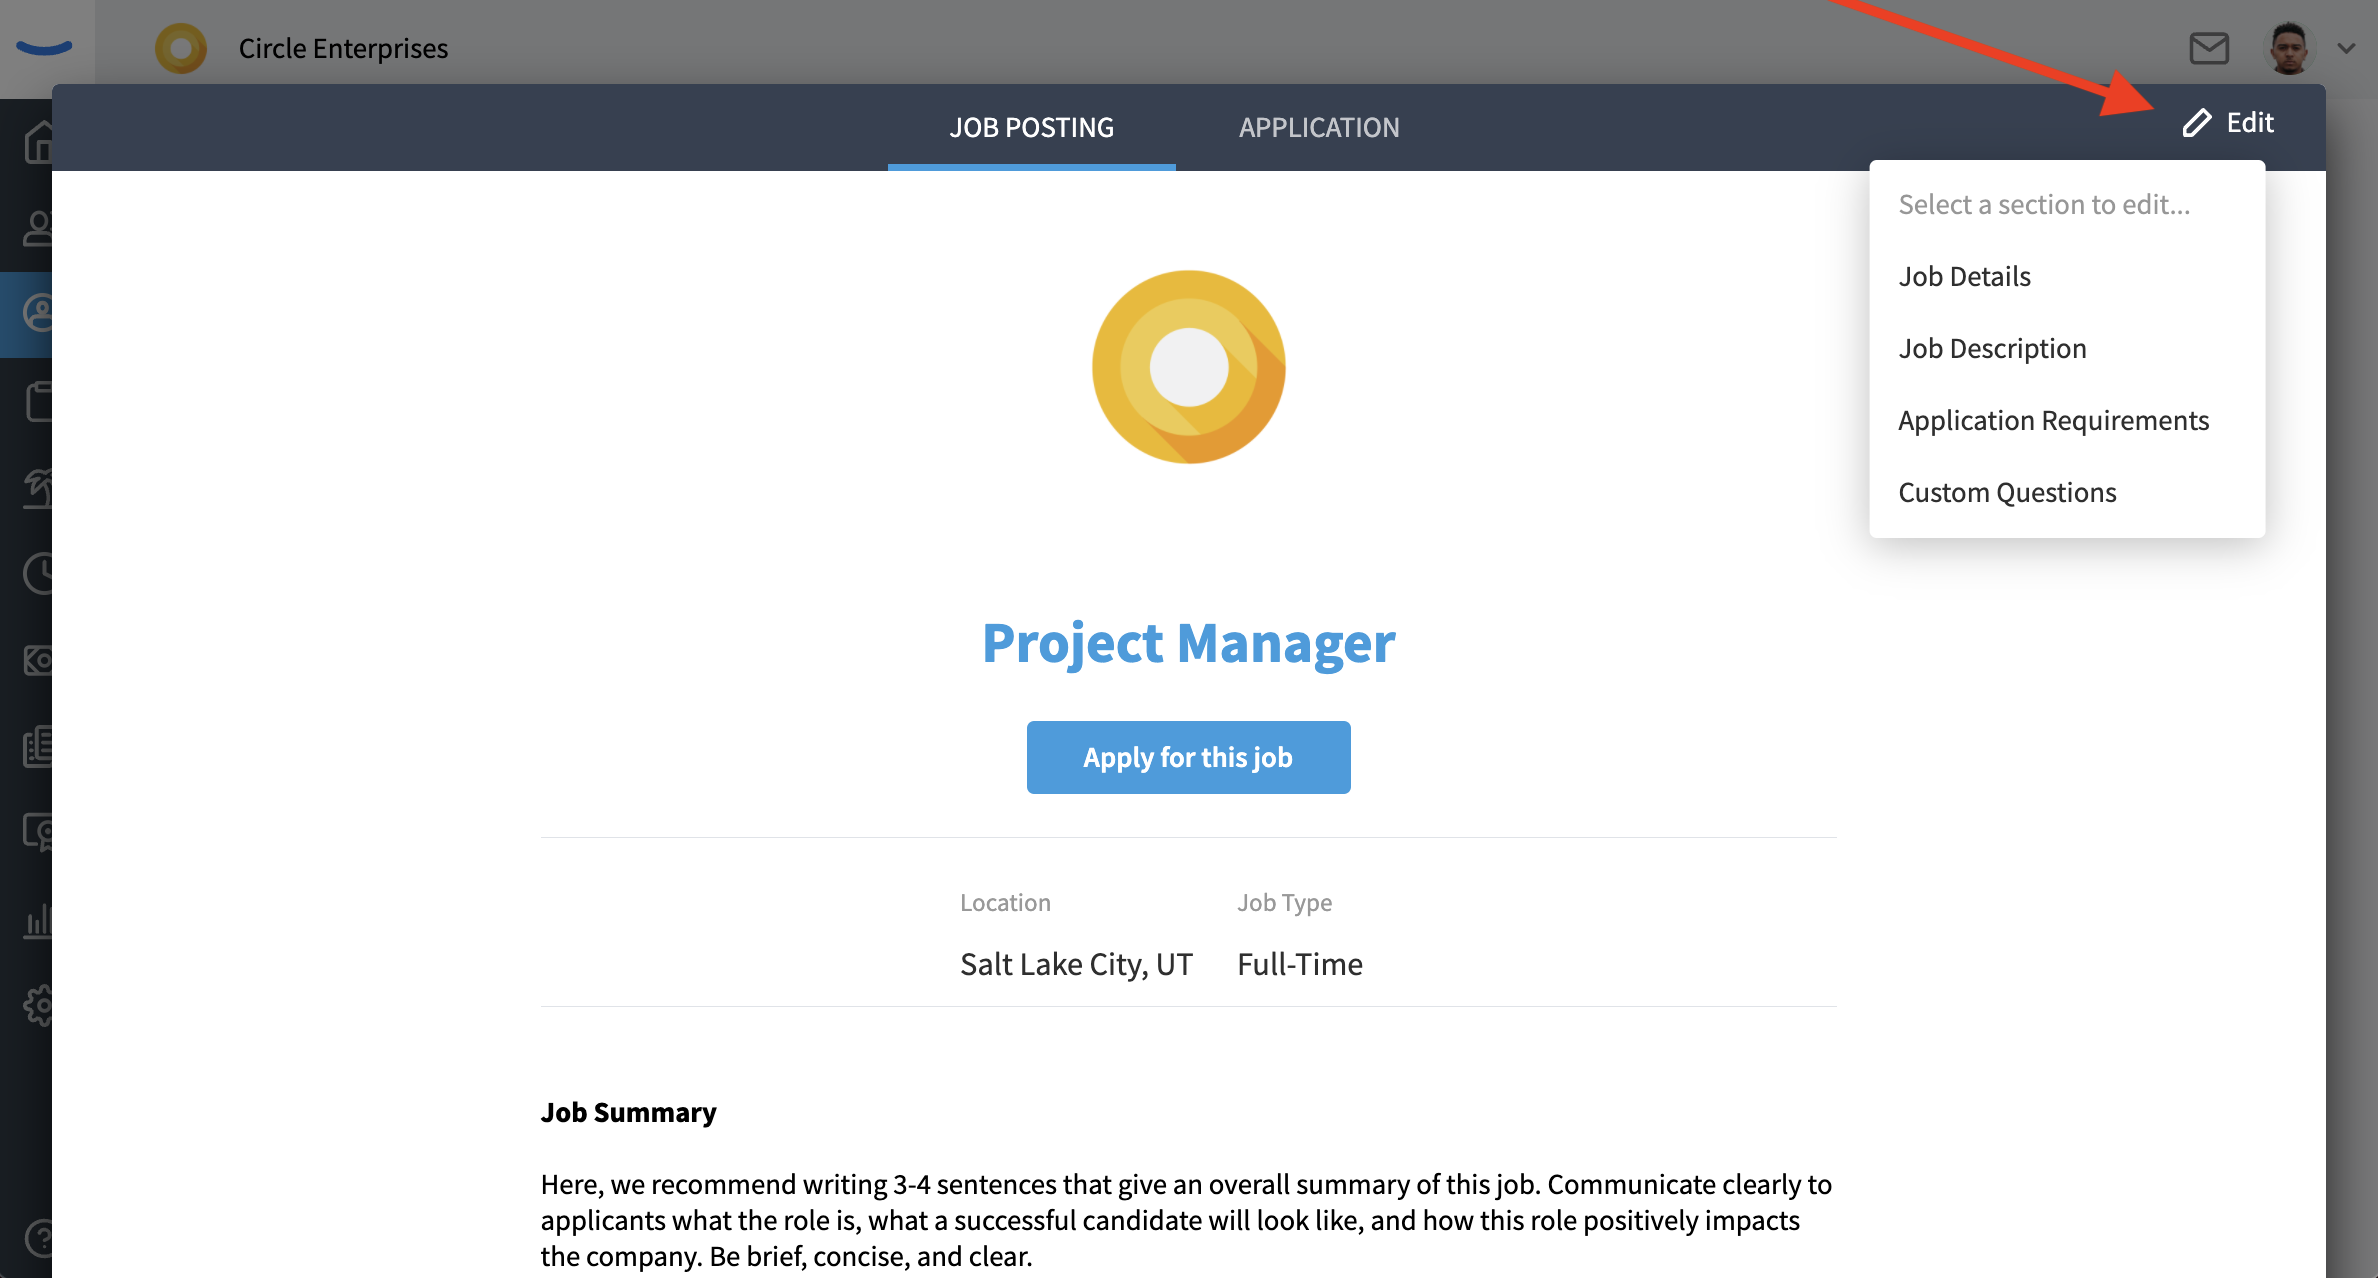
1. JOB POSTING
This preview displays what a candidate will see when reading about your job opportunity. If you need to make any changes, click the "Edit" button in the upper righthand corner and select the section you'd like to edit.
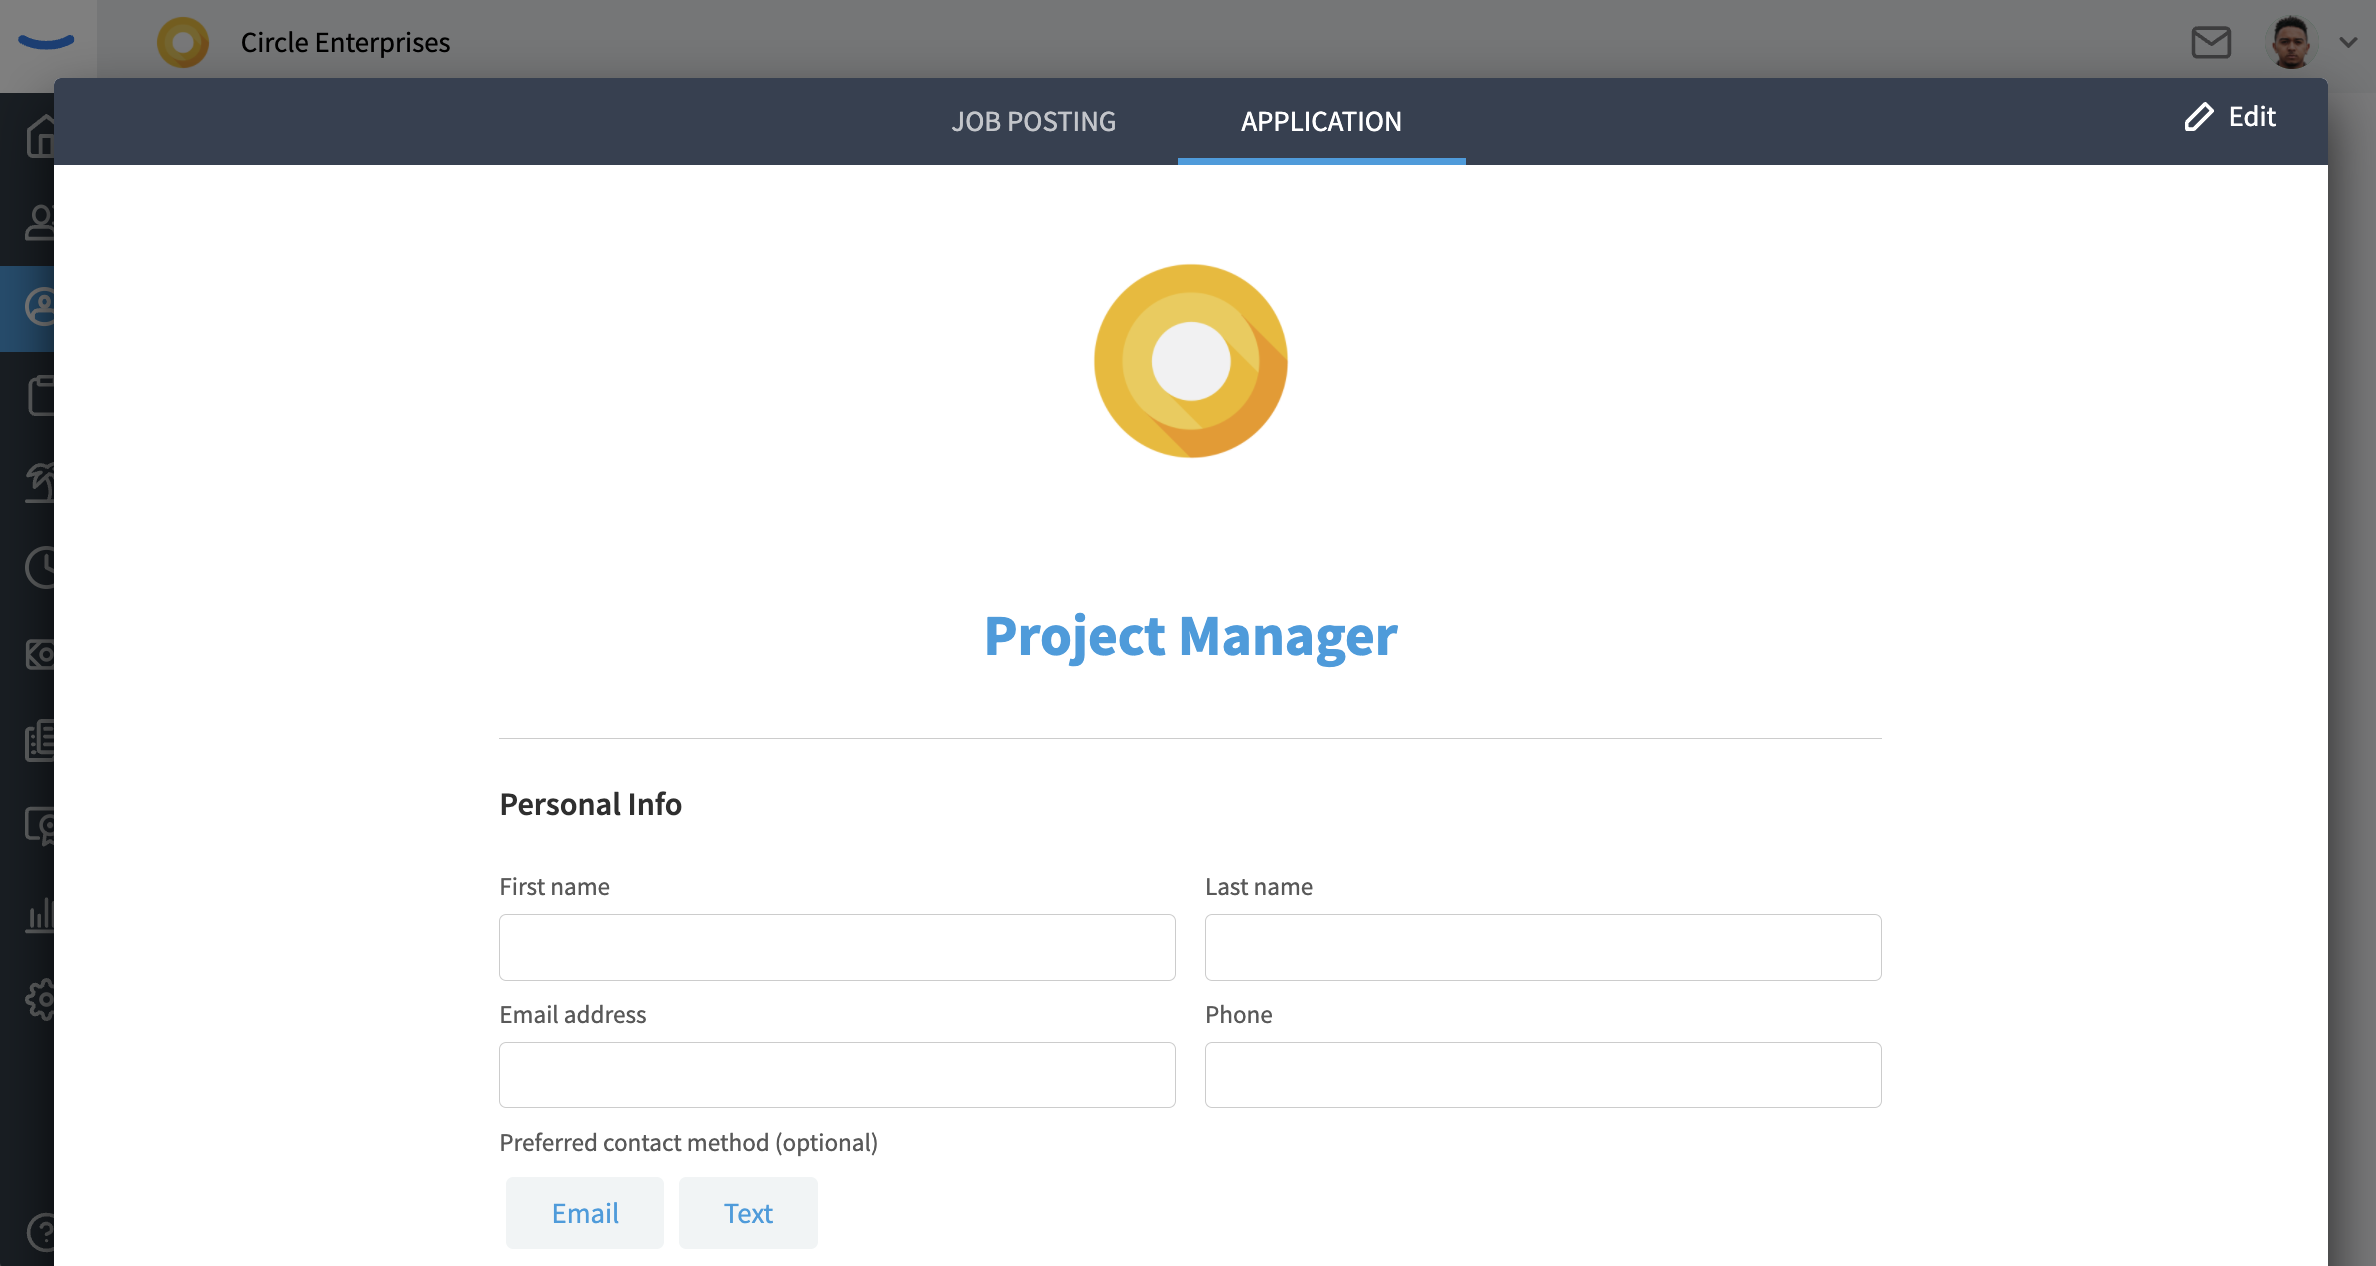
2. APPLICATION
This preview displays the application that the candidate will fill out to apply for the job. The items chosen from the "Application Requirements" section, as well as the "Custom Questions" will display here.
Choose Your Job Boards
To publish your job post publicly (this includes job boards like Indeed, ZipRecruiter, Glassdoor, LinkedIn and your Career Page) toggle the Public Job Posting button on. If you'd like your job to remain private, toggle the Public Job Posting button off. For public posting, jobs will be live on the selected job boards within 24-48 hours, with the exception of Indeed. Read more about Indeed guidelines here.

Publish
Click the "Post Job" button at the bottom of the page to send your job out to the world. Once you're done, don't forget to celebrate with confetti!
Speaking of confetti, did you know the confetti feature is fully customizable? Have a little fun adjusting the amount of confetti that's falling, the direction of the confetti, and even the level of gravity. Why do this, you ask? We prefer to ask, why NOT?