FYI: Once you've created a username and password, you'll walk through a series of steps to get your new Eddy account up and running.
While each step is skippable, we highly recommend taking the time to complete each step in its entirety. Doing so will set you up for future success and make everything else you do in Eddy much easier.
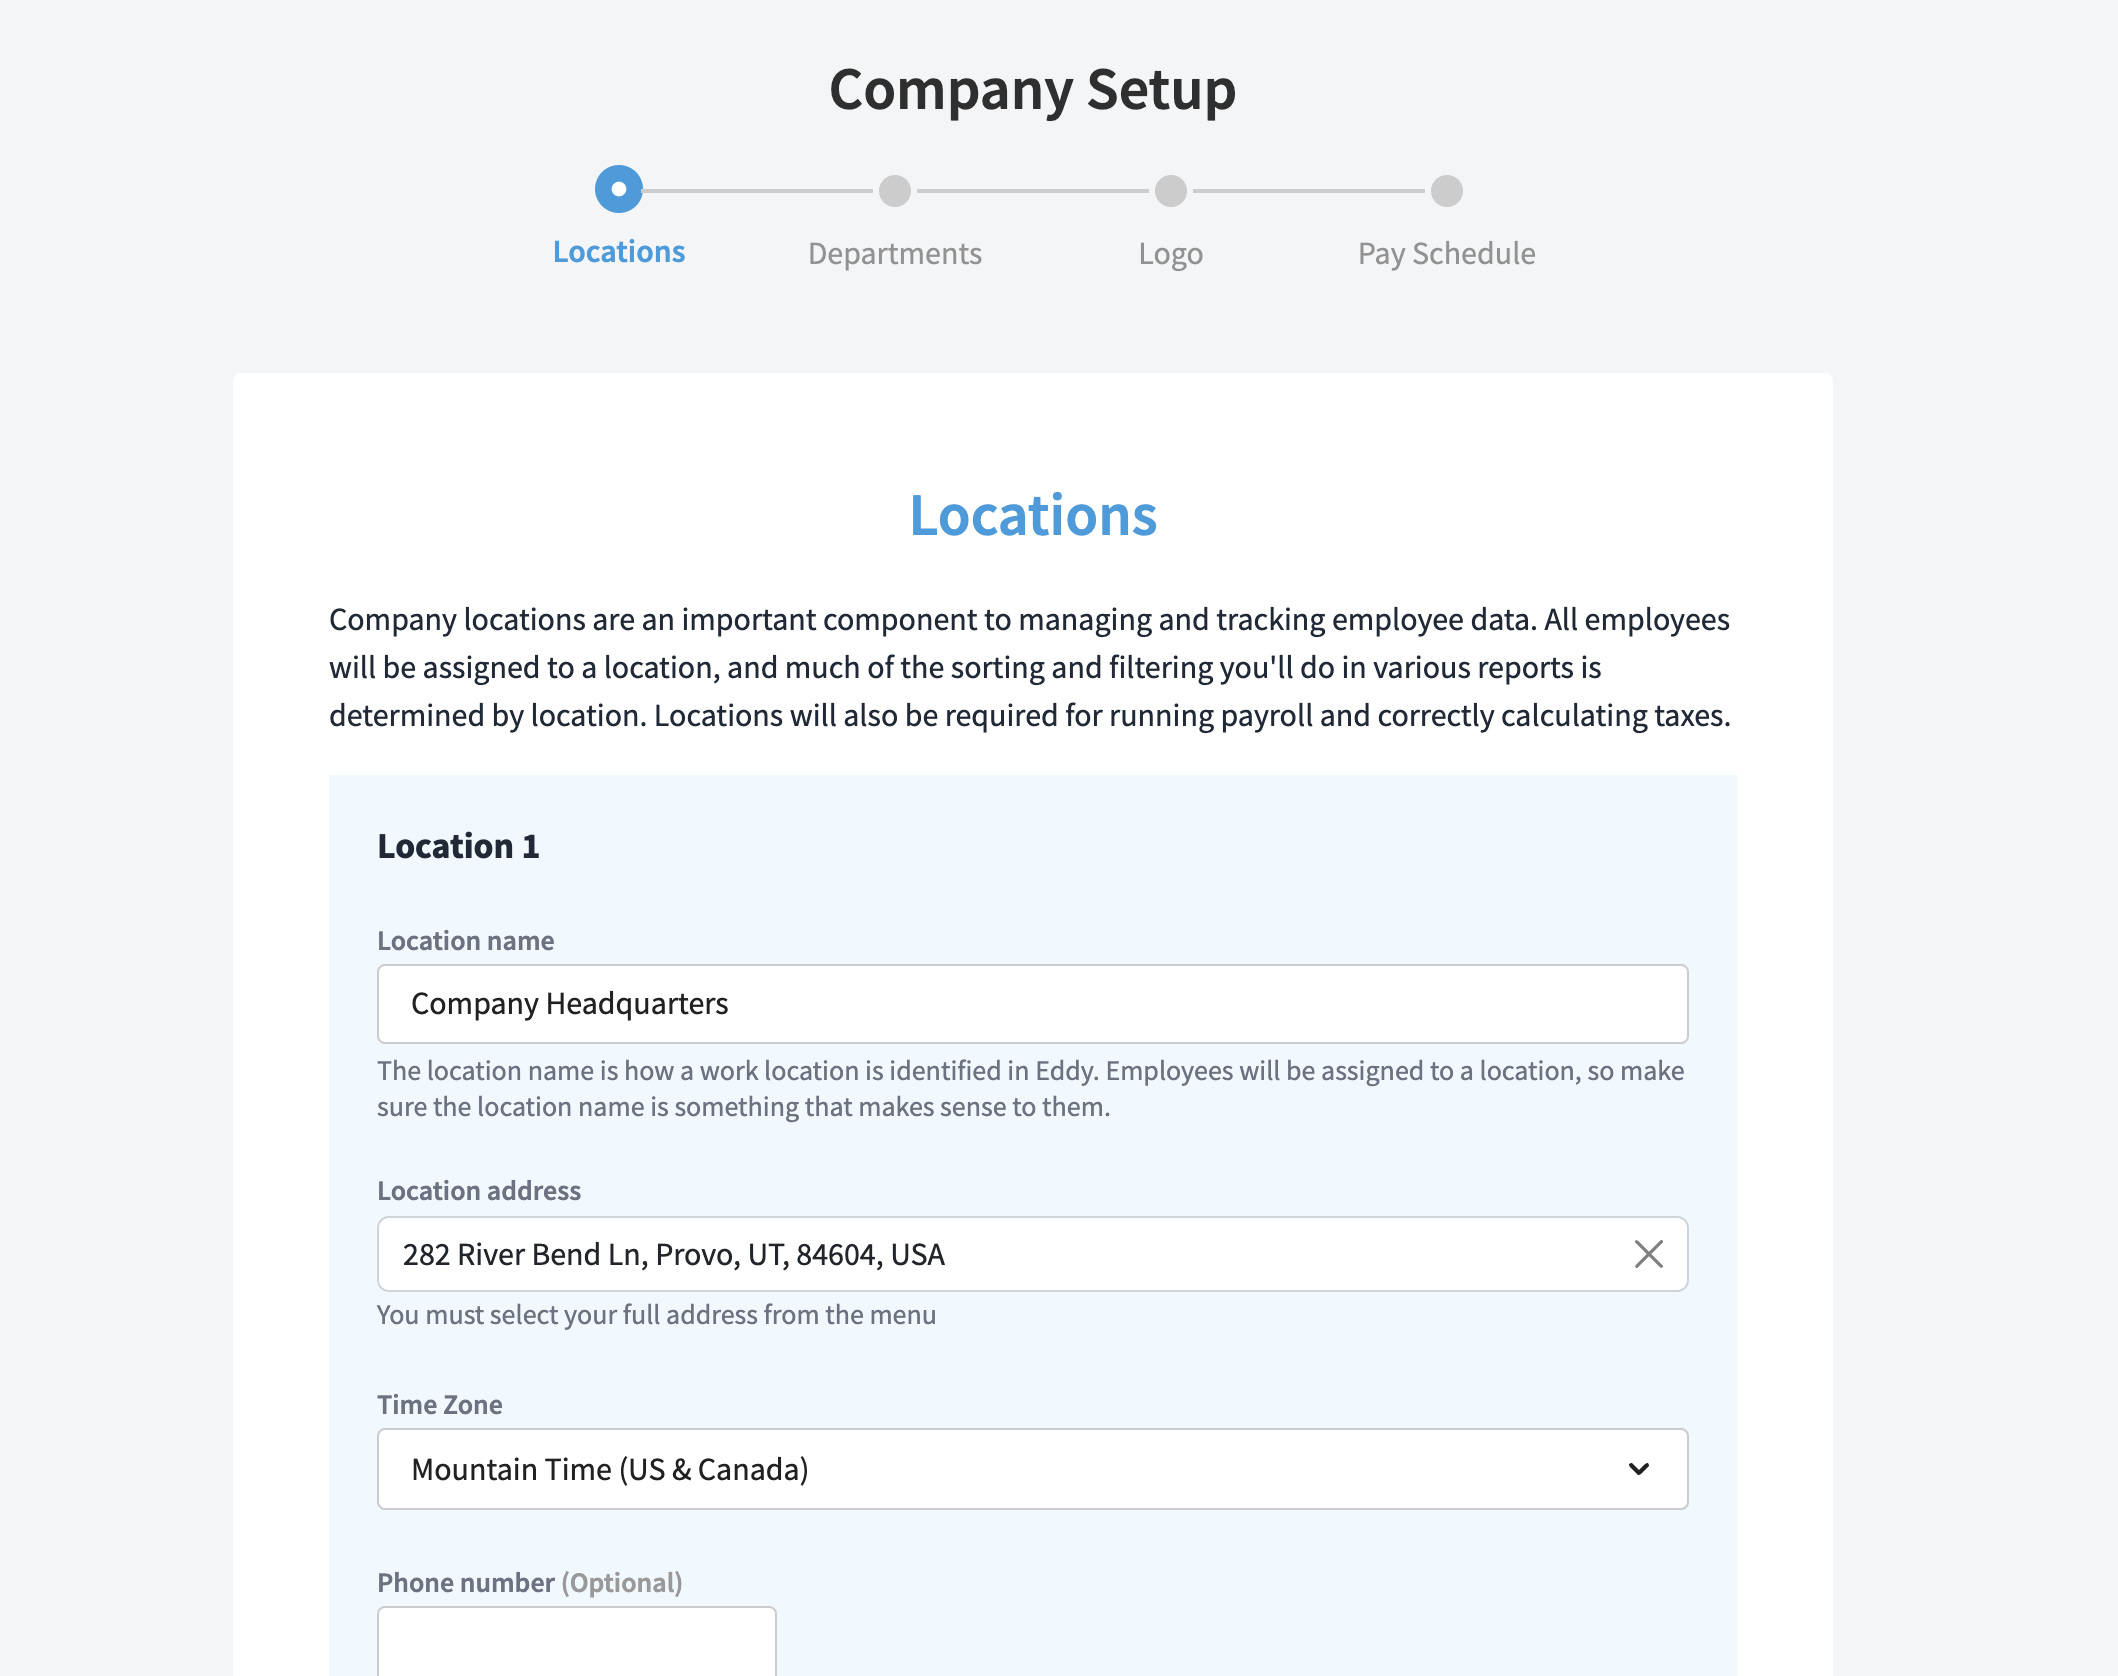
Add Locations
The first step is to add your company locations.
This is done by giving each location a name, address, time zone, and phone number.
The location name should be something simple that you and other employees will recognize, as it will be used throughout Eddy. If you have a single location, you may call it "Headquarters" or something similar. If you have multiple locations, you may name each location after the city or state it's located in.
If your business has multiple locations, we recommend adding all of them while on this step.
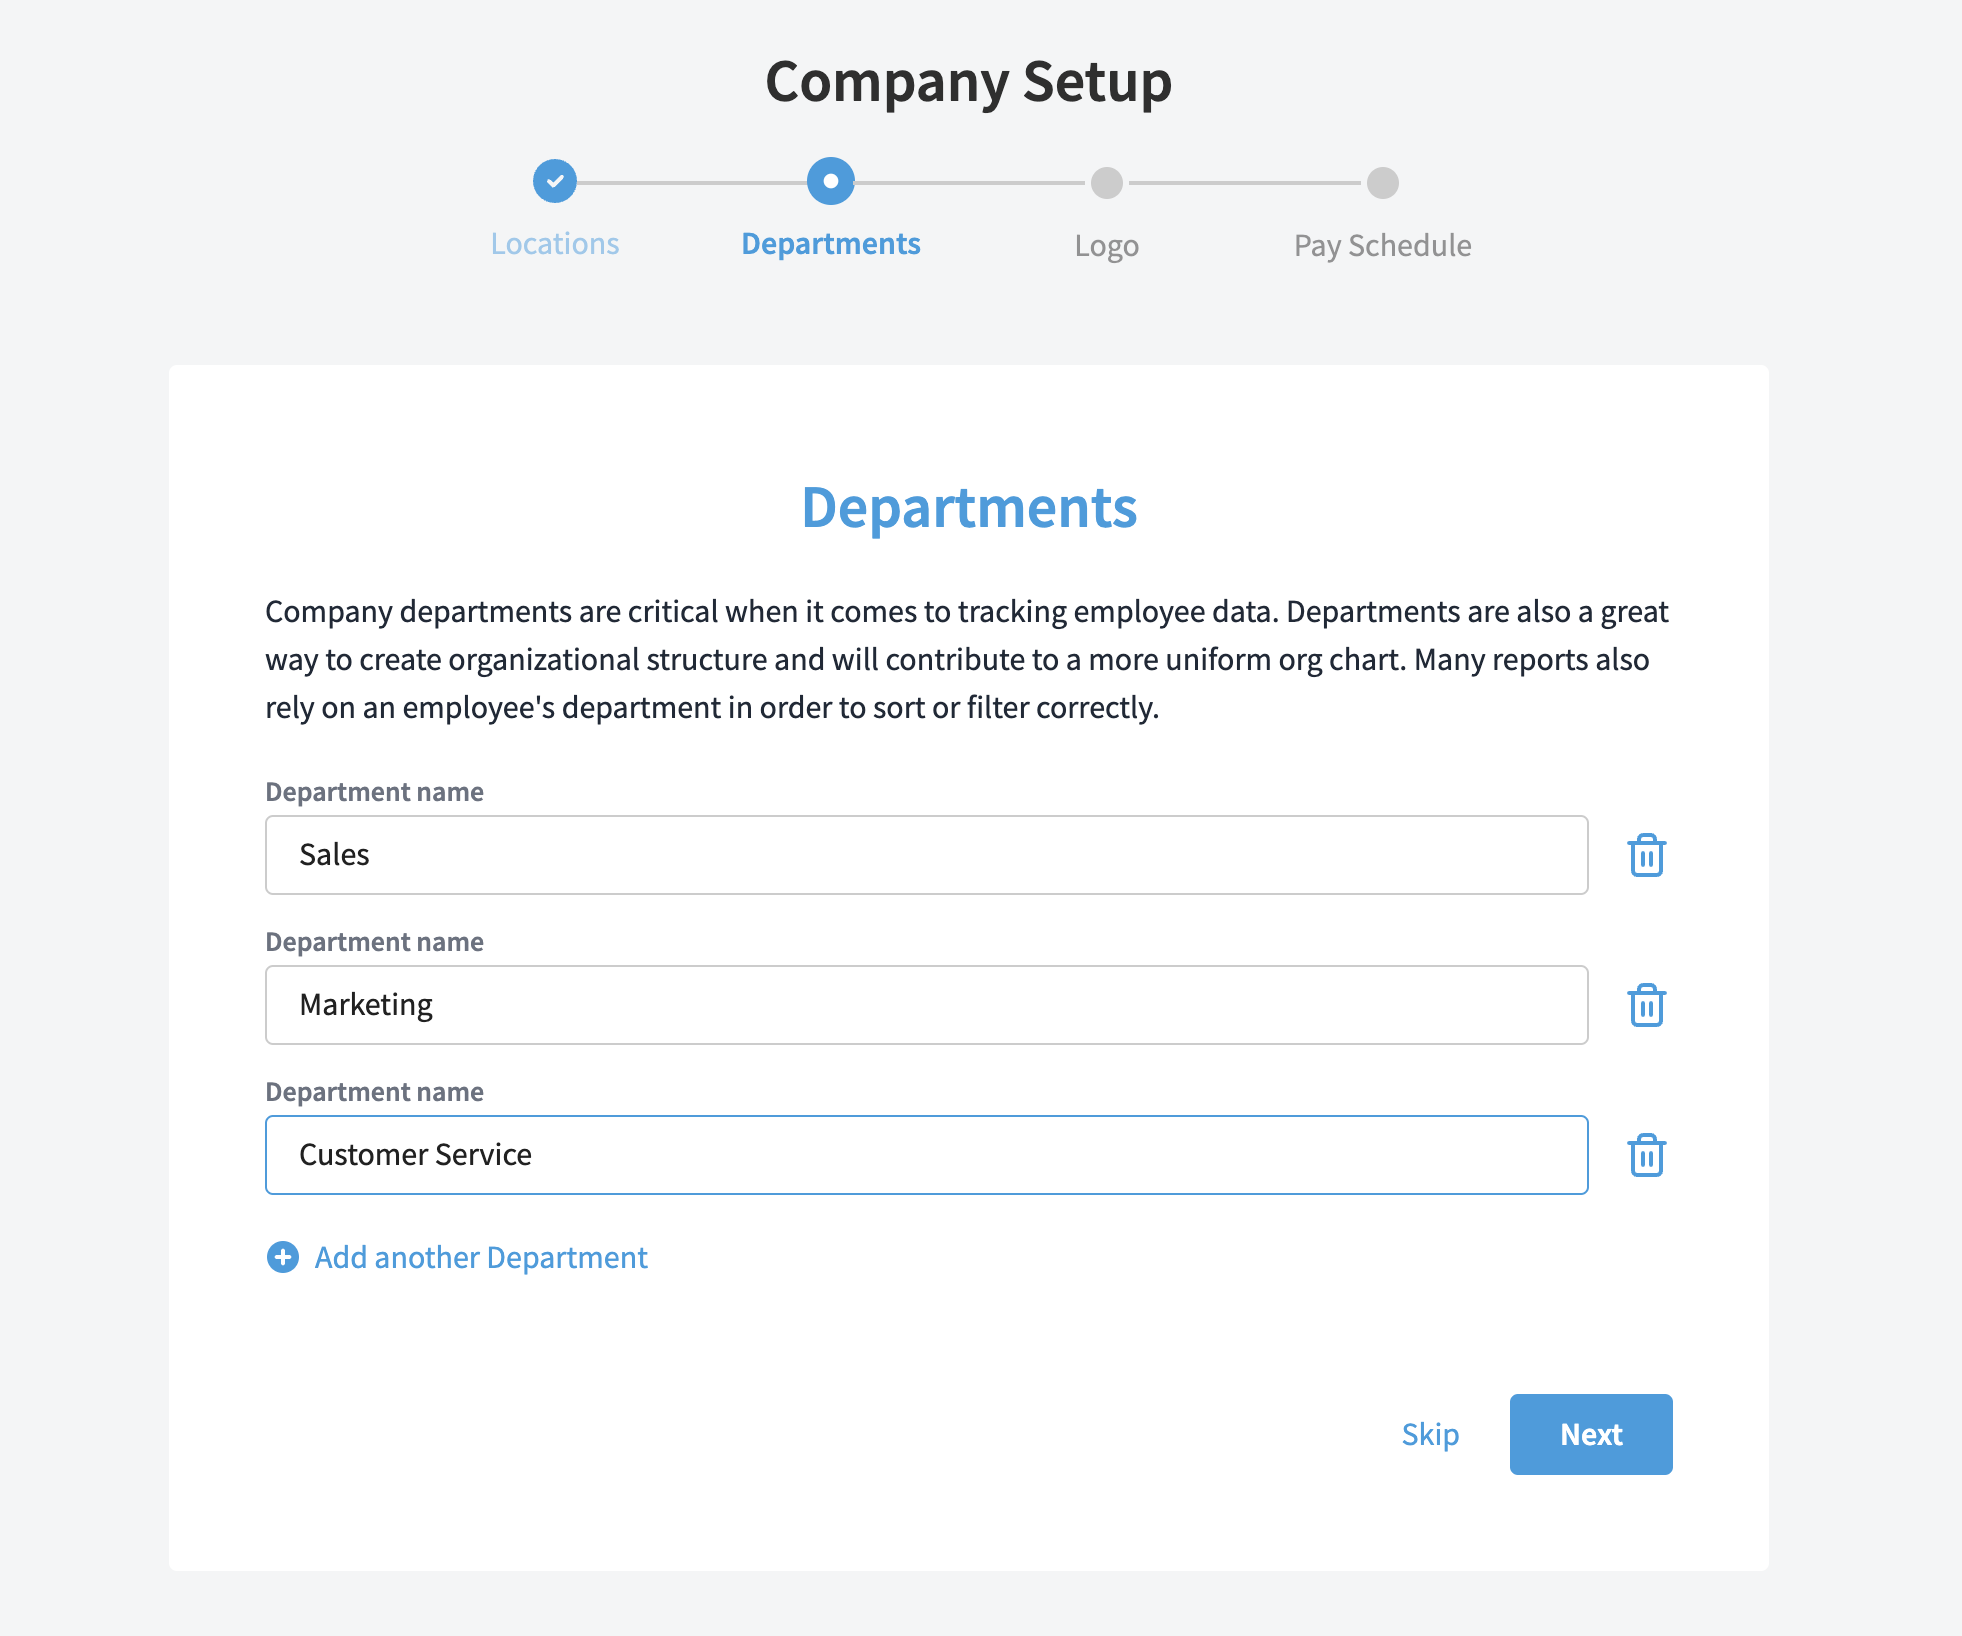
Add Departments
The next step in the company setup flow is to add your departments. For many companies, this is easy, as you already have employees divided into departments such as sales, marketing, and customer support. Simply add the name of each of your departments to the list. You can even add departments that don't currently exist if you anticipate having employees in those departments in the future.
For other companies, you may not have thought about your employees as being in departments. If this is the case, you may just create a handful of groupings that make sense, according to each employee's job function. For example, many restaurants use nothing more than "Front of House" or "Back of House" for their departments.
The most important thing is that you input whatever makes the most sense for you.
If you've added a department you wish to remove, simply click the "trash can" icon located next to the field.
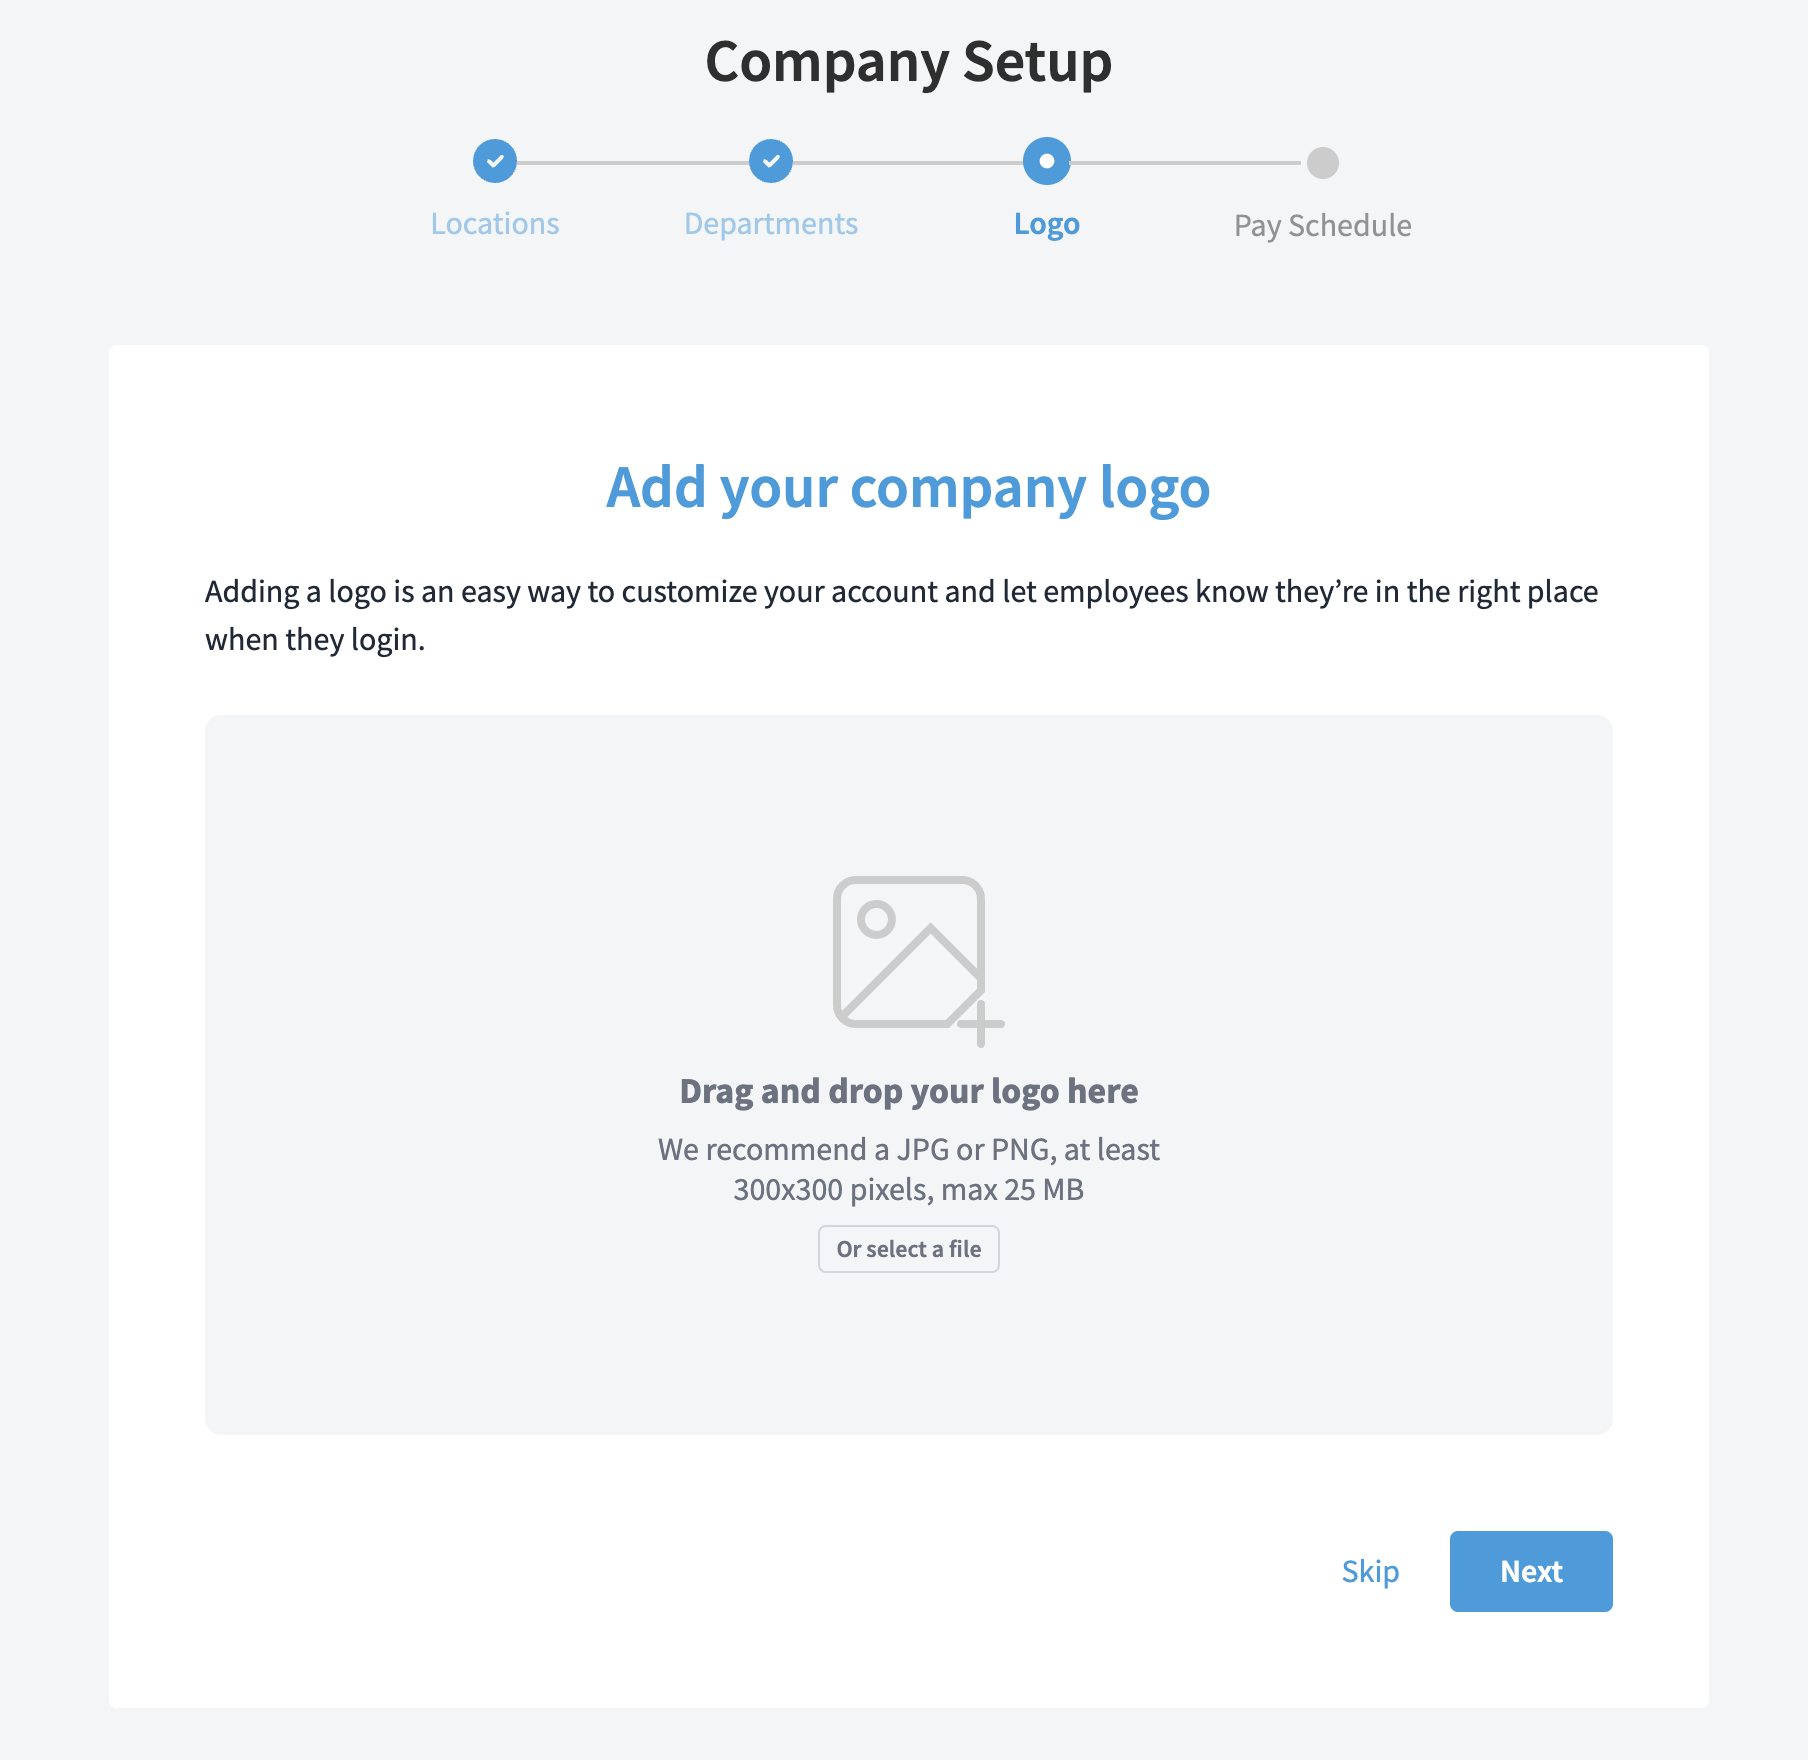
Add Your Logo
After adding your locations and departments, the next step will be to add your company logo. Adding your logo is a small but powerful step towards personalizing your account. When employee's log into Eddy, they'll see the logo and know they're in the right place. When job candidates apply to your postings, they'll see your logo there as well.
We recommend a logo that is at least 300x300 pixels.
A logo with a transparent background is also recommended.
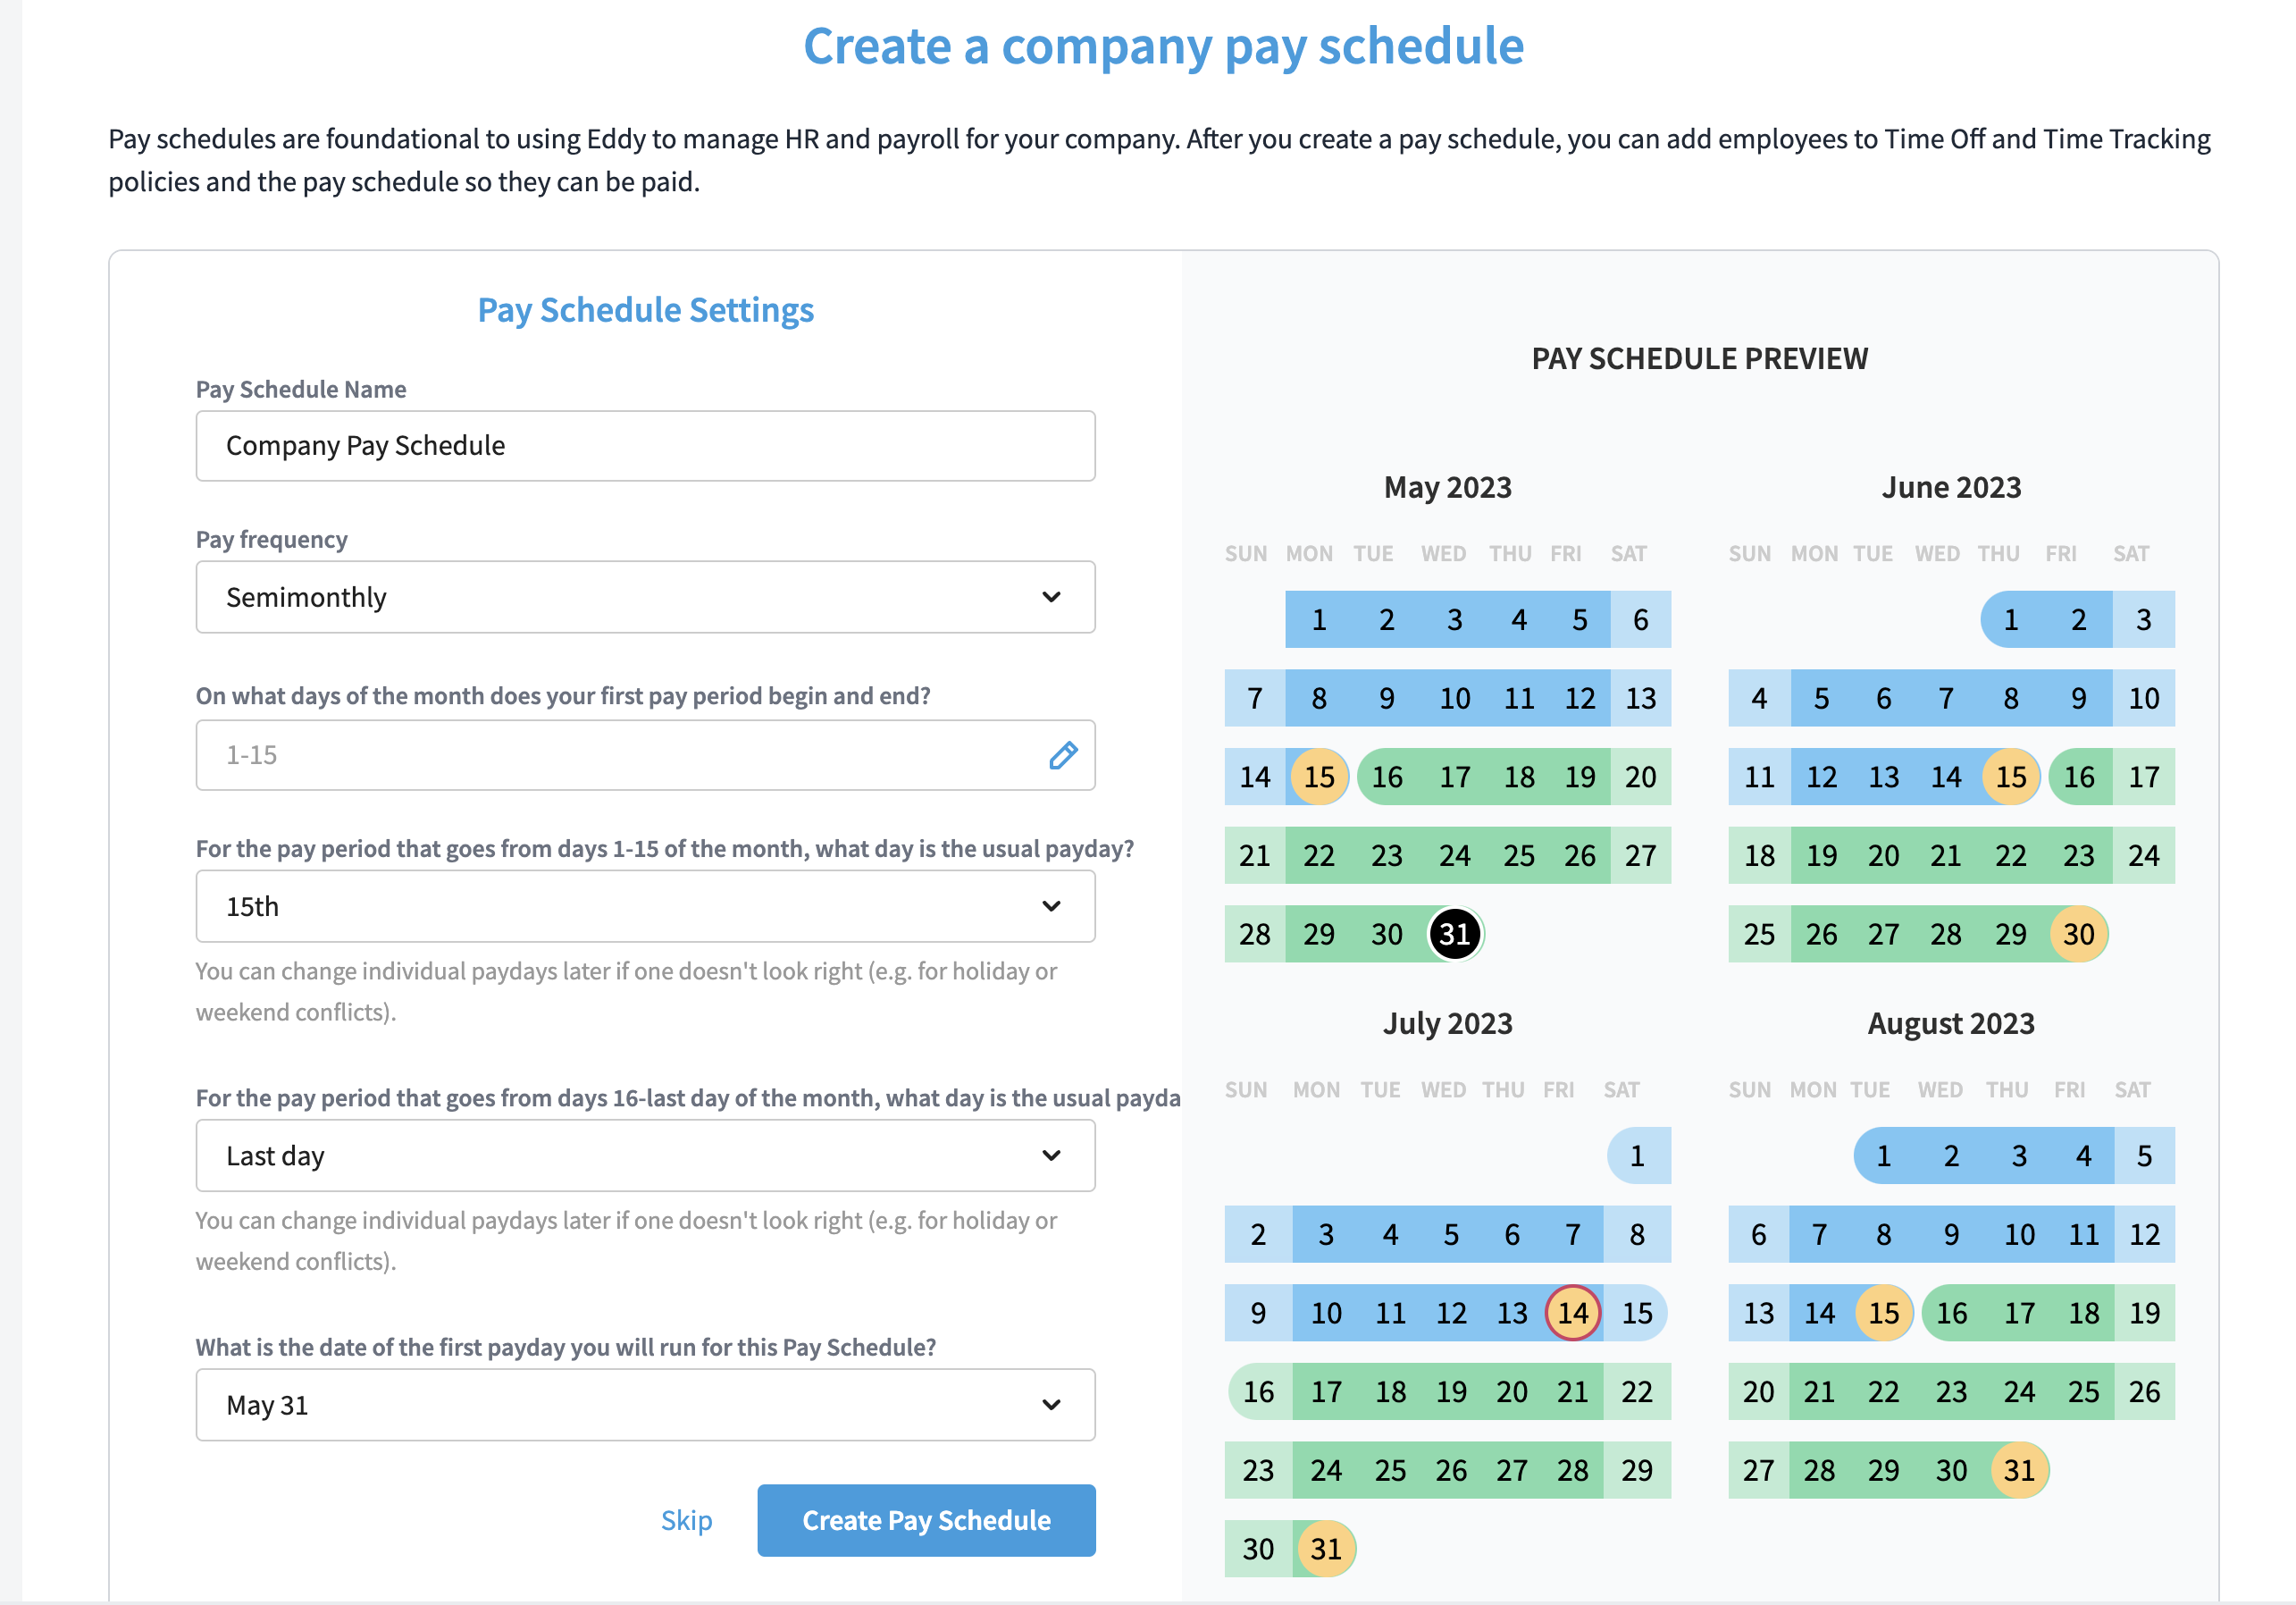
Add a Pay Schedule
If there were ever a step that should not be skipped, this would be the one.
Everything in Eddy revolves around pay schedules. In order to add employees to time-off and time-tracking policies, they first need to belong to a pay schedule so that accruals and approvals are done in an accurate way.
Luckily, we make it really easy to add your pay schedule.
All you have to do is give it a name (i.e. "Company Pay Schedule") and then select the pay frequency associated with the schedule.
Once you've selected the frequency, you'll have a few more questions to answer about when your pay periods begin and end, and what days are "pay days" for employees.
On the right side of the screen, you'll see a visual that highlights the information you input. This should help you see whether or not the pay schedule you're creating in Eddy aligns with the one your company is using today.
Please note that by creating a pay schedule, you are not committing to run payroll through Eddy. While we'd love for you to use our payroll tools, we understand if you have another payroll provider you prefer.
By inputting your pay schedule into Eddy, you give us the information we need to correctly calculate all the payroll inputs. At the end of the pay period, you'll either be able to run your payroll with Eddy, or you'll be able to export the necessary information in order to run payroll with your chosen provider. Either way, we'll need to be aware of your pay schedule!
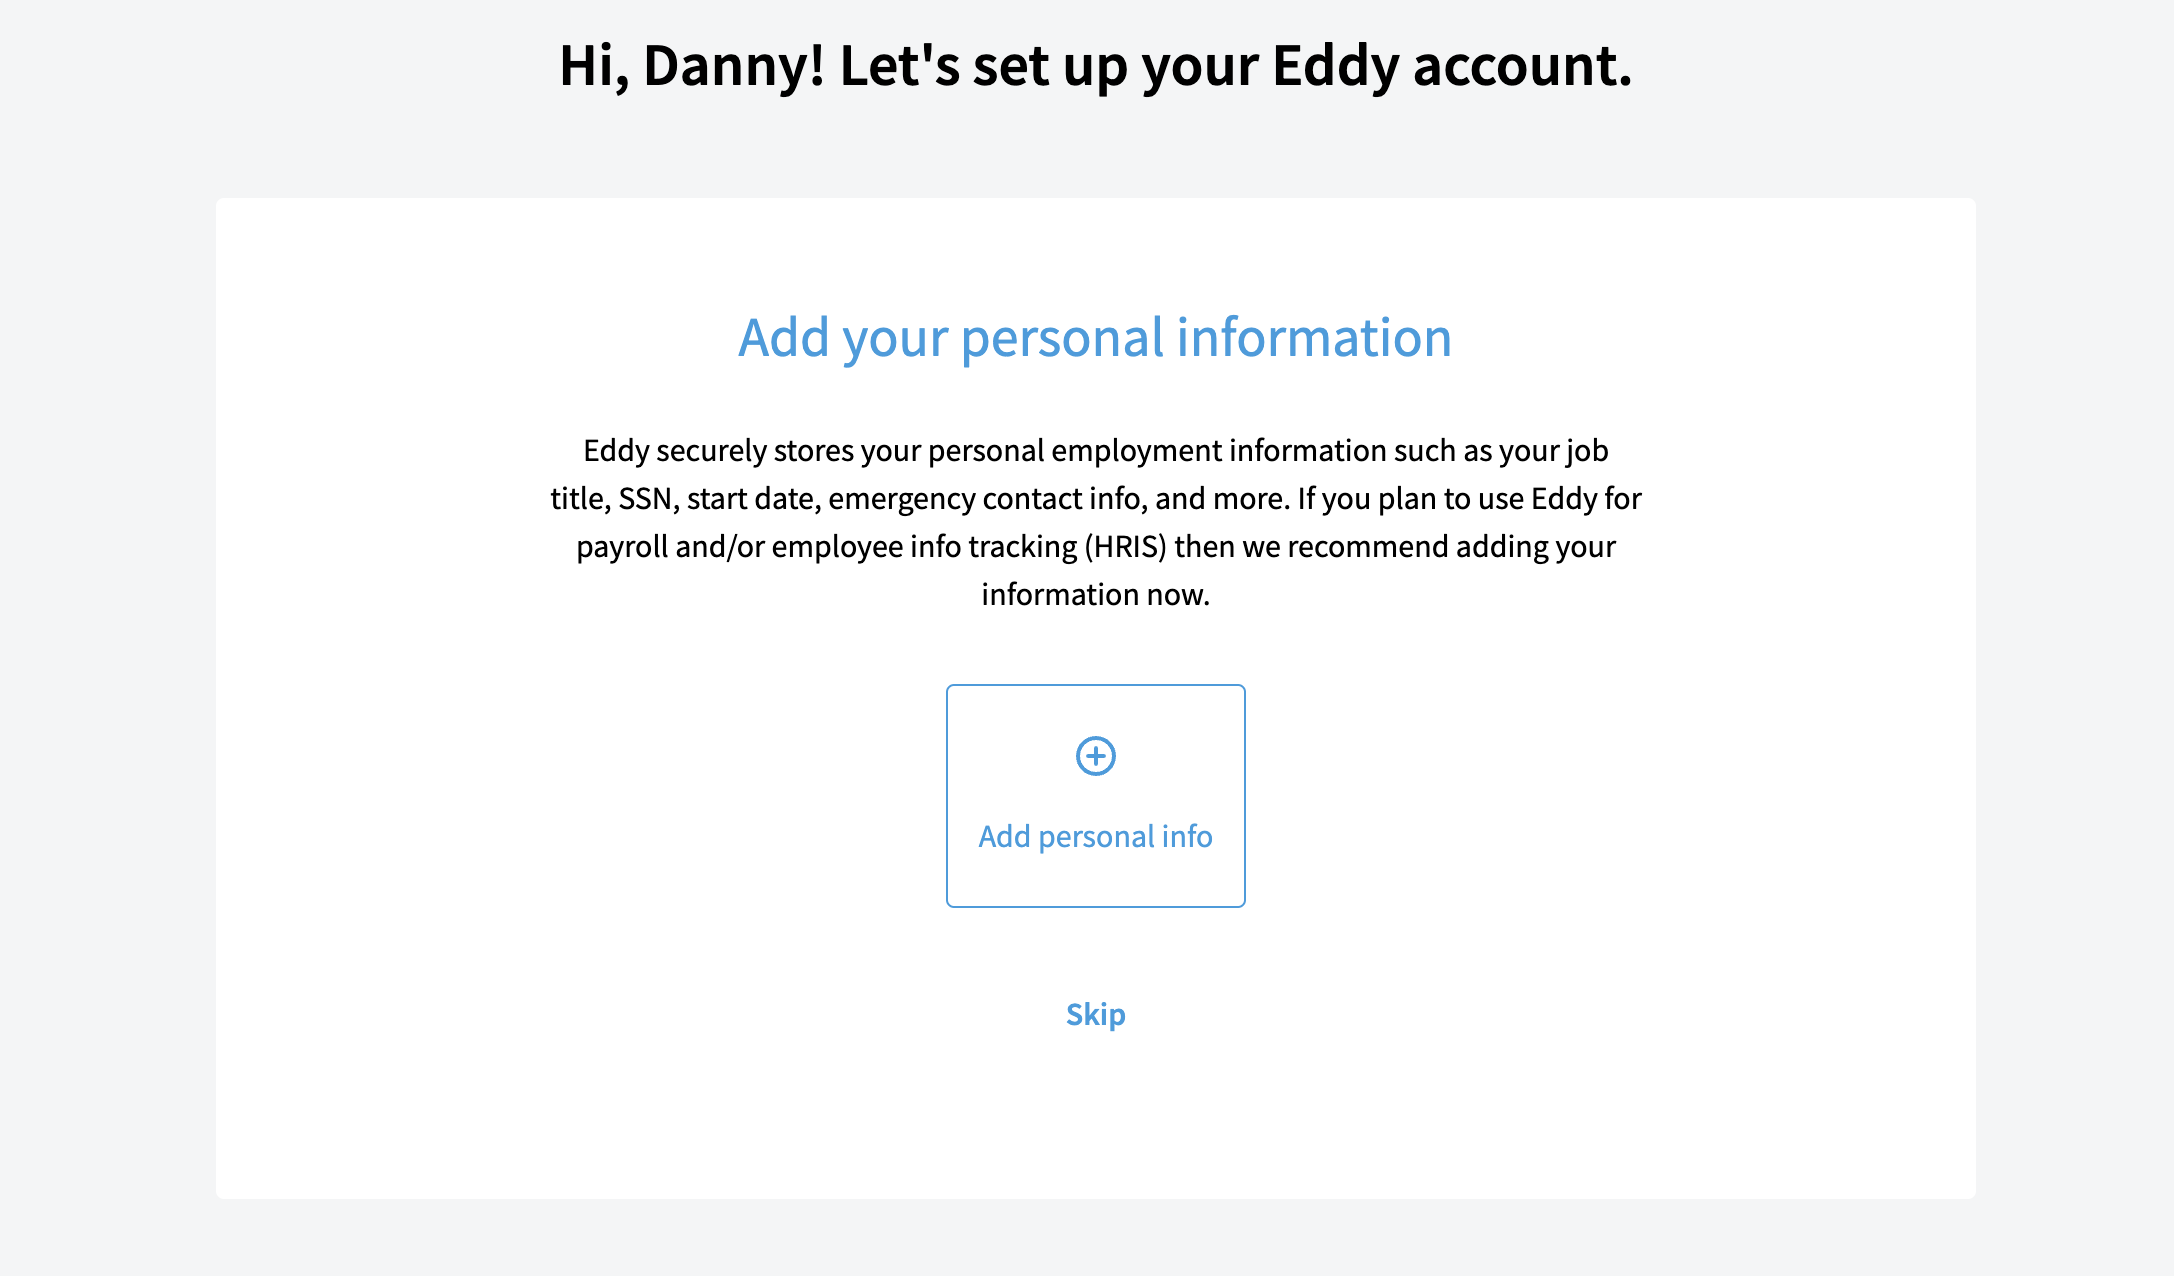
Add Your Personal Information
After going through the company account setup, you'll next be asked to setup your personal Eddy account. Adding your personal information now will prevent you from having to go back and add it later.
By clicking the "Add personal info" button, you'll be able to fill out the important information that will be stored in your employee profile.
However, you can skip this step if you'd like.
If you choose to add your information now, you'll see a form after clicking the "Add personal info" button. This form will have a field to collect the following information to store on your profile:
- Name
- Birthday
- Gender
- Marital status
- Social security number
- Personal phone number
- Email address
- Residence address
- Emergency contact info
- Profile photo
Once you complete the form, you can click the "Save" button at the bottom of the screen to continue.
Your next step will be to complete the Onboarding checklist shown on the home page of your Eddy account. You can learn more about the onboarding checklist here.