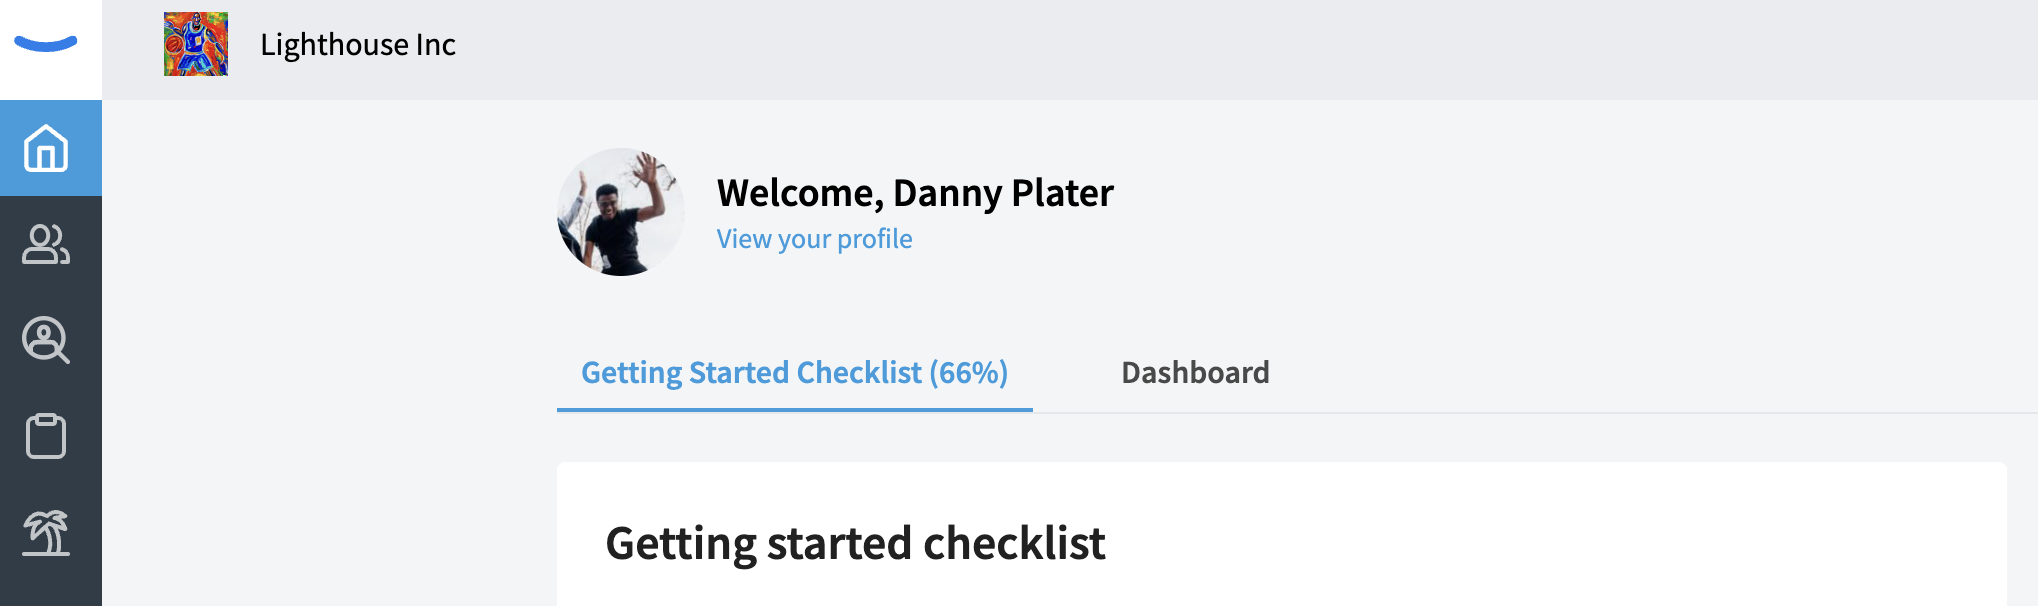
TIP: Once you go through the company set up process, you'll land on the "Home" screen and be greeted with the "Getting Started" checklist. If you completed some of the steps during the company set up, you'll already have a few of the items on the checklist completed.
If you haven't completed the company set up process, you can learn more about it here.
The Checklist
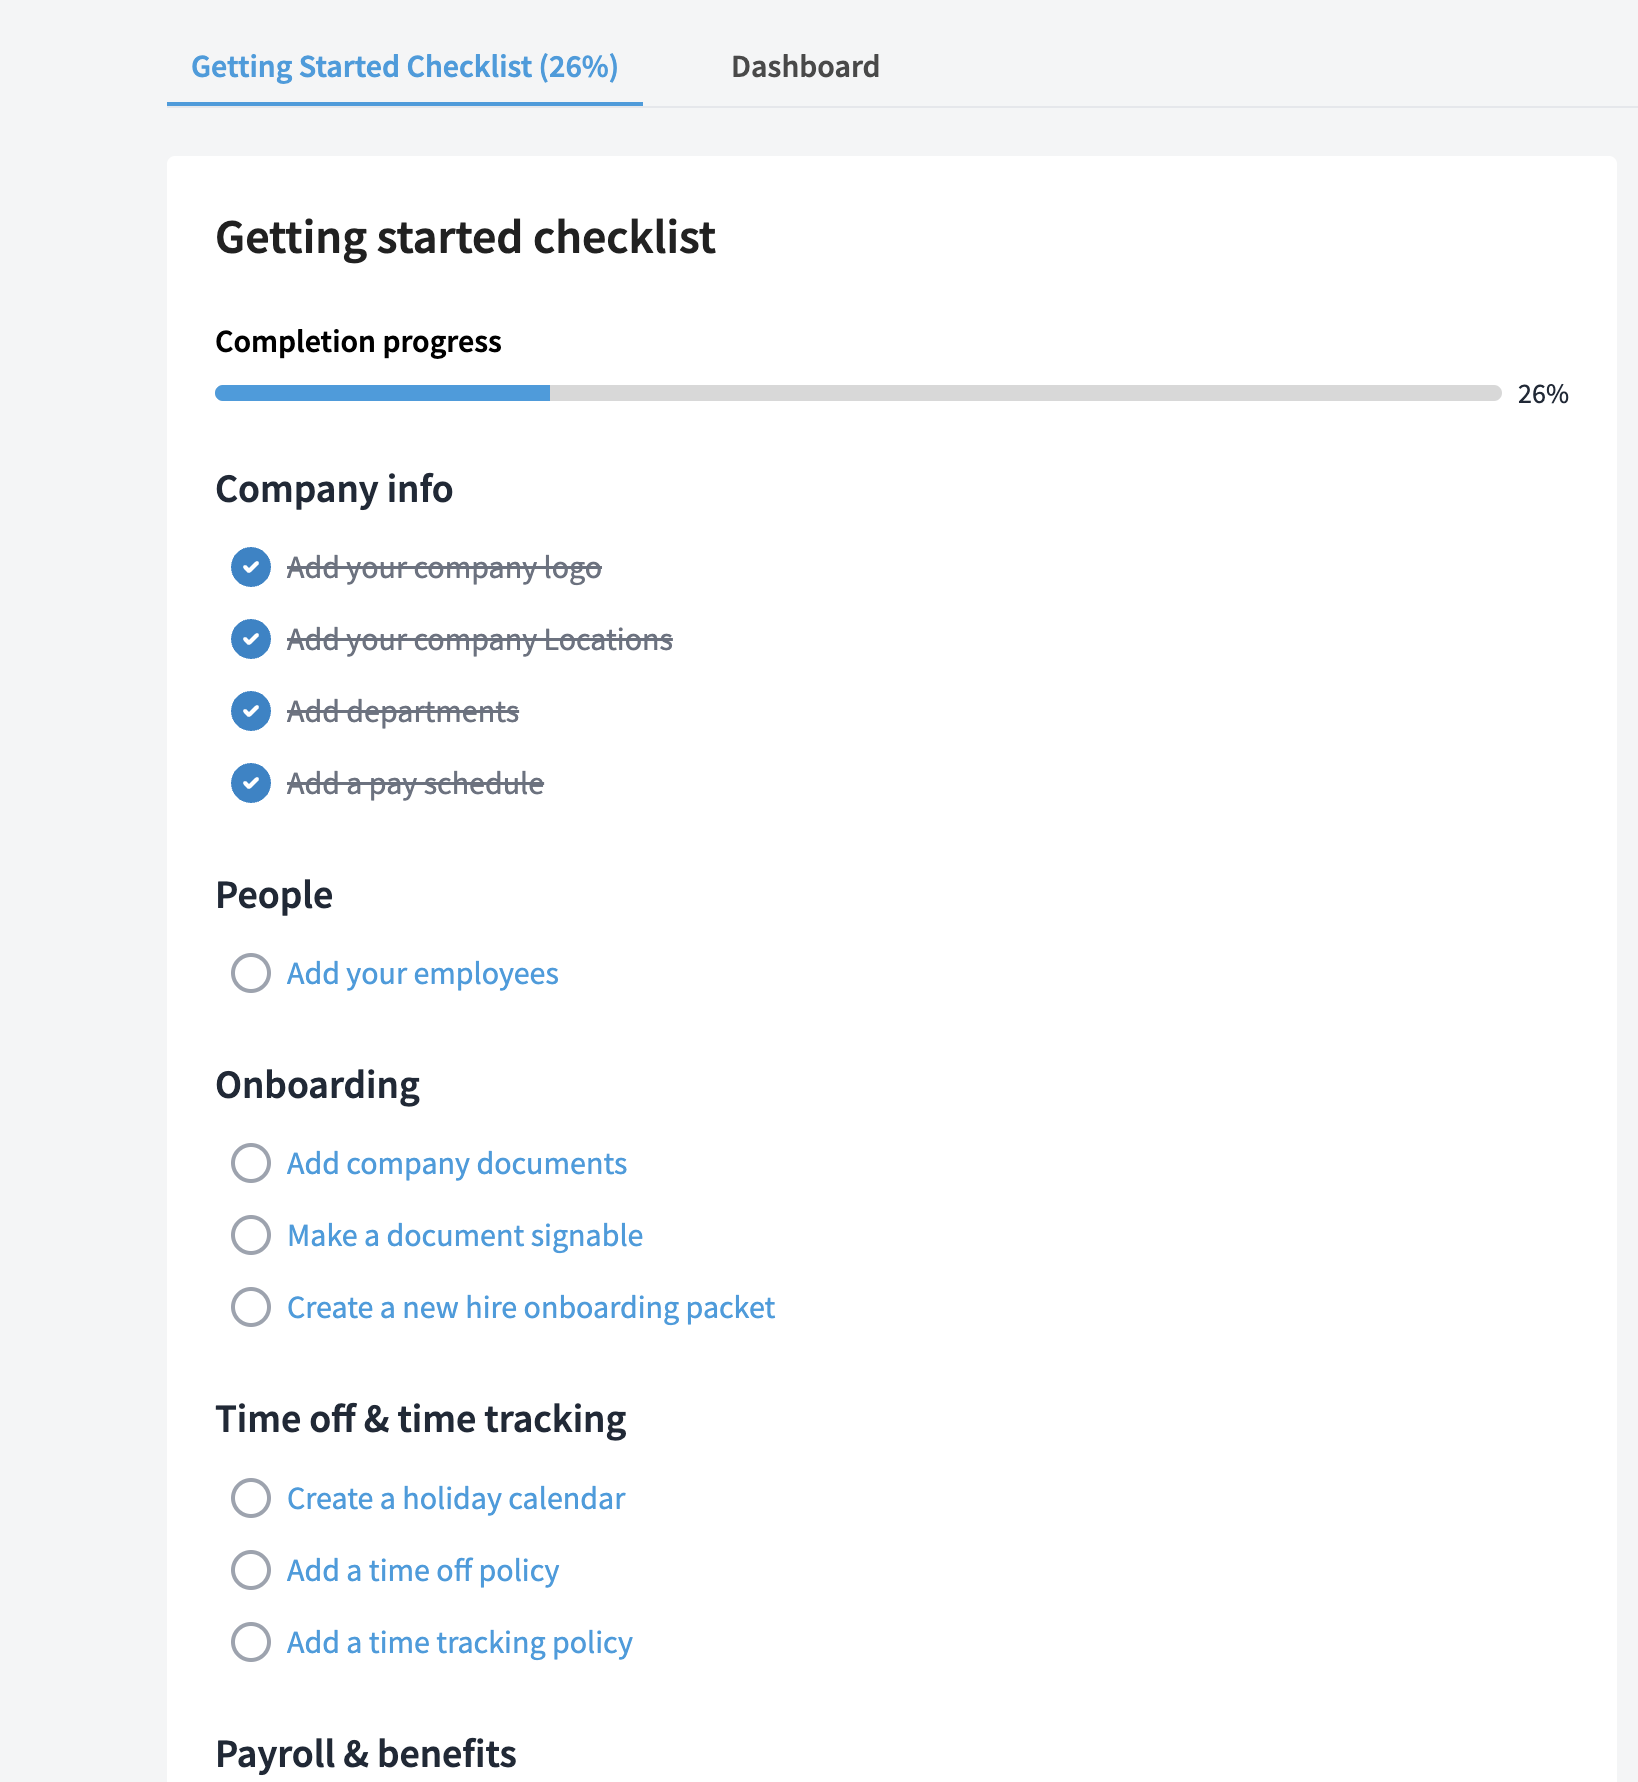
The "Getting Started" checklist has a number of steps to help you properly set up your Eddy account so that you and your employees can take full advantage of all the features and functionality within the software.
We will walk you through each of these steps to ensure you get set up properly. We have designed it so each task should take fewer than five minutes. You'll be up and running in no time!
How It Works
The "Getting Started" checklist is a quick roadmap to give you shortcuts to completing some of the key tasks that will ensure your company's HR processes run smoothly in Eddy.
To complete a task, first click on the link associated with the task. This link will navigate you to the place in Eddy where the task can be completed. For example, if you click the "Add company documents" task, you'll be taken to the "Documents" page where you will be able to add a document.
Once you have completed a task (i.e. once you've added a document), the task on the checklist will automatically be marked as complete.

As a general rule, we recommend completing each checklist item so as to have the best possible experience using Eddy.
However, we understand that your company may not use Eddy for all its intended purposes. Because of this, we do allow certain items to be skipped. If a checklist item can be skipped, you'll see the words "Skip for now" to the right of the item when hovering over it.

You can click "Skip for now" and the task will become disabled. The progress bar will increase, despite the fact that you didn't actually complete the task.
If you wish to go back and complete a task that you initially skipped, you can do so by hovering over the item again and clicking "Enable."

You may also notice that above the checklist, you have two tabs. The "Getting Started" tab and the "Dashboard" tab. The "Dashboard" tab is the home screen that regularly shows in Eddy once the checklist is complete. You can click into the "Dashboard" tab at any time, even before completing your checklist.
Once all the items in the task list are either complete or have been skipped, you will see a completion banner near the top of the checklist. You'll have the option to click the "Dismiss checklist" button.
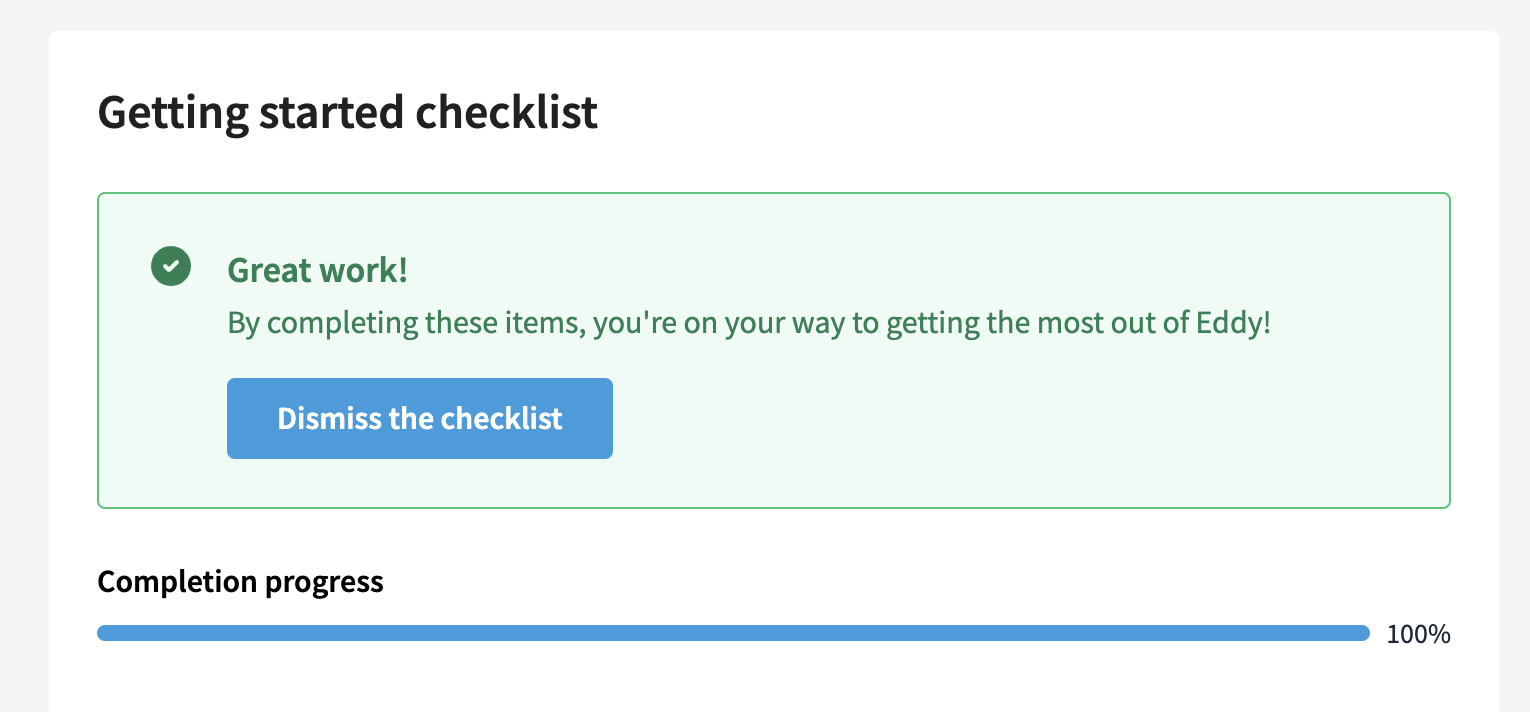
By clicking this button, the checklist will go away (permanently) and you'll just see the regular home screen.
Items in the Checklist
In the sections below, we give you a detailed breakdown of the items you'll find in the "Getting Started" checklist. We'll explain how to complete each task, and we'll also provide some context into why each task is important.
We've broken this into sections that mirror the sections in the checklist.
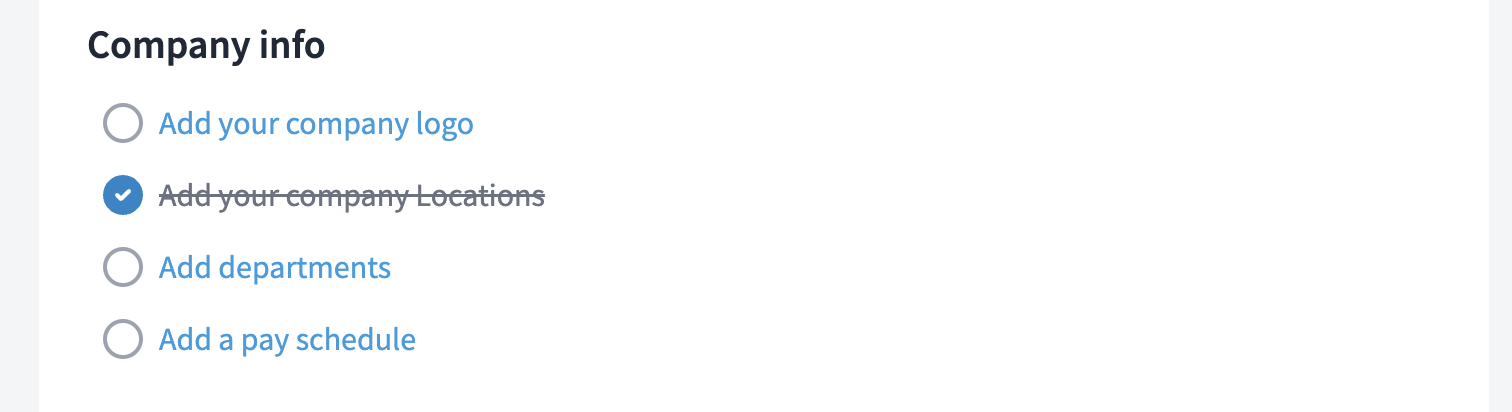
Company Info
The first section of the checklist contains items related to company info. These include:
-
Adding a logo
-
Adding locations
-
Adding departments
-
Adding a pay schedule
You may have already completed some or all of these items during the company set-up process. If you haven't, click the link for each step, and take the related action.
People
The second section of the checklist contains a single item, which is adding employees to Eddy. Clicking on the "Add your employees" link will give you the option to begin adding your employees one-by-one.

Before adding an employee, you'll need to know some basic information about them, such as their name, job title, pay rate, department, location, start date, and employment type.
You'll also need to have an email address for the employee to invite them to Eddy.
If you have fewer than 20 employees, we've found that adding employees one-by-one in this way can be quick and effective.
If you have more than 20 employees, you may want to use our bulk-import capability, that will allow you create a spreadsheet with all of your employee information and import it all at once. If you're interested in the bulk import option, contact your implementation specialist and let them know.
FYI: Many customers choose to set up their time-off, time-tracking, and benefits policies before adding their employees to Eddy. By doing these other tasks first, it allows you to add each employee to the policies they'll belong to at the time you add them. If you add the employee before setting up your policies, you'll be able to add them to each policy after it is set up.
For more a more in-depth look about the process of adding employees, you can read this article.
Onboarding
The third section of the checklist is labeled "Onboarding" and consists of the following tasks:
- Add company documents
- Make a document singable
- Create a new-hire onboarding packet
We'll briefly review the purpose of each of these steps to help you understand why these tasks are so critical to the Eddy experience.
Adding Company Documents
Almost every company has a series of documents that they need to store, send to employees, or have employees read and sign. Eddy facilitates all of this, and it starts with adding these documents to Eddy's "Documents" page.
Click on the "Add company documents" task link to get started.

You may consider adding things like your employee handbook, any NDAs or non-competes you ask employees to sign, and any additional documents that you may want your employees to access.
Please note that Eddy will provide key employment documents like I-9 forms, W-4 forms, and W-9 forms. You will not need to upload these documents to Eddy.
To learn more about how to add and remove document from Eddy, click here.
Making a Document Signable
Once you add your company documents, there may be some that you want to make signable. Eddy makes it easy to turn any document into a signature document as well as facilitating the sending of signable documents to employees.

To learn more about how to turn a document into a signature document, click here.
Create a New-Hire Onboarding Packet
New-hire onboarding packets allow you to create a packet of tasks that you'll assign to new hires when they join your company. This packet of tasks can be extremely flexible and can include tasks to do any of the following:
- Sign documents
- Complete tax forms
- Add direct deposit information
- Complete trainings
- Review links or documents
- Etc.
You'll want to create an onboarding packet after you've added your company documents (and after you've made some of your documents signable) so that you can include these in the packet.

To learn more about new-hire onboarding packets, click here.
Time Off & Time Tracking
The fourth section of the "Getting Started" checklist has the following tasks:
- Create a holiday calendar
- Add a time-off policy
- Add a time-tracking policy
These steps are especially critical for companies using Eddy for payroll as the inputs and outputs from these policies will be a factor in calculating employee pay. Below, we'll briefly review the purpose of each task and provide additional detail about where to learn more.
Creating a Holiday Calendar
The holiday calendar is a vital part of the Eddy experience. If you are using Eddy to track hours, track time off, and/or run payroll, it's important that you set up your paid holidays in Eddy so that all the calculations associated with those systems are correct.
Click the link on the checklist to get started, and then select the option to add a holiday calendar.

You'll give the calendar a name and determine the calendar year, and then add your holidays.
To learn more about holiday calendars, click here.
Adding a Time-Off Policy
Tracking employee time off, whether it's paid or unpaid, is an essential HR function. Eddy makes time-off tracking easy, by giving you the tools to create very customizable time-off policies for your employees.
You'll be able to create time-off policies across multiple categories (i.e. Vacation, Sick, and custom categories of your own choosing), and you'll even be able to create multiple policies within each category. You can create these policies before adding your employees to Eddy so that when you're ready to add employees, you can slot them into the correct policy immediately.
Click the link on the checklist to get started creating your time-off policies.

To learn more about time-off policy creation, click here.
You can also learn more about how employees can request time off by clicking here.
Adding a Time-Tracking Policy
Time-tracking is necessary for any business that has hourly workers. Eddy enables you to track employee time easily, but before that happens, you'll first need to set up a time-tracking policy. The time-tracking policy will consist of a name, how you would like employees to clock in with an option to geo-tag employee clock-ins on a mobile device, some information about how to calculate overtime, if you would like to include any break parameters, and an option to connect the time-tracking policy to a holiday calendar (which we recommend).

For a general overview about Eddy's time tracking, click here.
For a specific walk through on how to set up a time tracking policy, click here.
Payroll & Benefits
If you're choosing to use Eddy for payroll, there will be some additional steps (beyond what's shown in this "Getting Started" checklist) that you'll need to complete. However, an important step on your way to getting payroll set up is creating benefit policies so that Eddy is aware of the deductions that need to be made.
It's important to note that Eddy (at the current time) is not a benefits administration platform. However, we allow you to manually enter and track the benefits you offer. This works well for two reasons:
First: If you're running payroll in Eddy, it ensures all of our benefit deductions are accounted for.
Second: Your employees will have easy access to this information in their employee profiles.
To set up your benefits policy, click the "Add a benefit policy" link.

Once you've clicked the link, you'll have the option to create Health, HSA, and Retirement policies within Eddy.
Click on the policy you wish to add and then answer a few questions about deduction rules, company and employee contributions, as well as effective dates.
Hiring
The final section of the "Getting Started" checklist is related to Hiring. If you've purchased Eddy's applicant-tracking add-on, you'll see the Hiring section in your checklist. If you didn't purchase this add-on, then this section will not be visible to you.
To get the most out of Eddy's applicant tracking system, we recommend completing the first two tasks, which are:
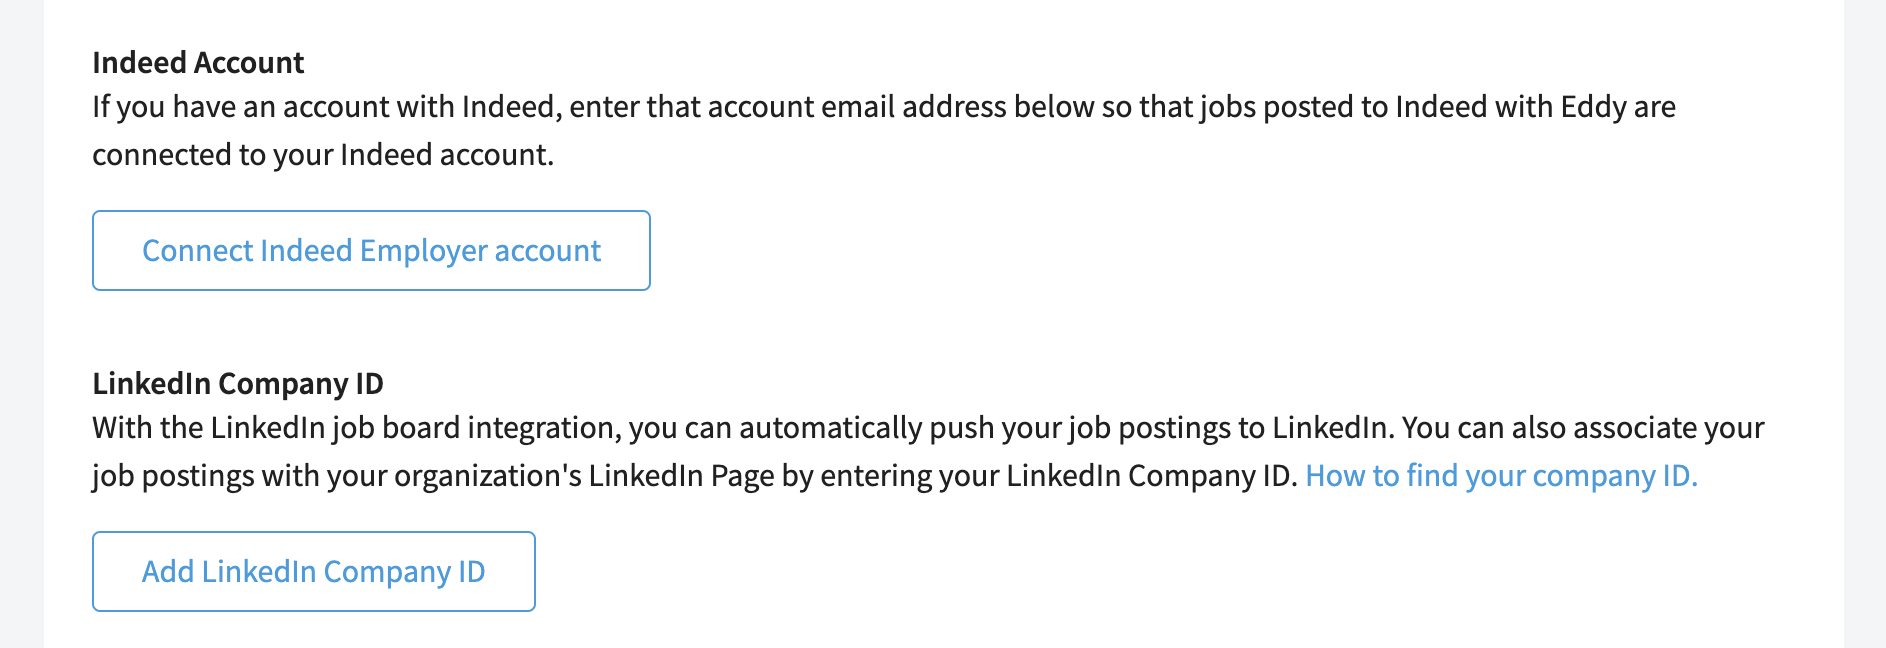
- Connecting you Indeed account and
- Connecting your Linkedin account

We recommend doing this so that when you post your jobs, they get the maximum amount of reach to outside job boards.
Remember, the accounts you're connecting are the "Employer" accounts. You're not connecting your own personal Indeed or Linkedin account, but rather the accounts that belong to the company.
If the company does not have accounts associated with these sites, you can choose to skip these steps. However, we recommend creating accounts for better visibility on job boards.
Clicking on these task links will take you to a page in Eddy where you can click a button to connect your account.
Finally, once you've connected your accounts, we encourage you to post a job! Posting a job on Eddy is easy, and you'll get your job post distributed to all of the best job boards automatically.
Simply click on the "Create a job posting" link to get started.

To learn more about posting jobs in Eddy, click here.
Check out our mobile app
On the right side of the page, you'll see a large QR code. Scanning this code with your phone will take you to your preferred app store so that you can download Eddy's mobile app.

You'll find that the mobile app is extremely useful for both company admins and employees. We recommend that everyone in the company downloads the Eddy mobile app for easy access to all the tools in Eddy.