Eddy allows you to add employees on an ongoing basis in three ways. The first is through the hiring section on the drag-n-drop candidate board. The second is by clicking a button in the employee directory. The third is via the Onboarding tab.
Adding Employee Overview
Add New Employee via the Hiring Board
So, you've posted a job, interviewed candidates, and finally found the person you want to hire. Now it's time to get them onboarded and add them to your company's employee directory!
To begin the Onboarding process, start by dragging the lucky candidate to the "Hired" column on your candidate board (you may also choose to “Advance” the candidate to the Hired stage if viewing a candidate’s profile). For those with HR Admin permissions, you’ll be met with a celebratory confetti modal with a button that will allow you to add the new hire as an employee and begin the onboarding process.
Access: Only those with an HR Admin role can add a new employee. Those assigned as a Hiring Manager who do not have HR Admin permissions can move a candidate to the "Hired" column, but don't have the option to add as an employee.
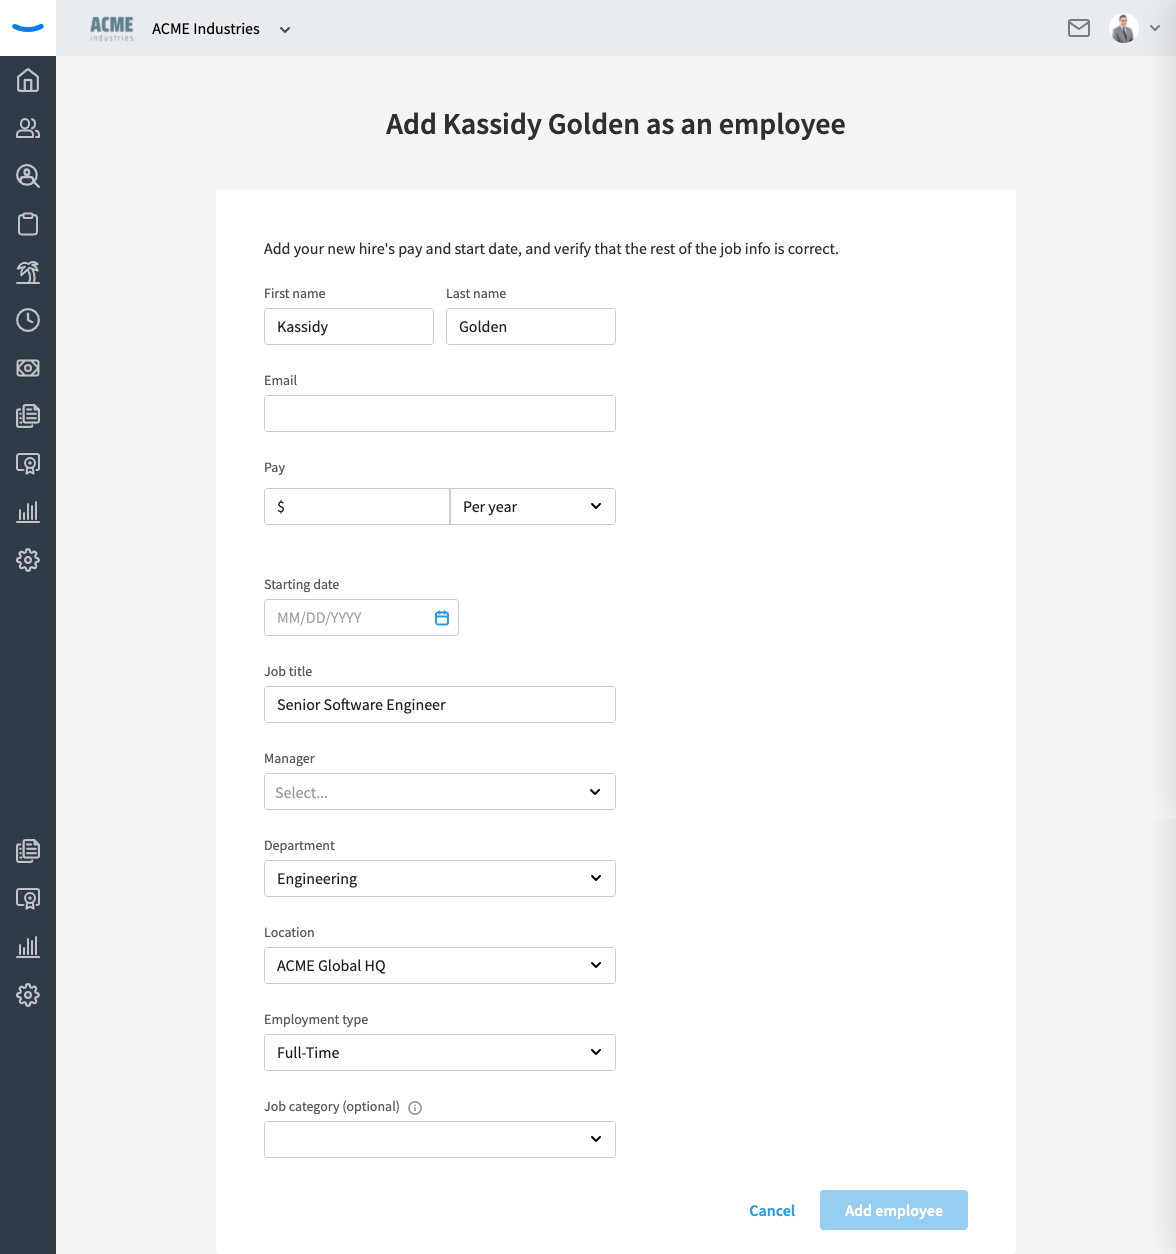
Input the New Hire's Job Information
Clicking the “Add as employee” button on the confetti screen will allow you to begin to define the new hire’s job information. Eddy will automatically import and pre-fill information such as the new hire’s name, email address, and job title onto the form to get you started. You’ll fill out additional fields like what the new hire will be paid, when they’ll start, and who their manager will be. Any of the fields on the screen can be edited.
After completing the form, click the "Add Employee" button at the bottom of the screen.
Add New Employee via the Employee Directory or the Onboarding tab.
If the person you are adding to your company was not someone who applied for the position via Eddy's Applicant Tracking System (and therefore they do not appear in the Hiring section), then someone with HR Admin permissions is able to add the employee directly from the Employee Directory or the Onboarding tab.
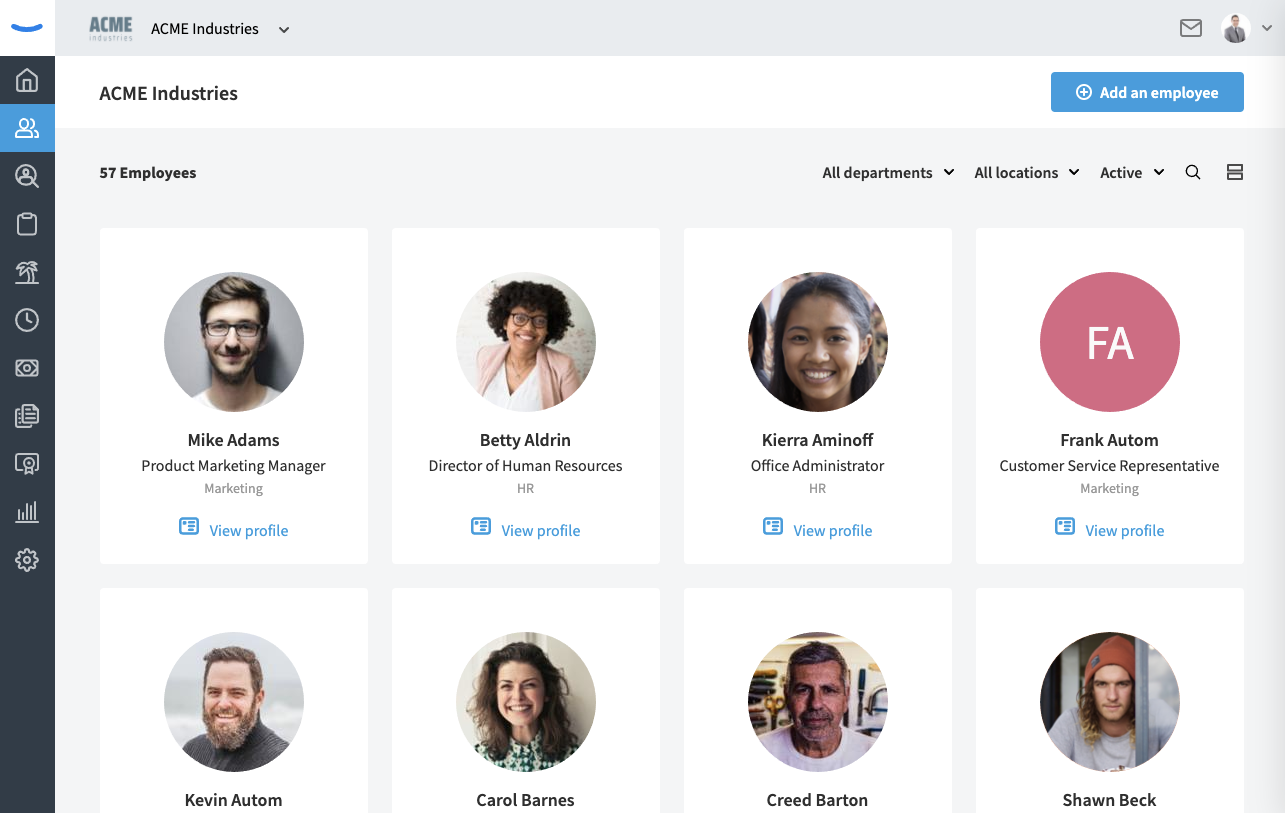
Click the blue "Add an employee" button at the top of the People tab.
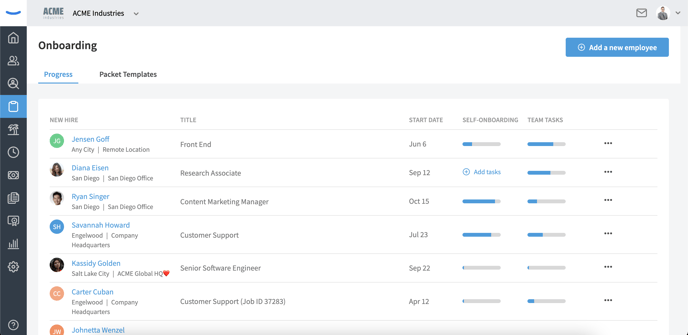
You can also click the blue "Add an employee" button at the top of the Onboarding tab.
Clicking this button will bring you to the same form that we mentioned previously where you'll input the new employee's job information.
Once you complete the form, you'll click the "Add employee" button to continue.
Adding the Employee to Pay Periods and Policies
After completing the job information form and clicking the blue "Add employee" button, you may be asked to add the employee to your pay period and time policies.
If your company does not yet have any time tracking or time off policies, nor are you running payroll in Eddy, then you won't be asked these questions.
Assuming Eddy does perform these functions for your company, let's walk through the steps.
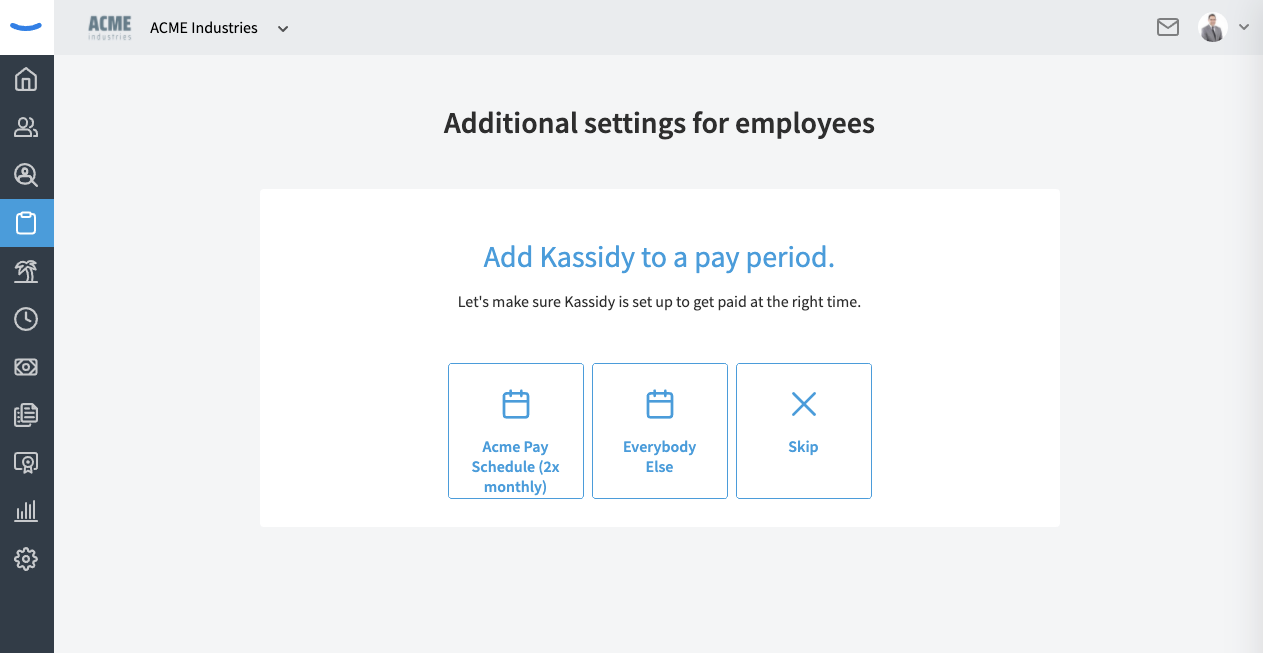
The first option you'll have will be to add the employee to a pay period. This will ensure they are on the proper pay schedule and will enable this employee to be added to a time tracking policy and a time off policy. Select the pay period that applies to that employee.
After adding the employee to a pay period, you'll then be asked to add the employee to a time tracking policy. If the employee is a salaried worker and will not be clocking in and out, you can click "Skip." If the employee needs to track their hours, then select the options to "Add to Time Tracking."
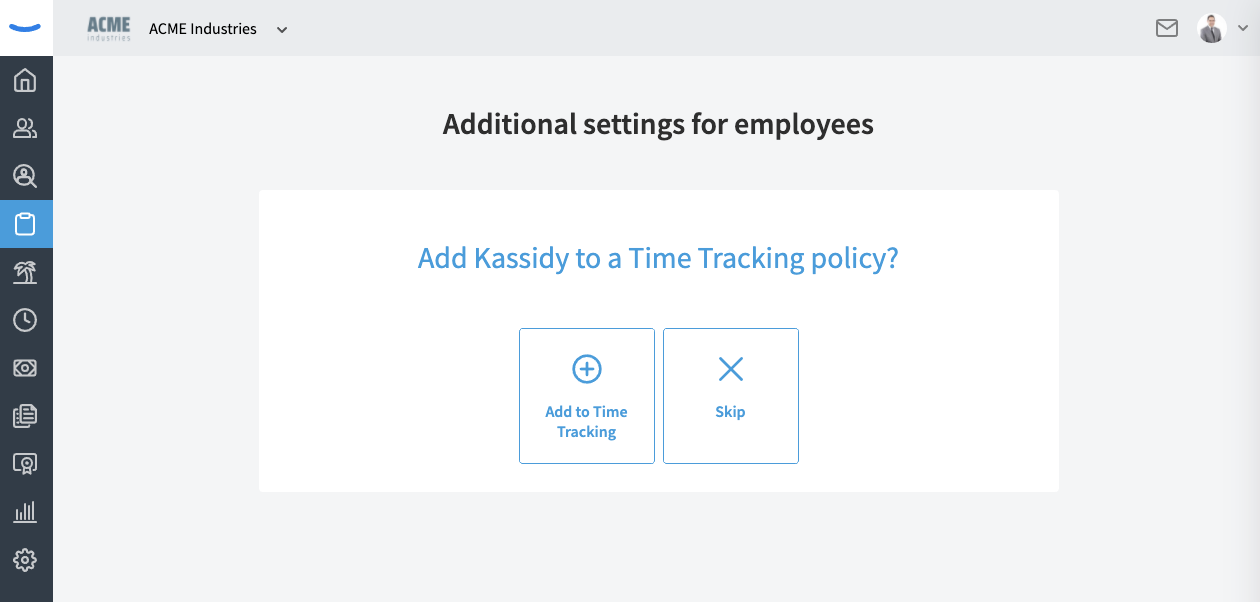
Once you click "Add to Time Tracking", you'll see the time tracking policy options that exist in your company. Choose the policy that your employee will belong to.

After selecting a time tracking policy, you'll be asked if you'd like to add the employee to a paid time off policy. If you do not wish to add the employee, click the "Skip" button.
If you are interested in adding the employee to a paid time off policy, click the "Add to Paid Time Off" option. Clicking this button will present you the policy options within the company. Click on the policies you'd like the employee to belong to.
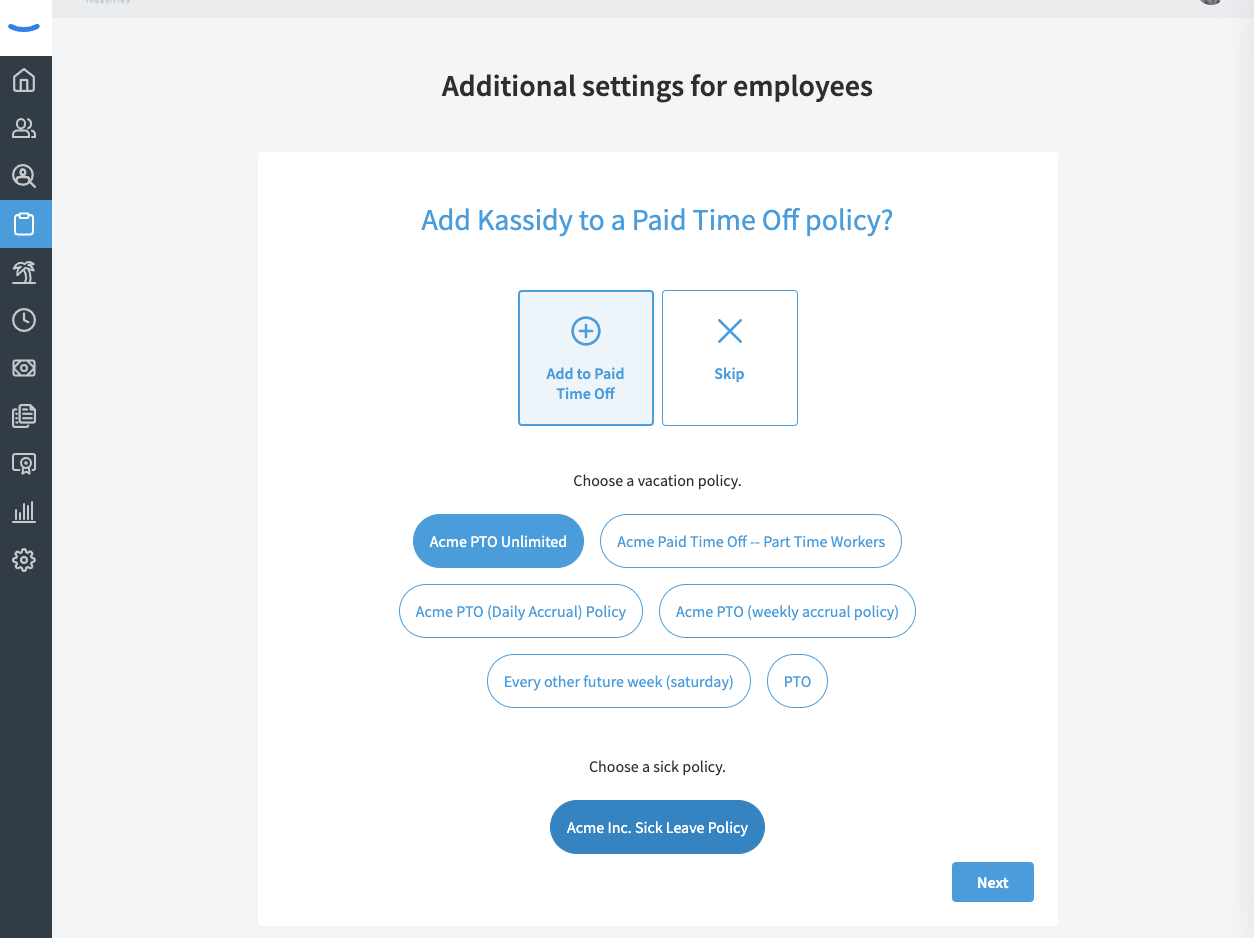
Once this is finished, you can click the "Next" button at the bottom of the screen to continue the employee onboarding process.
The next part of onboarding has to do with the creation of "New Hire Packets." We have written a helpful article about "New Hire Packets" here.